Creatively Inclined
  • Home
  • Apparel
  • Décor
  • Abode
  • Details

Crib Rail Bumper

1/28/2017

0 Comments

 
Picture
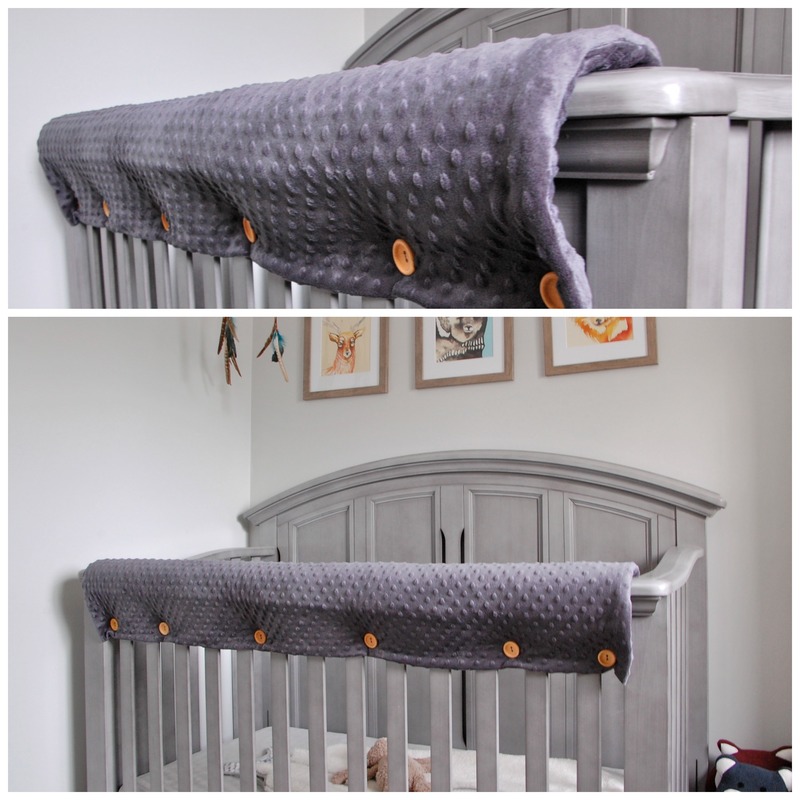
Our little one loves to stand in his crib, often when he should be sleeping, and while he is standing he gnaws on the rail. So, to protect his teeth, and let’s be honest the not-so-inexpensive-crib, I made a simple crib rail bumper. 

Skill Level: Beginner
Materials
  • Minky Fabric
  • Batting
  • Interfacing
  • Buttons (at least 1” diameter)
  • Thread
 
How to Guide
 
Measure up
  • Width and Length: take measurements for the length of the crib rail and around the width of the rail.
  • Adjusted Length: using your rail length, add 2 inches.
  • Adjusted Width: using your rail width, add 8 inches.
  • Buttons: starting at the centre of your crib rail, measure the distance from each button (be sure that these fall in the openings between the slats).
 
Minky
  • Lay your minky fabric out on a hard smooth surface right side down.
  • Fold your minky fabric in half along the length.
  • Keeping the fabric folded, cut a rectangle using your adjusted length and width measurements.
  • Unfold the fabric, right side down, and mark the centre along the length (fold line). 

Padding
  • Cut 2 strips of interface, 4” wide and the length of your crib measurement.
  • Cut your basting, using the width of your crib and the length of your crib measurement. 

Interface
  • Lay your minky fabric out on a hard smooth surface right side down.
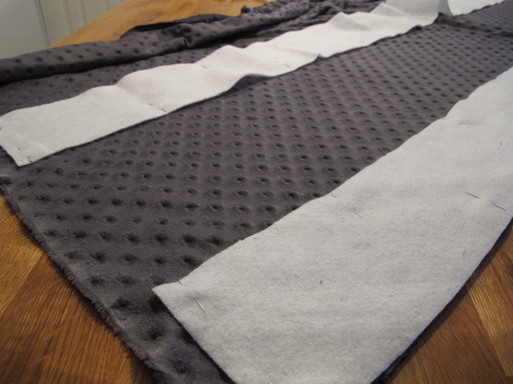
  • Staying on one side of centre line, lay your interface strips on your your minky fabric along the centre line and the salvage edge.
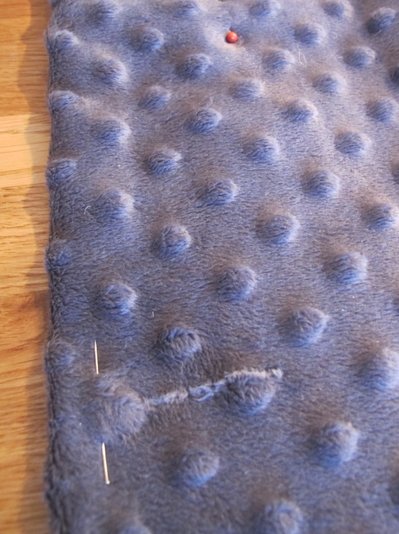
  • Pin in place.
  • Baste stitch the interfacing along each side, of each strip. 
Picture
Batting
  • Lay your minky fabric out on a hard smooth surface right side down.
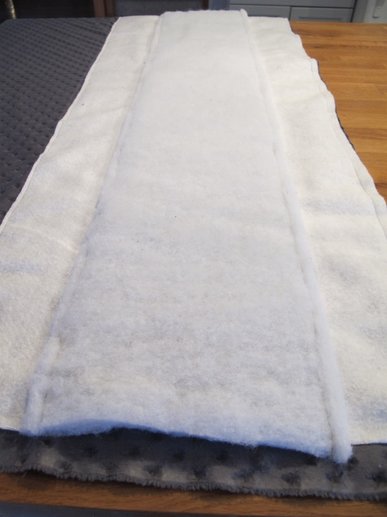
  • Place your batting on your minky fabric between the strips of interfacing.
  • Pin in place.
  • Baste stitch the batting along each side.
Picture
Fold and stitch
  • Lay your minky fabric out on a hard smooth surface right side up.
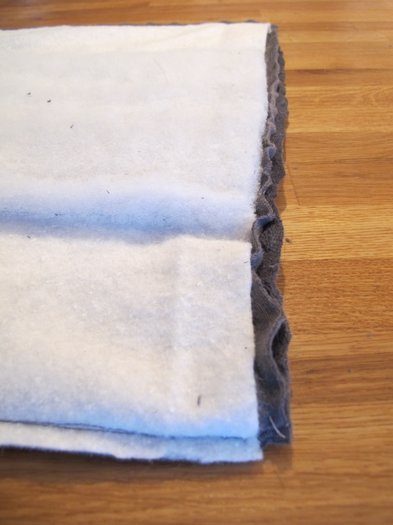
  • Fold the untouched side of your minky fabric back over the padding, along the centre line.
  • Pin in place.
  • Sew along the length and one side of the width. 
Picture
Flip it
  • Using the opening, flip the bumper so it is right side out.
  • Pin the opening closed.
  • Sew closed. 

​Buttonholes
  • Lay your bumper out on a hard smooth surface right side up.
  • Measure and mark the placement of your buttonholes, 1” from the bottom edge of your bumper.
  • The length of the buttonhole should be the same diameter of your button.
Picture
Sew and snip
  • Sew your buttonholes using your sewing machine’s button function.
  • Snip open the button holes.
  • Stick one of your buttons through each hole to ensure they fit through (you should have some resistance to ensure the button stays snug). 
Picture
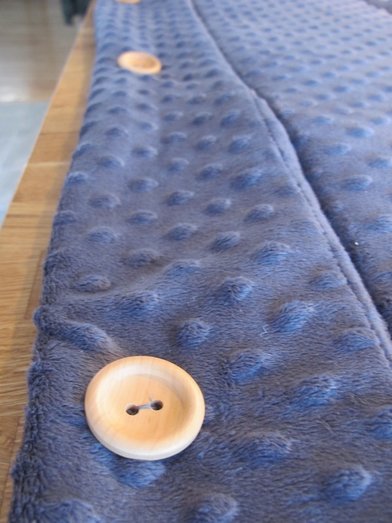
Buttons
  • Lay your bumper out on a hard smooth surface right side down.
  • Fold edge to edge along the length.
  • Mark the placement of your buttons using your buttonholes.
  • Sew buttons in place.
Picture
Place bumper on crib rail and let baby gnaw on it all they want!
0 Comments


Leave a Reply.

    Click "Read More" under each project for detailed steps. 

    Categories

    All
    Furniture
    Kids Furniture
    Lighting
    Outdoor
    Party Decor
    Seasonal
    Textiles
    Wall Decor

Proudly powered by Weebly
  • Home
  • Apparel
  • Décor
  • Abode
  • Details