Creatively Inclined
  • Home
  • Apparel
  • Décor
  • Abode
  • Details

Deck Box

4/28/2020

1 Comment

 
Picture
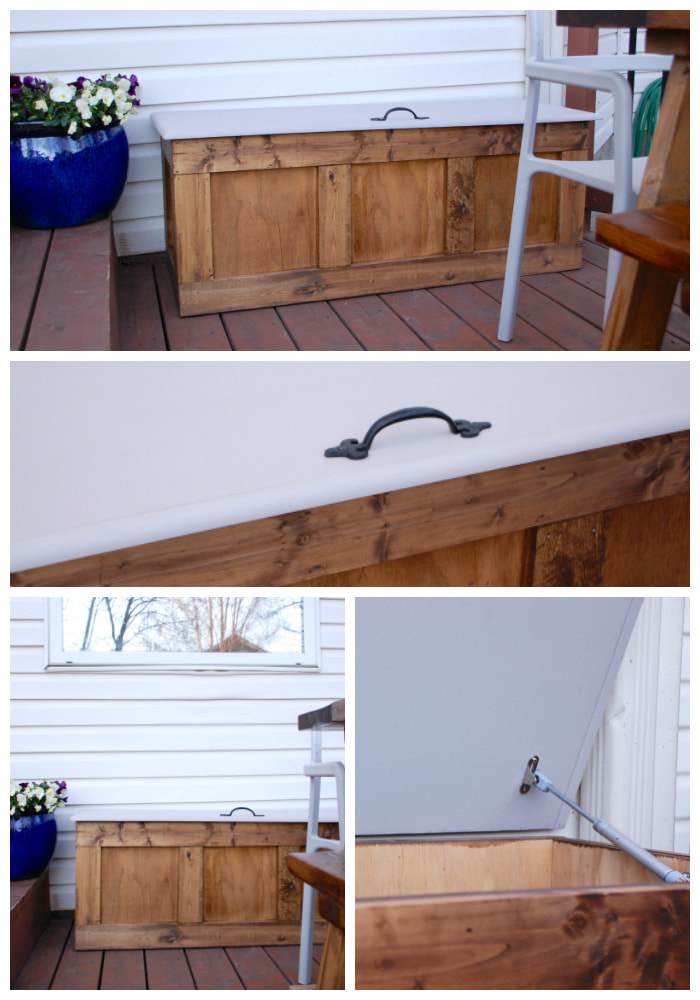
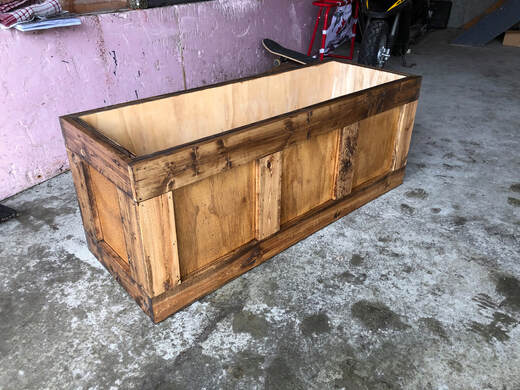
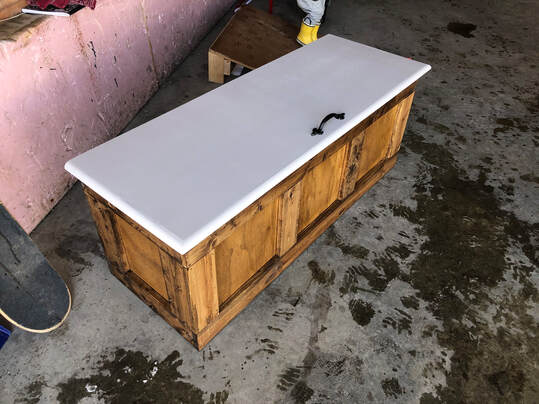
Anyone have a backyard littered with kids toys? We do. Then I got a big ugly tub to put them in, but that filled up and also looked terrible. So we built this deck box – looks great, holds (and hides) all the toys! It would also work great to store cushions or garden supplies. 

Skill Level: Intermediate
Materials
  • Sheet of high quality plywood
  • 1x4 dimensional wood
  • ¼ round for trim (optional)
  • Wood screws or nails for gun
  • Wood glue
  • Wood filler
  • Hinges
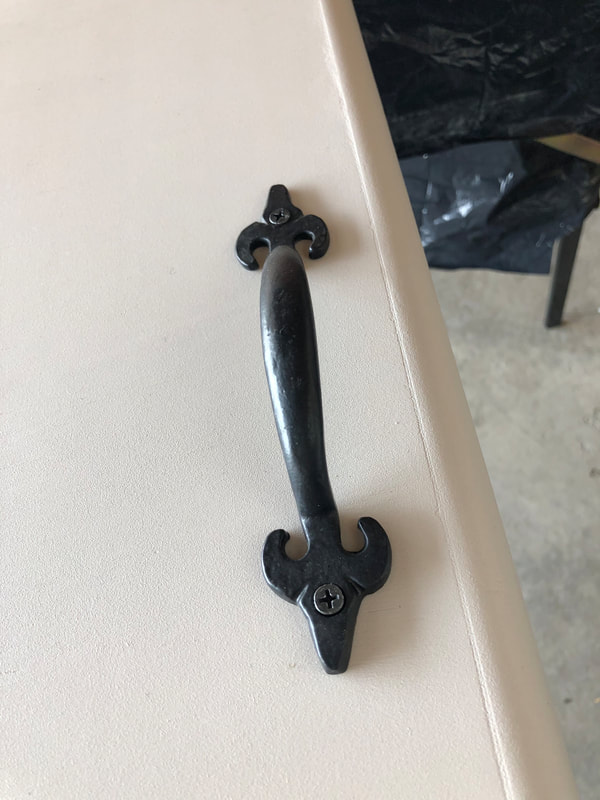
  • Handle
  • Paint or stain
 
Tools
  • Electric drill or nail gun
  • Electric saw
  • Electric sander
  • Rubber gloves
  • Paint brush
  • Cloth
 
How to Guide
 
Measure and cut it out
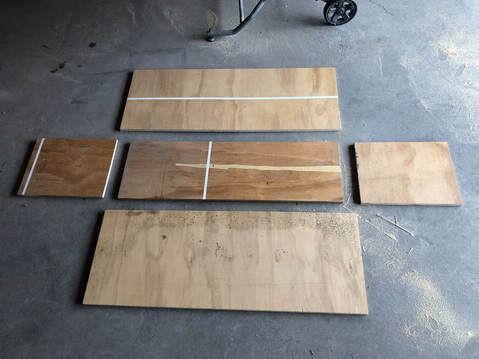
  • Starting with the base, measure and cut the bottom of your box.
  • Measure and cut the sides based on the base.
  • Measure and cut the front and back based on the base with the sides attached.
Picture
Put it together
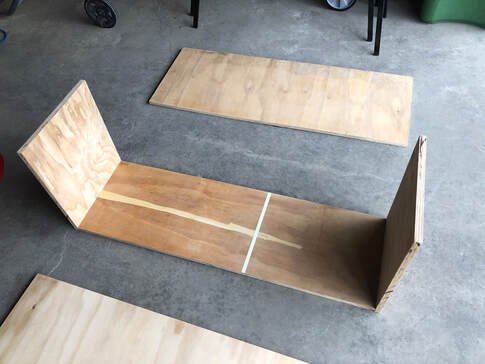
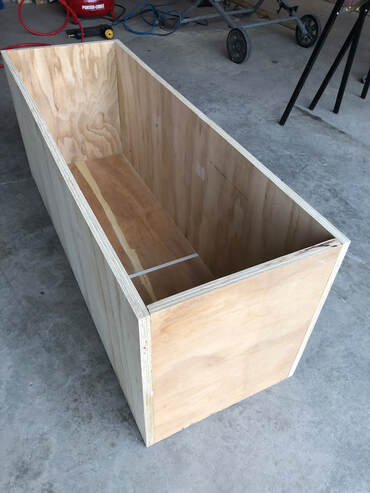
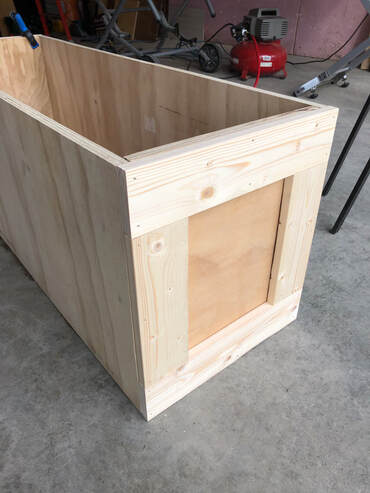
  • Nail the sides to the base.
  • Nail the front and back to the base and sides.
Picture
Picture
Side panels
  • Start with the sides of the box, measure and cut the top and bottom panels.
  • Nail to the box.
  • Measure and cut between the top and bottom panels and add side panel.
  • Nail to the box.
  • Repeat for other side.
Picture
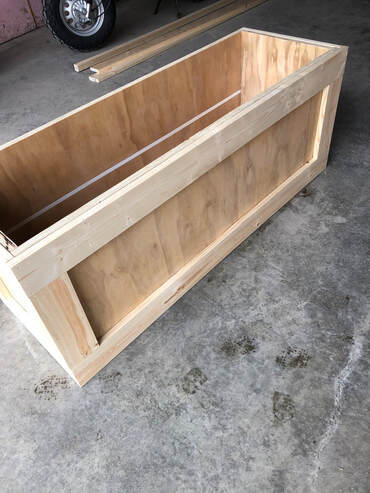
Front and back panels
  • Measure the full length of the box and cut the top and bottom panels.
  • Nail to the box
  • Repeat for back.
Picture
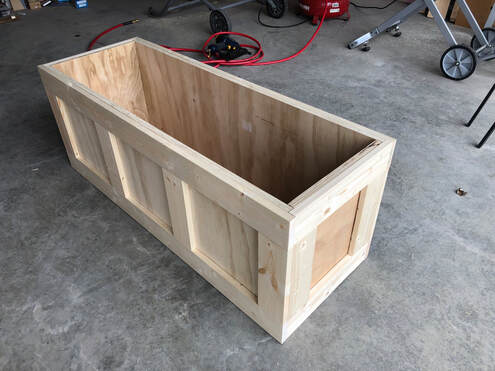
Front panels
  • Measure and cut the additional center panels.
  • Nail to the box
Picture
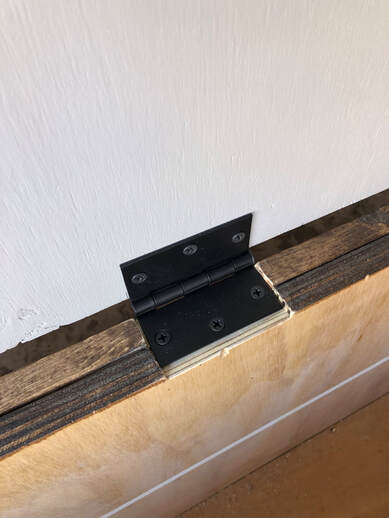
Hinge pocket
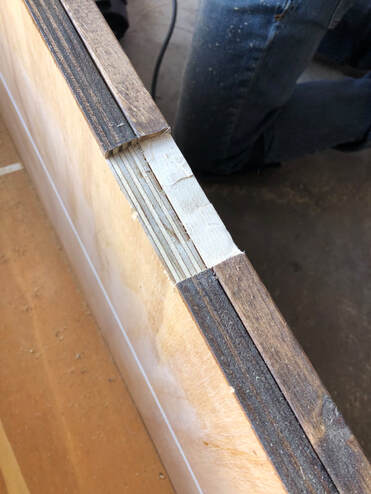
  • Place your hinges on the back of the box and measure the length and width.
  • cut a pocket on the top of the box so your lid lays flat.
Picture
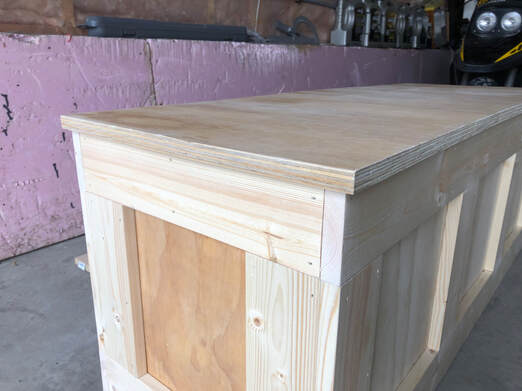
The lid lip
  • Place your plywood on top of the box with the back lined up.
  • Measure how far (or not) you want the lip to hang over.
  • Cut the lid to size.
Picture
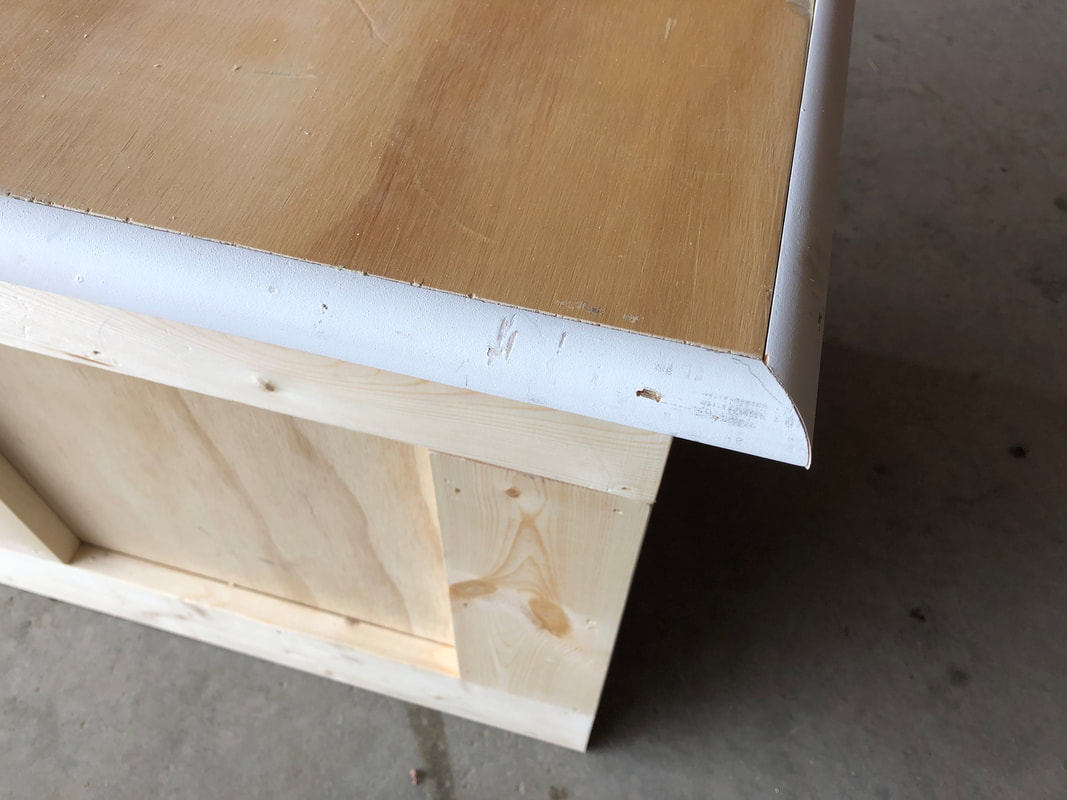
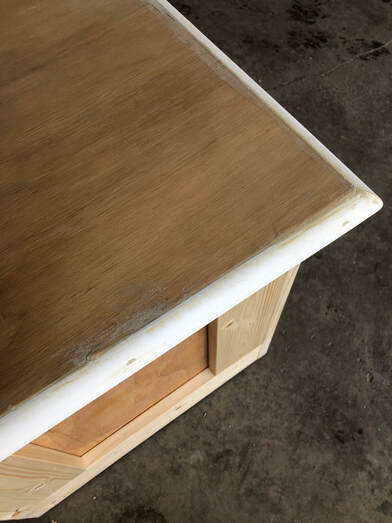
Lid trim (optional)
  • Measure and cut the ¼ round trim.
  • Glue or nail in place.
Picture
Fix flaws
  • Using wood filler, fill in any flaws.
Picture
Sands of time
  • Sand the box and lid smooth.
 
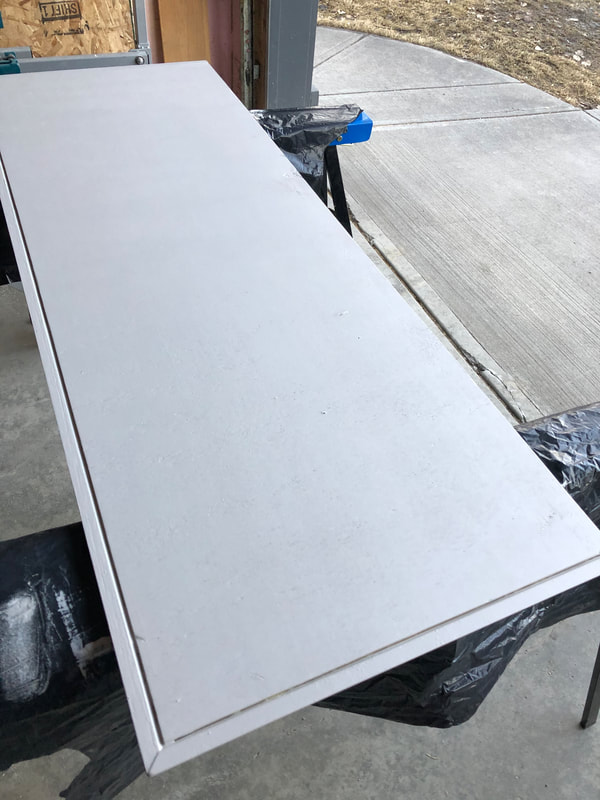
Paint or stain
  • Paint or stain the top and bottom of lid, attach handle.
  • Paint or stain box.
Picture
Picture
Picture
Unhinged
  • Attach your hinges starting with the box.
  • Place lid on top, line up the back and center the sides.
  • Gently lift the lid from the front and hold while attaching the hinges to it.
  • Additionally, you can add a soft close hinge for safety.
Picture
Close the lid, fill it up and put it on the deck!
Picture
1 Comment
Landon "RusticLumberCo.com" Edgington link
2/2/2021 04:44:30 pm

That was intense while scrolling down would like to see the outcome and then Voila! Thanks for sharing this man I would like to create one.

Reply


Leave a Reply.

    Click "Read More" under each project for detailed steps. 

    Categories

    All
    Furniture
    Kids Furniture
    Lighting
    Outdoor
    Party Decor
    Seasonal
    Textiles
    Wall Decor

Proudly powered by Weebly
  • Home
  • Apparel
  • Décor
  • Abode
  • Details