Creatively Inclined
  • Home
  • Apparel
  • Décor
  • Abode
  • Details

Kids Table & Stools

4/10/2017

0 Comments

 
Picture
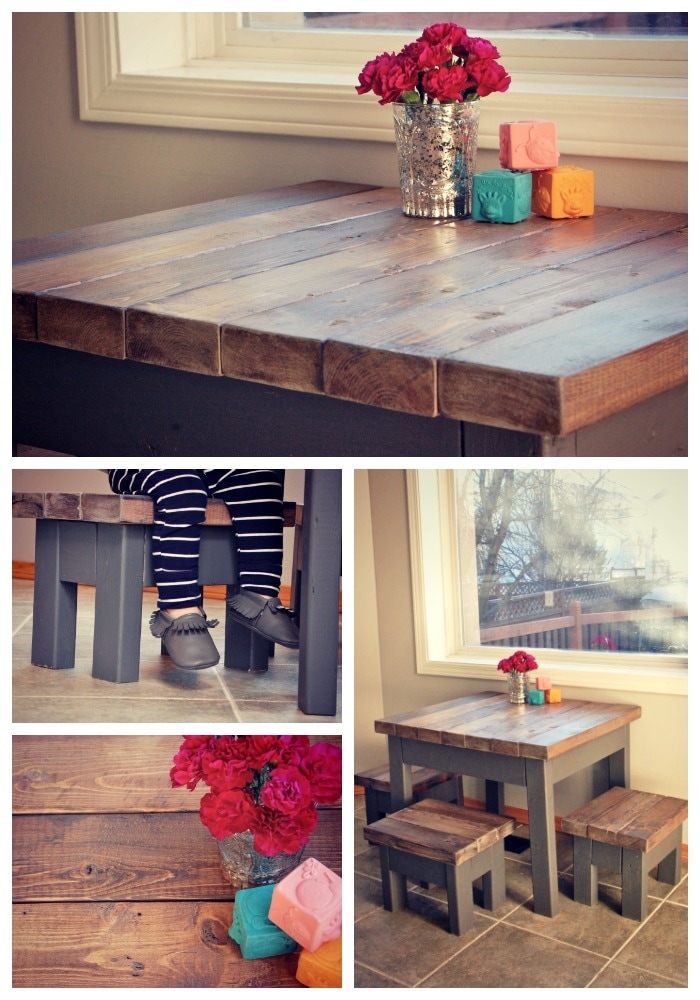
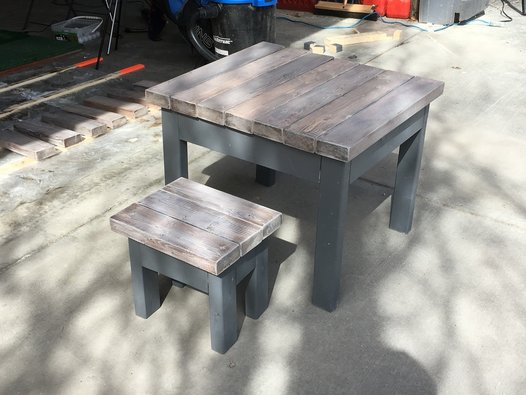
Our little guy is getting bigger and more independent, which means strapping him into a highchair is getting challenging. We wanted to get him a kids table, but they start at $100 – and that’s just for the table! So, we decided to build one. It cost us under $50 for all the materials and what’s even better, it looks great!
 
Skill Level: Beginner to Intermediate

Materials
  • Dimensional lumber (2x4”) – 48 Feet
  • Dimensional lumber (2x3”) – 24 Feet
  • Dimensional lumber (1x6”) – 2 Feet
  • Wood filler
  • Wood stain
  • White paint
  • Tung oil or varnish
  • Wood screws
  • Brackets x 8
 
Tools
  • Electric drill
  • Electric saw
  • Electric sander
  • Tape measure
  • Angle ruler (90 degrees)
  • Rubber gloves
  • Paint brushes
  • Paper towel or rag
  • Container (for paint)
 
How to Guide
 
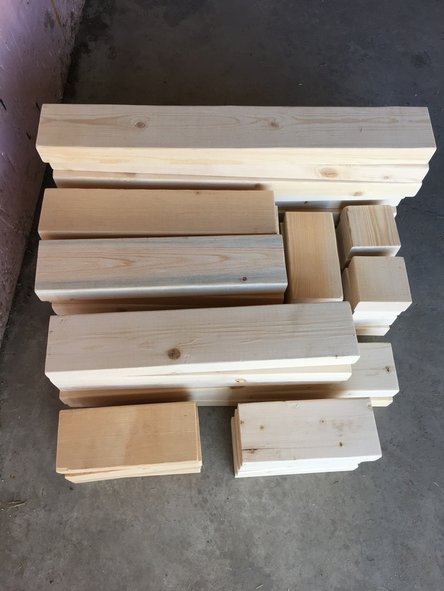
Measure and cut:
  • Table:
    • 7 pieces @ 22” (2x4” lumber) – top
    • 4 pieces @ 15” (2x4” lumber) – apron
    • 4 pieces @ 18” (2x3” lumber) – legs
    • 1 piece @ 19” (1x6” lumber) – bracket
  • Stool (cut for each stool):
    • 3 pieces @ 15” (2x4” lumber) – top
    • 2 pieces @ 3.5” (2x4” lumber) – apron
    • 2 pieces @ 8” (2x4” lumber) – apron
    • 4 pieces @ 8” (2x3” lumber) – legs
Picture
Prep and frame
  • Make sure you have all your pieces and that they are the correct measurements.
  • Layout the top of your table and stool seats on a hard, flat surface.
  • Place your base pieces on top.
Picture
Sand it
  • Give your pieces a light sanding.
  • Sand and round the edges so they are not a hazard.
 
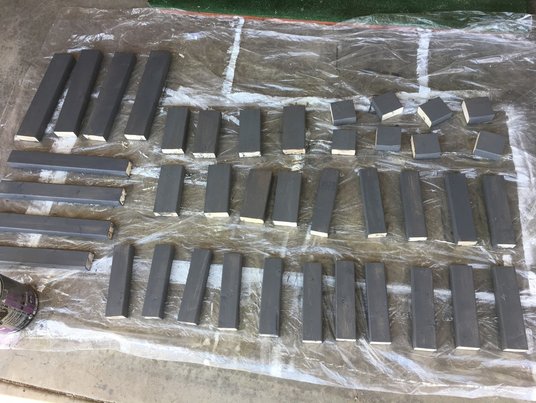
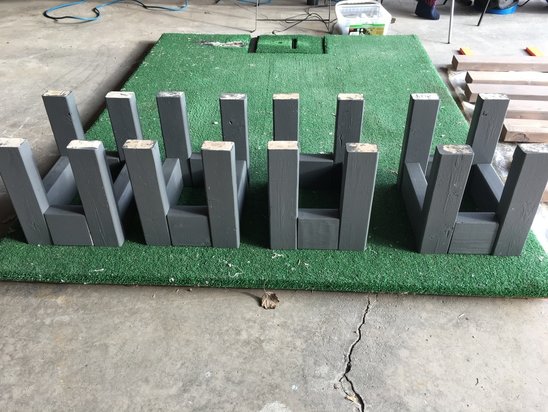
Paint the base
  • Paint all the base pieces.
  • I suggest 2 coats for a finished look.
Picture
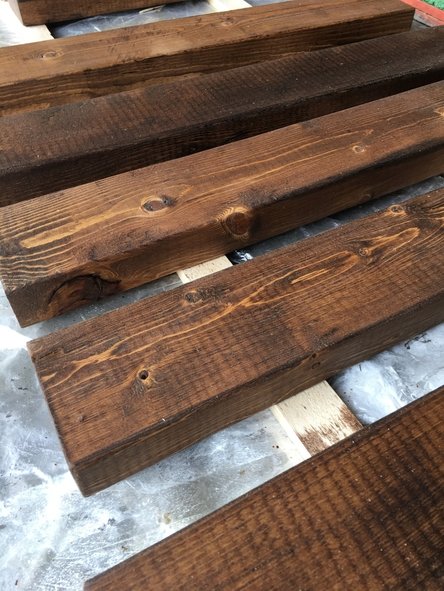
Stain the tops
  • Stain the table top and stool seats as directed.
Picture
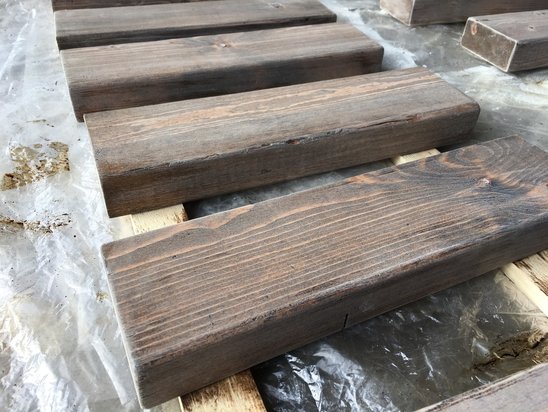
White wash (optional)
  • Begin by watering down your paint.
  • In your container/bucket, mix 1/3 cup paint to 1 cup water (1:3 ratio).
  • Stir until consistent.
 
Application
  • The most important part of white washing is to keep your paintbrush as dry as possible. You need a very small amount of paint on the brush tip.
  • Lightly brush along the grain. The paint will dry quickly so try not to be too broad in your strokes or it will cause clumping.
  • If your paint brush is getting too wet, dab it on the paper towel. I suggest dabbing after every dip into the paint before applying it to your piece.
  • If the white wash is going on too thick, use a rag to wipe the access off the wood.
 
*Tip – The first coat it might look like you barely applied any paint. Restrain yourself from adding more paint, the colour will deepen with more coats. With white washing it is better to do many thin coats, than 1-2 heavy coats, or you will not get the “washed” look. Let the paint dry completely between coats and add additional coats until the colour is consistent and you are happy with the tone. You may prefer less if you want to see the wood grain. I did 1 coat - I just wanted to tone down the stain for a more weathered look.
Picture
Finish
  • Use Tung Oil or varnish to give it a protective coat.
 
*Tip – I like Tung Oil because it has lower VOC and is food safe once dry.
 
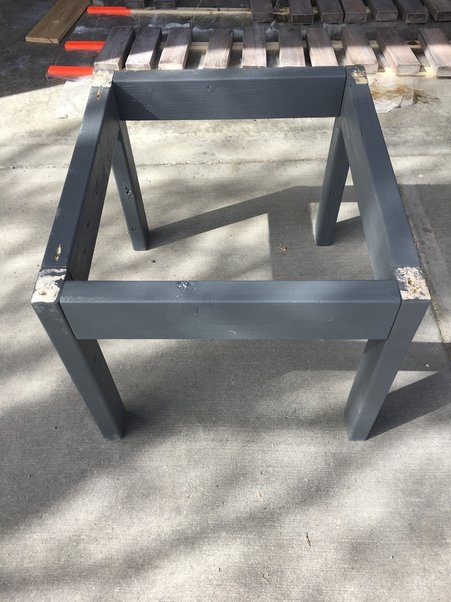
Start with the base
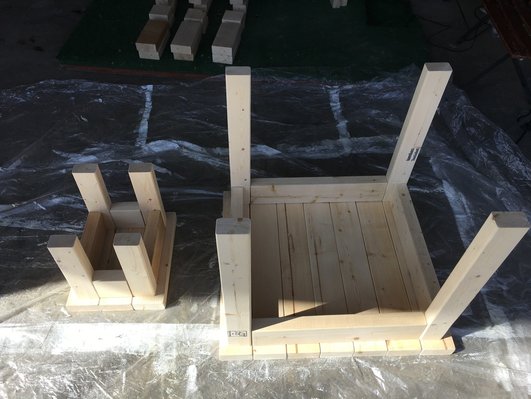
  • Layout your base pieces on a hard, flat surface.
  • Angle your screws and attach the apron to the legs first.
Picture
Picture
Table
  • Layout the top of your table on a hard, flat surface.
  • Place your base on top.
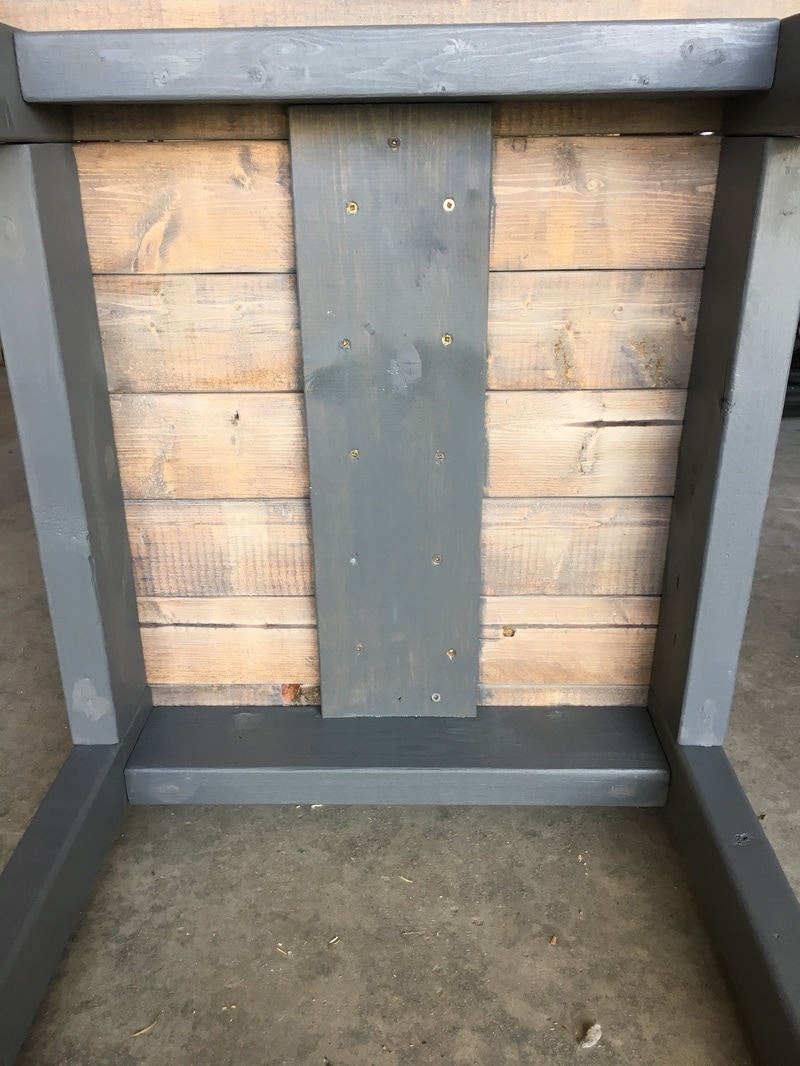
  • Lay the bracket perpendicular across the wood slats, between the apron.
  • Screw bracket in place.
  • Screw base in place.
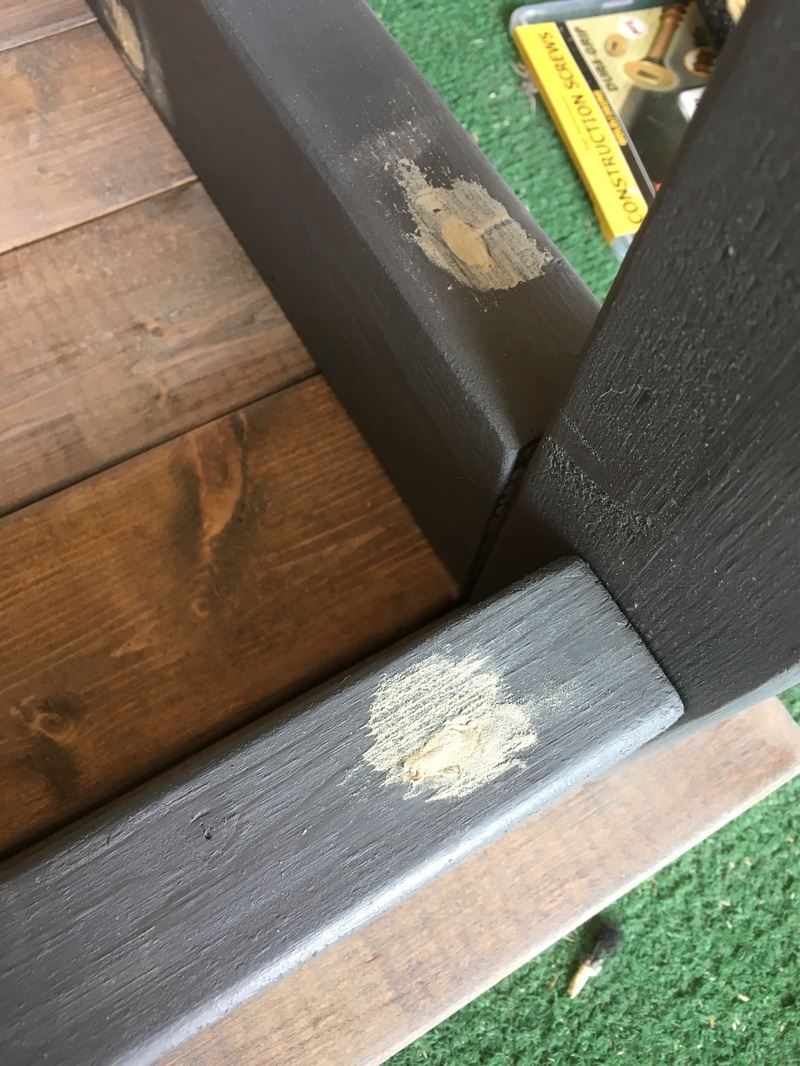
  • Fill the screw holes with wood filler and let dry.
Picture
Picture
Stools
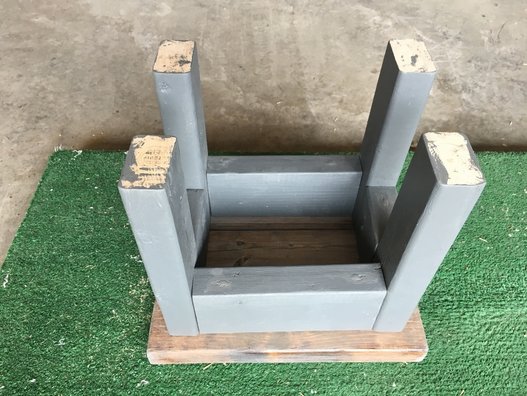
  • Layout the stool seats on a hard, flat surface.
  • Place your base on top.
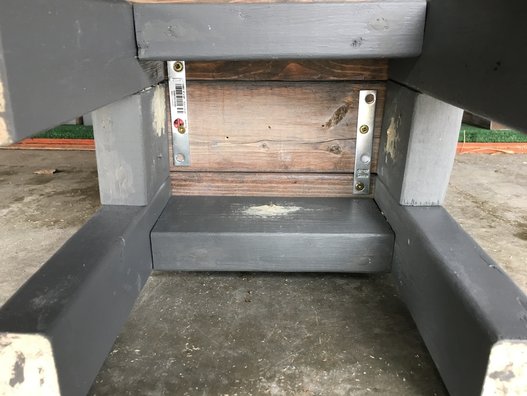
  • Lay the brackets perpendicular across the wood slats.
  • Screw brackets in place.
  • Screw base in place.
  • Fill the screw holes with wood filler and let dry.
Picture
Picture
Finishing
  • Lightly sand the areas with wood filler.
  • Finish with a bit of paint.
Picture
Set it up and have some fun!

0 Comments


Leave a Reply.

    Click "Read More" under each project for detailed steps. 

    Categories

    All
    Furniture
    Kids Furniture
    Lighting
    Outdoor
    Party Decor
    Seasonal
    Textiles
    Wall Decor

Proudly powered by Weebly
  • Home
  • Apparel
  • Décor
  • Abode
  • Details