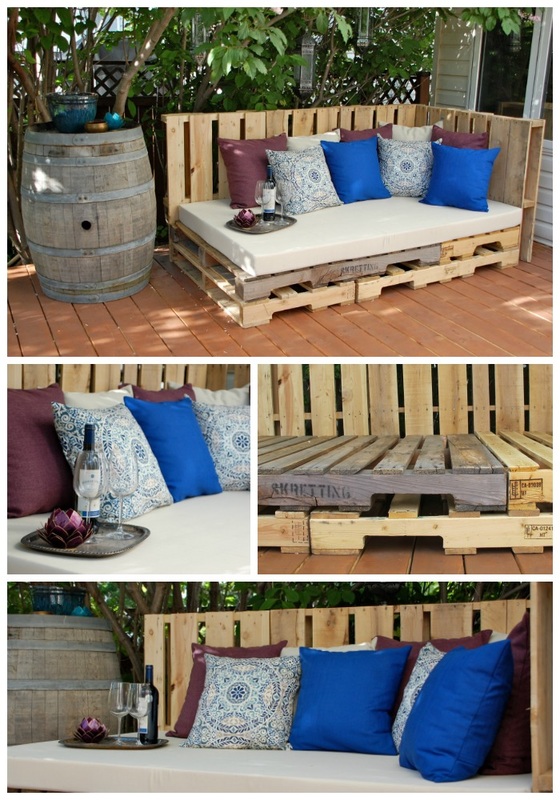
 I love the combination of comfy indoor living spaces, but with the beauty of being outside. We just refinished our deck (another post for another day) and I wanted a place we could kickback and enjoy the summer. I also did not want to clean out our piggy bank (outdoor furniture is pricey!). So we went in search of pallets (yay free!) and I made the cushions to go with it.  Made from some reused material Materials
Tools
How to Guide Pallet Chaise Sands of time
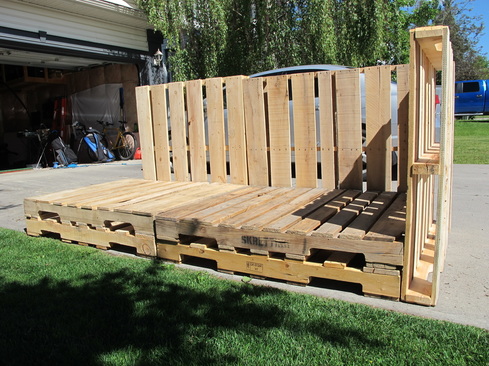
Assemble
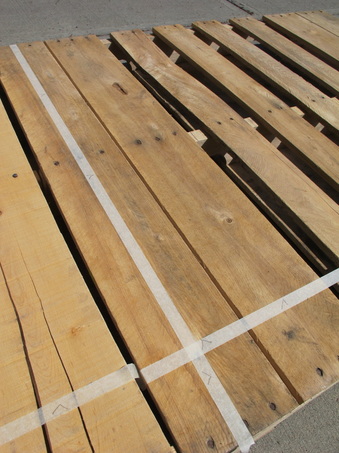
 Cut it up
 Reassemble
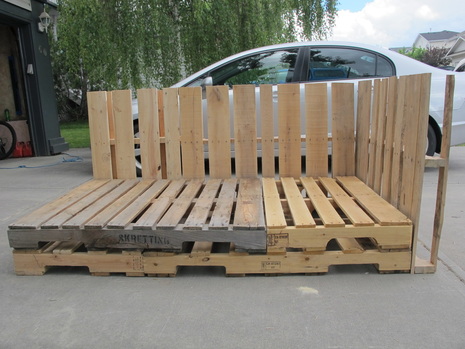 Screw it I suggest placing your lounger before screwing together - it is very heavy once in one piece.
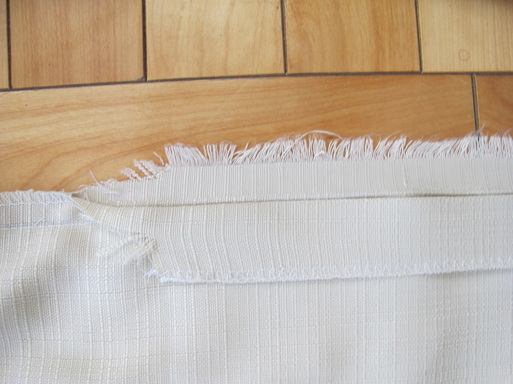
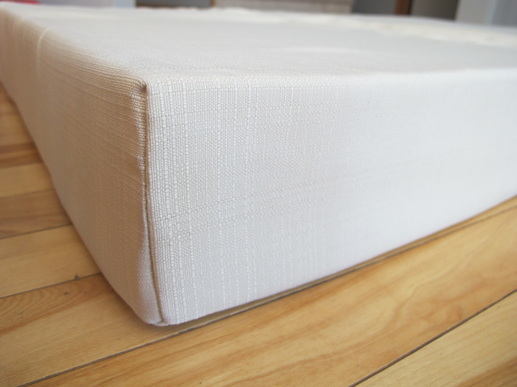
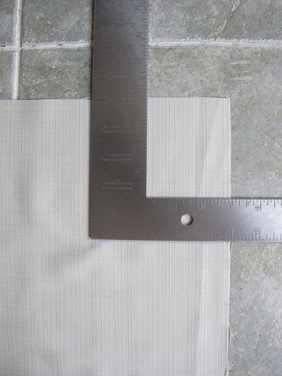
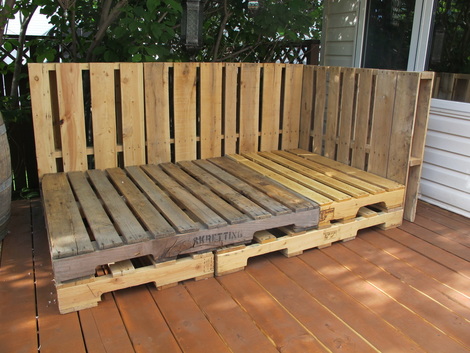 .Stain or paint, or don’t I left mine unpainted for a more rustic look, but paint or stain would be fun too Seat Cushion Up top measure and cut
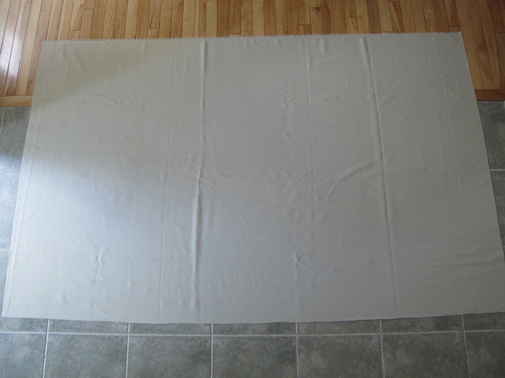 Bottom measure and cut
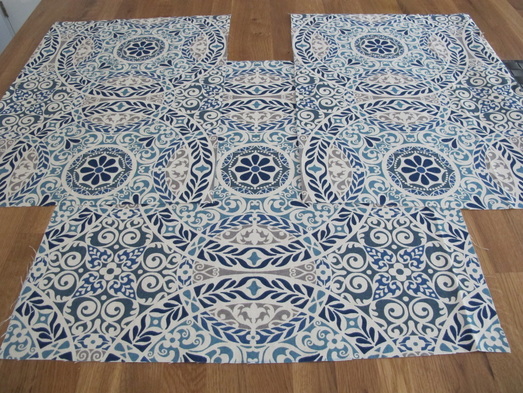
Up top
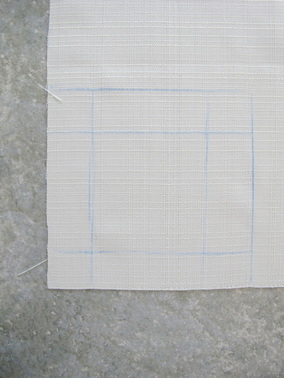
moving Guidelines
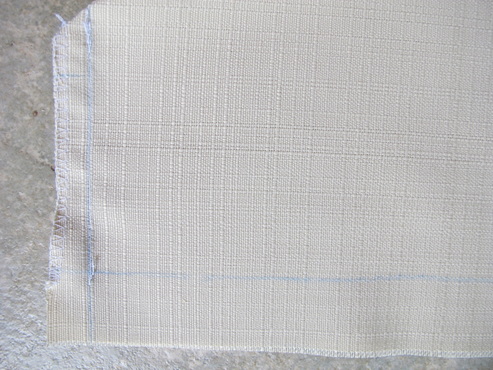
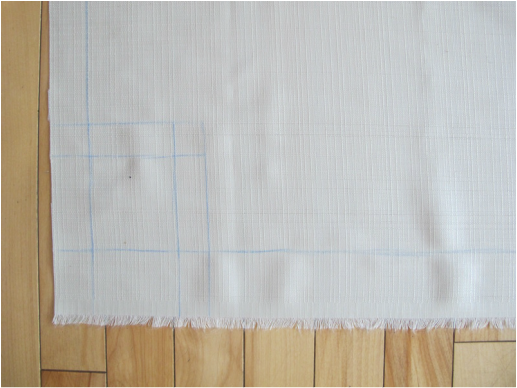 Corner to corner
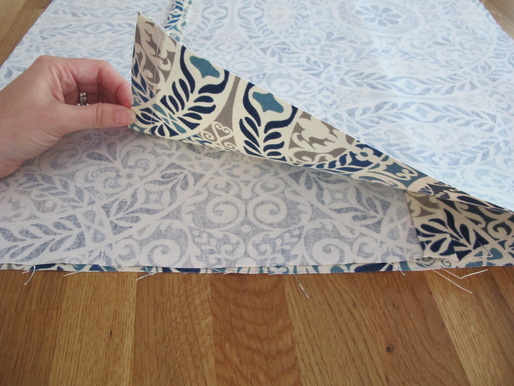
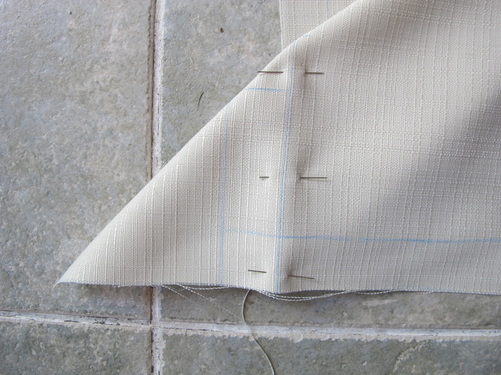 Sewn corners
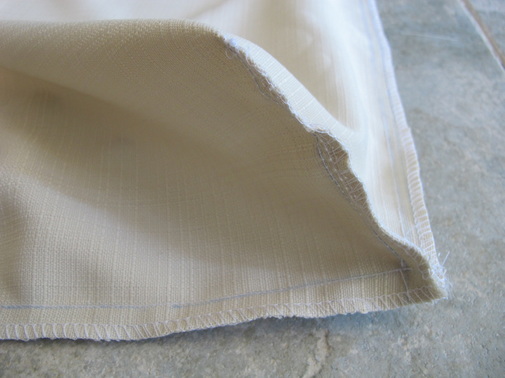
 Back to front
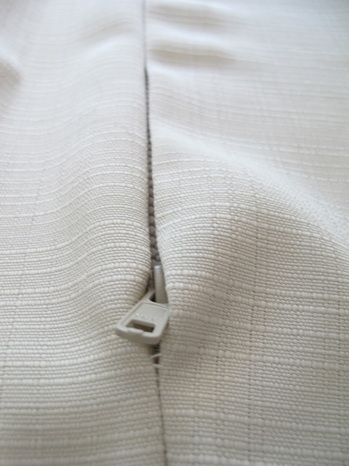
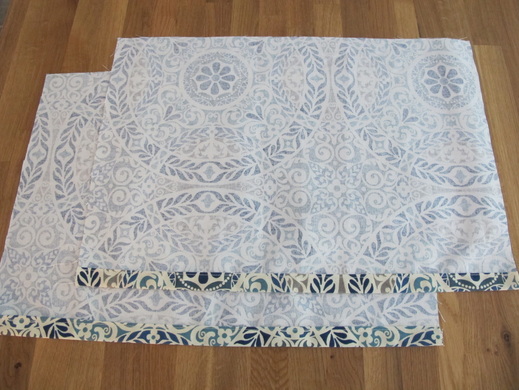
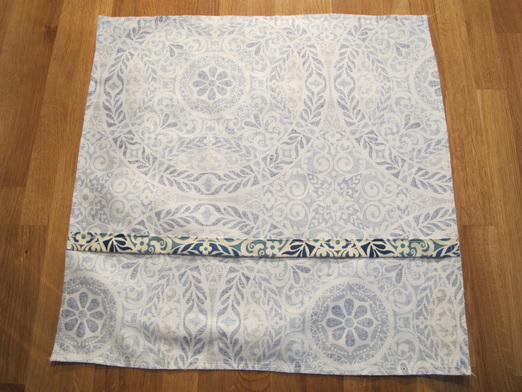
 Zip it
 Zip it good
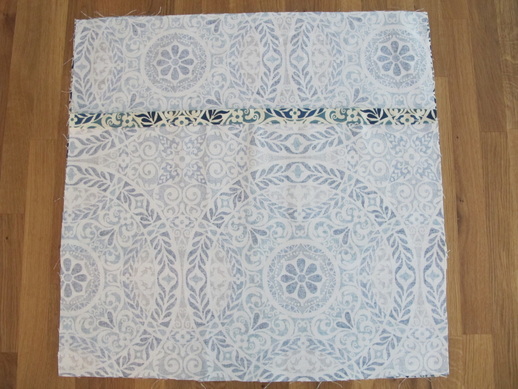
 Foam fun
I ordered the foam online at Outdoor Fabrics Canada. Stuff it
 For added weather protection I suggest using fabric Waterproofing Spray. I used Woods™ Waterproof Silicone Spray. Apply as directed. Pillows Measure and cut
 Backside
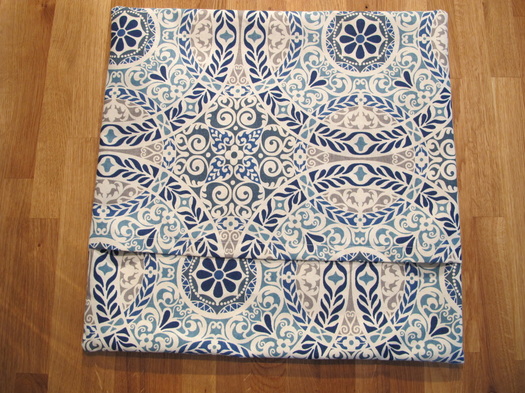
 Come Together
  Sew it up
 Flip it
 Formation
I ordered the pillow forms online at Pillow Forms Canada. Repeat, repeat, repeat!
0 Comments
Leave a Reply. |

Proudly powered by Weebly