Creatively Inclined
  • Home
  • Apparel
  • Décor
  • Abode
  • Details

Baby Bottoms & Toque

11/21/2015

0 Comments

 
Picture
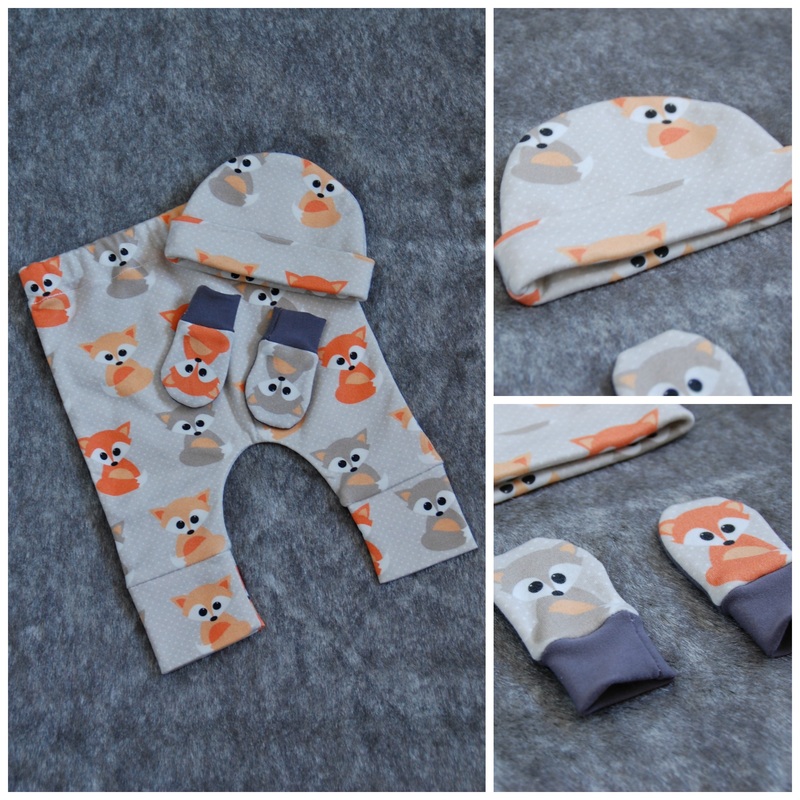
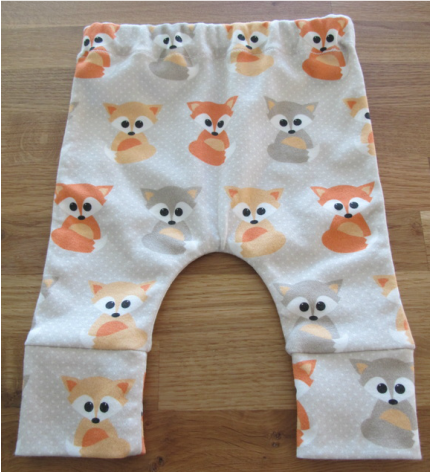
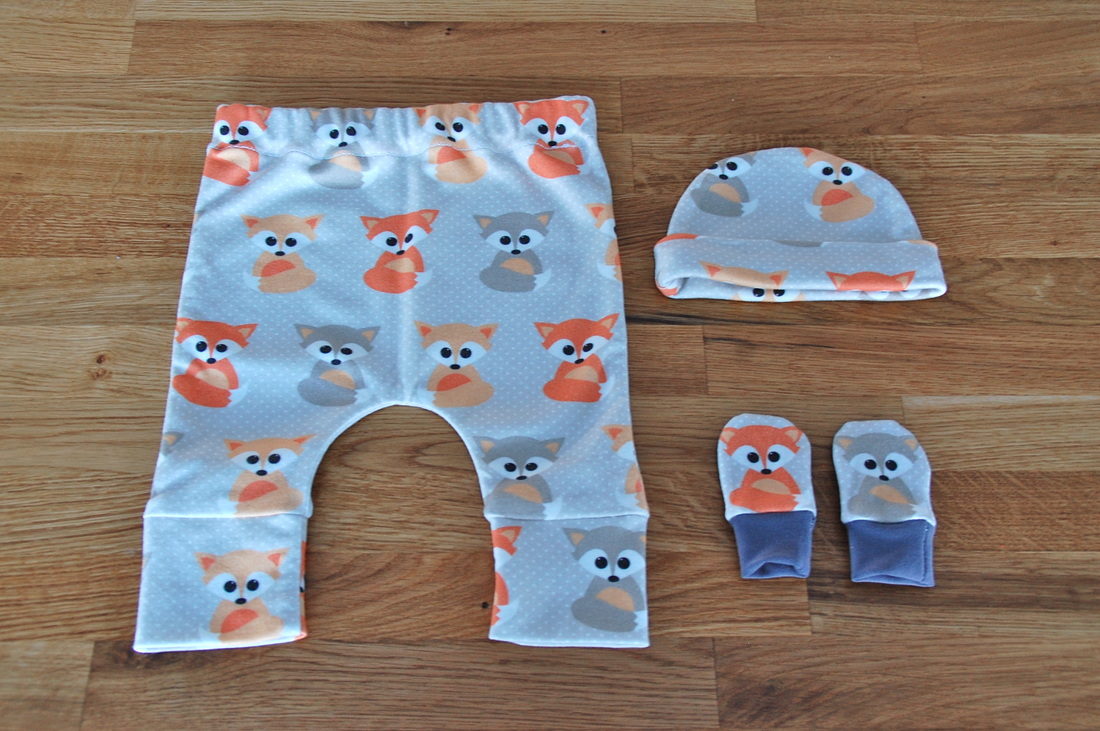
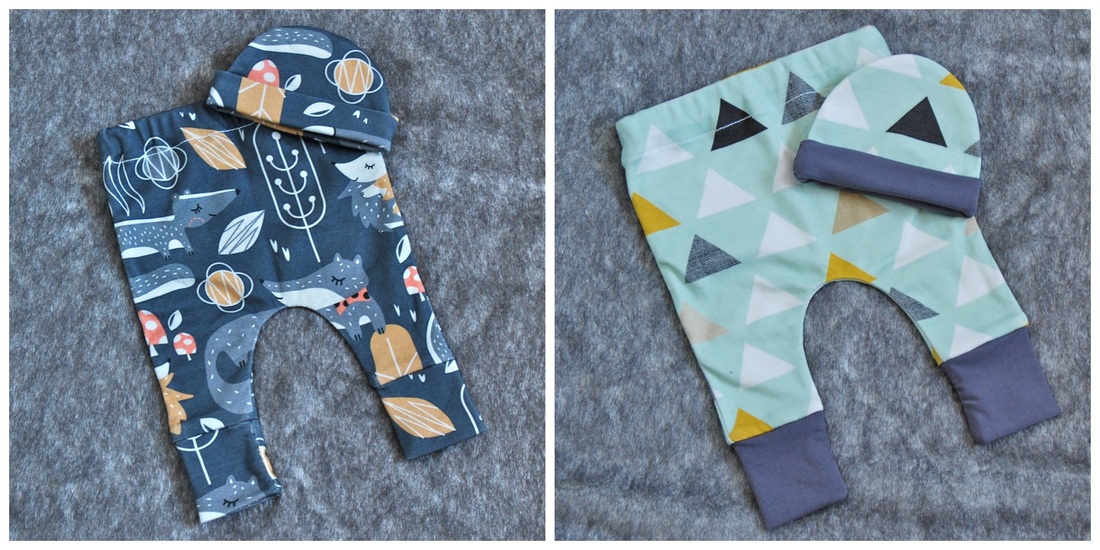
Our baby is not quite here yet, but I cannot resist miniature fashion! These bottom and toque sets are easy to make, comfy for baby (from what I hear) and more to the point, adorable. The best part is about these is that the pattern and print possibilities are endless!
 
Skill level: Beginner

Picture


Made from 100% organic cotton

Materials:
  • Cotton with some stretch (20% or more)
  • Thread
  • Elastic
 
How to Guide:

I do not have “ready-made patterns” for download, but these are pretty simple to create. You may have to play with the measurements a little bit to get the right length and width for your little one. You can use any light stock paper to draw your pattern, but stay away from card stock as it will make it difficult to pin to your fabric. I used loose-leaf paper and then taped pieces together to get the right sizes.
 
Make your pant pattern
  • Draw the outline of your pants – the basic pattern is two parallel lines, with an upside-down ‘U’ at the bottom.
  • For 0-2 months the measurements of your pattern should be about: 10-13 inches wide and 12-15 inches long, with the legs (the ‘U’ part of your pattern) accounting for about 3-5 inches of your length.
  • Do make sure that the width between the side of your pants and the ‘U’ is large enough for feet to easily slip through, 3-4 inches should do.
  • For the next size up (2-4 months) add an inch to the width and length of each of these measurements.
 
For example:
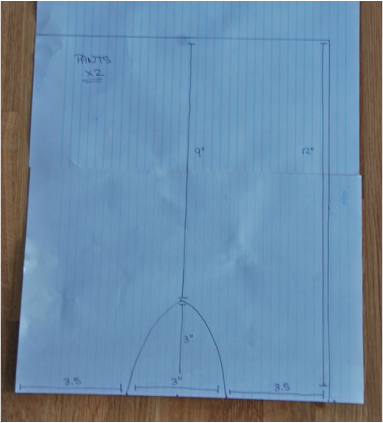
  • Draw a 10” width x 12” length rectangle
  • Setting up the upside-down ‘U’ – starting from one side of your rectangle, mark the measurements along the bottom: 3.5” and then from there another 3” and then another 3.5” (which should be the other side of your rectangle). This is based on your 10” width.
  • At the centre bottom, measure and mark 3” for the height for your upside-down ‘U’.
  • Draw in your upside-down ‘U’ using your measurement markers. 
Picture
Make your cuff pattern
  • The cuffs of your pants should be about 3.5-4 inches long and match the width of your leg holes, 3-4 inches – both of these measurements will then be doubled for the pattern.
  • Draw a rectangle using your doubled measurements.
 
For example:
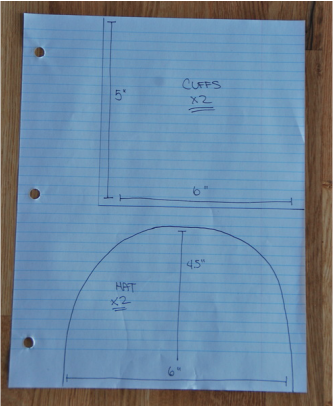
  • Based on the above, 2.5” long by 3.5” wide leg hole.
  • Draw a 5” x 6” rectangle. 

Make your hat pattern
  • Draw a half-circle.
  • For a newborn the measurements of your half-circle should be about: 6 inches wide and 4-5 inches high (at the highest point).
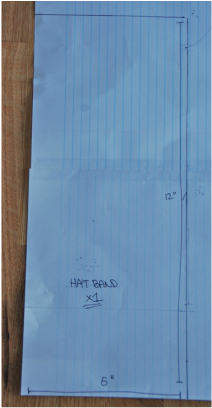
  • For the hat band pattern, draw a rectangle that is 12 inches long (double your half-circle width) by about 5 inches wide.
  • This will give you a hat band that is around 2 inches wide. 
  • For the next size up add 1-2 inches for each month to the width and length of each of these measurements.
Picture
Picture
Cut out your patterns
  • Since these are all symmetrical patterns, you can fold them down the centre and then cut around the edges – this will give you the most uniform patterns. 

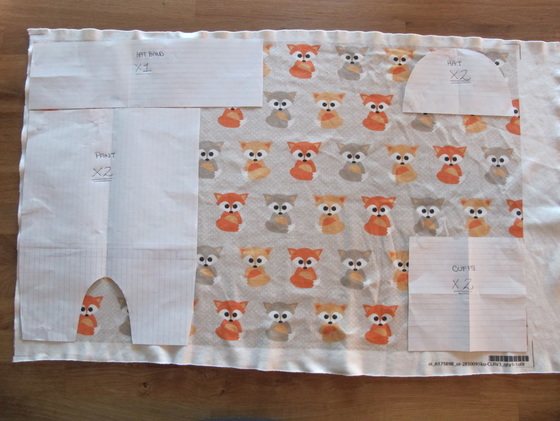
Count it and cut it out
  • Lay out your fabric on a hard smooth surface, right side up.
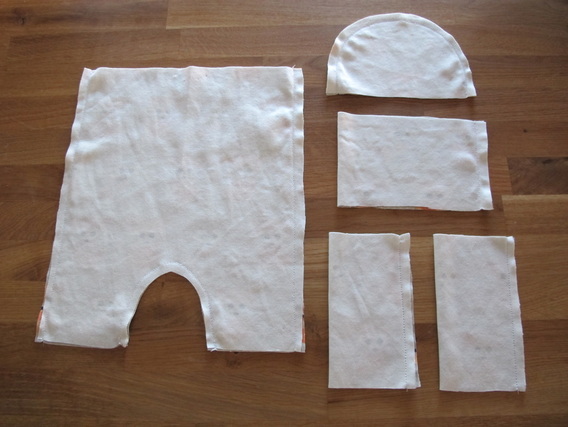
  • Pant pattern – pin and cut this out of your fabric 2X
  • Pant cuff pattern – pin and cut this out of your fabric 2X
  • Hat pattern – pin and cut this out of your fabric 2X
  • Hat band pattern – pin and cut this out of your fabric 1X
Picture
Start with the bottoms
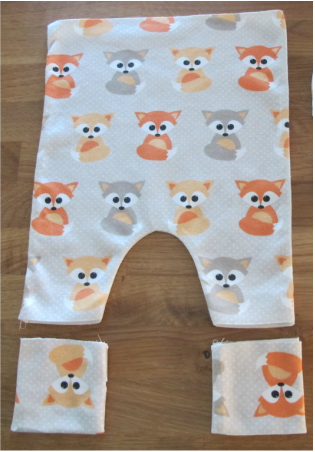
  • Place your two pant pieces right side together and line up the edges.
  • Pin in place.
  • Sew together along the sides and inside the upside-down ‘U’.
 
Close up the cuffs
  • Starting with one of your pant cuffs, fold in half, right sides together, along the length (longer side).
  • Pin in place.
  • Sew together along the edge.
  • Repeat for second cuff.
 
Hats on
  • Place your two hat pieces right side together and line up the edges.
  • Pin in place.
  • Sew together along the circular side.
 
Band together
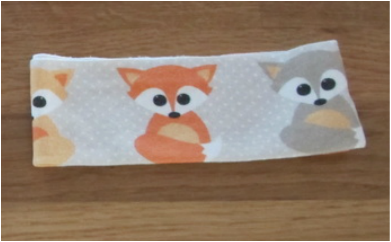
  • Fold the band in half, right sides together, along the width.
  • Pin in place.
  • Sew together along the edge.
Picture
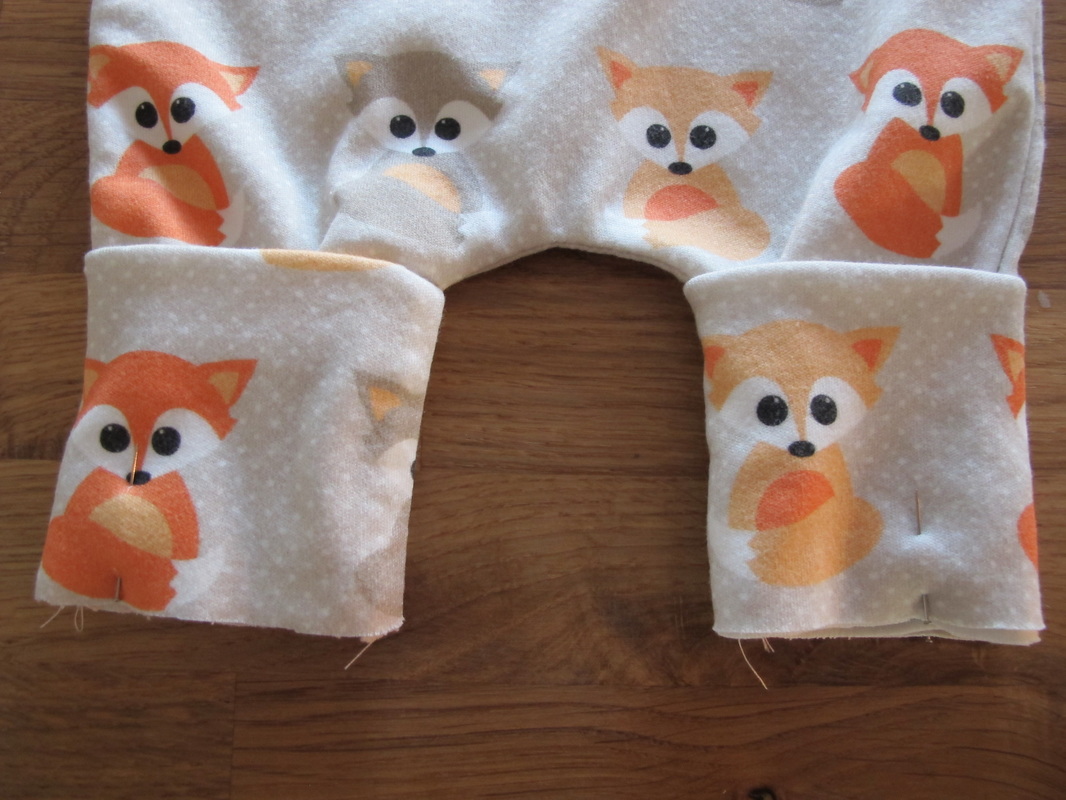
Rolled cuffs
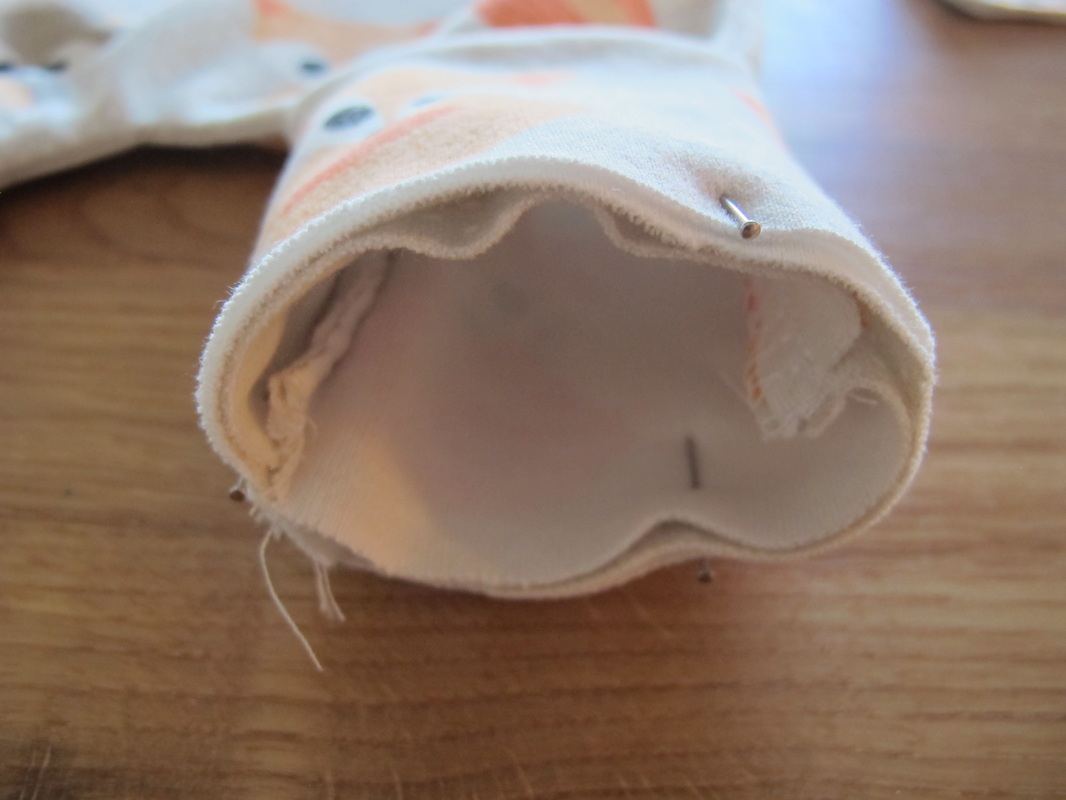
  • Starting with one of your pant cuffs, fold in half with the right side facing out.
  • You should now have a “closed circle” with a folded edge and a salvage edge.
  • Repeat for second cuff.
Picture
Pants to cuffs
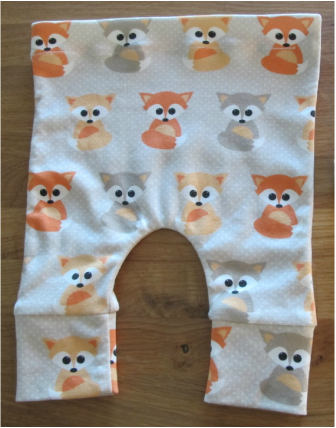
  • Turn your pants right side out and give them a press.
  • Line up the seam of your cuffs with the inseam of your pants and pull the cuff up the pant leg so that the salvage edges are in line.
  • Pin together.
  • Sew along the salvage edge.
  • Repeat for second cuff.
Picture
Picture
Waist band
  • Turn your pants inside out.
  • Fold over the waist by about 1.5 inches
  • Press down.
  • Unfold the waist.
  • Refold the waist by about 0.5 inches.
  • Press down, but be sure to keep the first press line.
  • Refold along the first press line and pin.
  • Sew the waist closed, but leave a small opening.
Picture
Elastic band
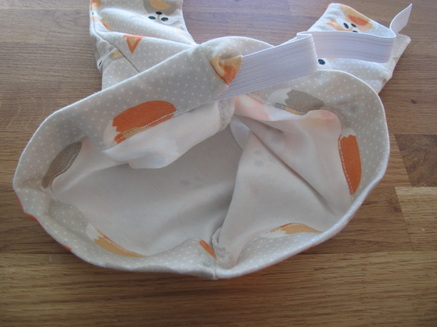
  • Cut your elastic to size.
  • For 0-2 months the length should be about 10-12 inches.
  • Feed the elastic through the opening in your waistband.
Picture
Close it up
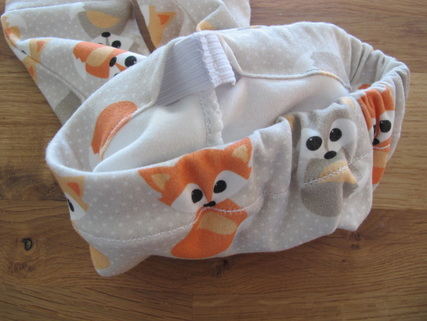
  • Sew your elastic band together at the edges.
  • Sew the opening on the pant waist closed.
Picture
Picture
Hat band
  • Fold in half along the length, with the right side facing out.
  • You should now have a “closed circle” with a folded edge and a salvage edge. 
Picture
Hat’s off
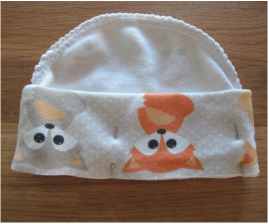
  • Keeping your hat inside out, line up the seam of your band with one of the seams of your hat, and pull the band up so that the salvage edges are in line.
  • Pin together.
  • Sew along the salvage edge.
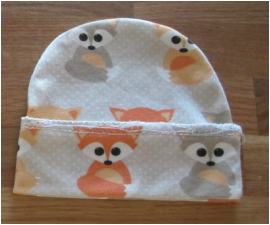
  • Turn your hat right side out and fold the band up over the salvage edge.
Picture
Picture
​Voila! Cute as ever baby bottoms and a matching toque! I also made scratch gloves with the leftover pieces, no instructions, but these are pretty simple – give it a try. 
Picture
Now copy, cut & sew, over and over, in different prints and multiple sizes!
Picture
0 Comments


Leave a Reply.

    Click "Read More" under each project for detailed steps. 

    Categories

    All
    Baby Accessories
    Baby Clothes
    Halloween Special
    Ladies Accessories
    Ladies Clothes
    Maternity Clothes
    Toddler Accessories
    Toddler Clothes

Proudly powered by Weebly
  • Home
  • Apparel
  • Décor
  • Abode
  • Details