Creatively Inclined
  • Home
  • Apparel
  • Décor
  • Abode
  • Details

Chinook Maxi

2/24/2016

0 Comments

 
Picture
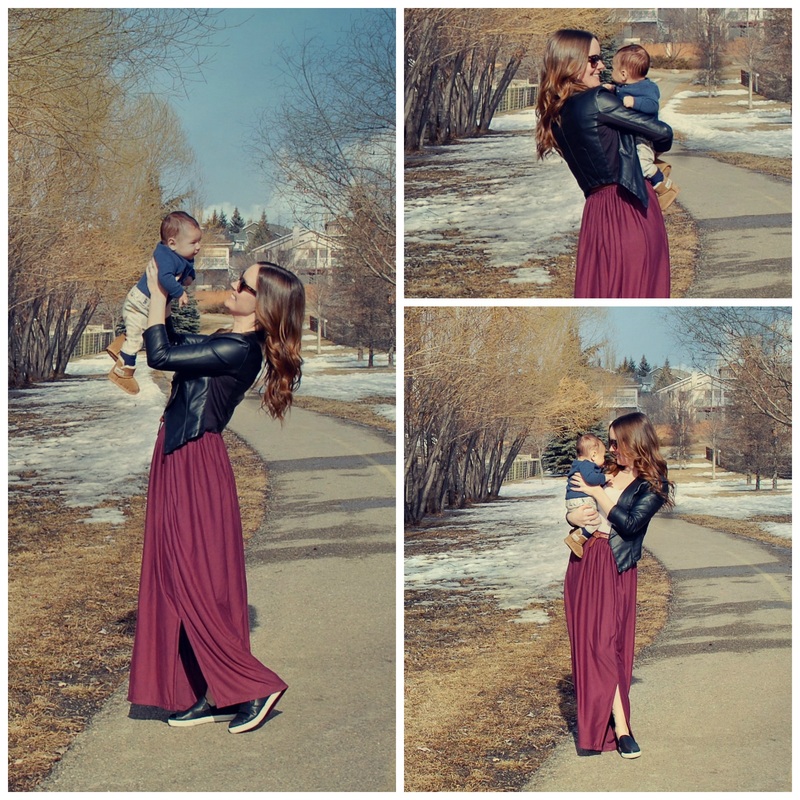
 Here in Southern Alberta we are know for our Chinooks. It’s our reprieve from winter. The sun comes out, the snow melts and it feels like Spring – in the middle of February. This skirt is perfect for those beautiful blue days!

Skill Level: Beginner sewer


Notions: 
  • Light weight fabric
  • Elastic
  • Thread 

How to Guide:

Get out a pad of paper to keep track of your measurements! 
  • Waist: Measure your natural waist. 
  • Adjusted Waist: your waist measurement multiplied by at least 2 (the higher the multiplier the fuller the skirt).  
  • Length: Measure the length between your natural waist to the floor (or to whatever length you desire). 
  • Adjusted Length: your Length measurement plus 2 inches.  
  • Slit Length: Measure the length between your natural waist to your knee (or to wherever you want your slits to begin). 
 
Cut it out 
  • Lay out your fabric on a hard smooth surface, right side up. 
  • Measure and cut a rectangle using your adjusted waist by adjusted length. 
  • You should now have a rectangle that measures your adjusted waist by adjusted length
​
Fold it up
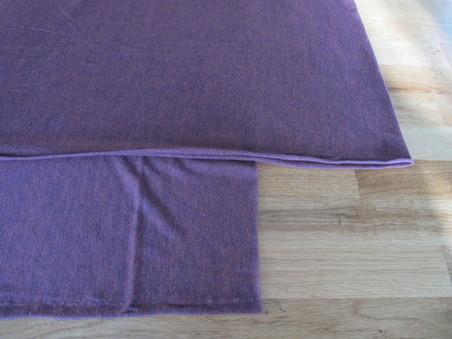
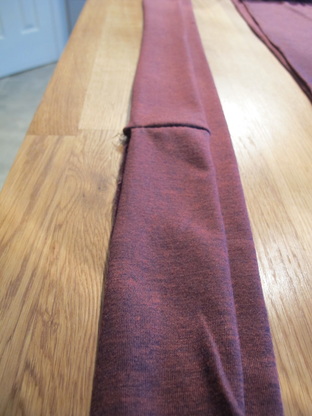
  • Fold your rectangle lengthwise into thirds.
  • Cut along the length of one of the thirds.
  • You should now have 2 rectangles, one that is double the width of the other.
Picture
Side slits
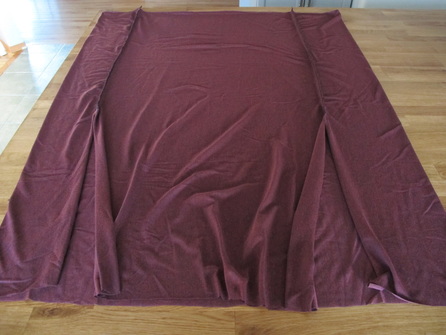
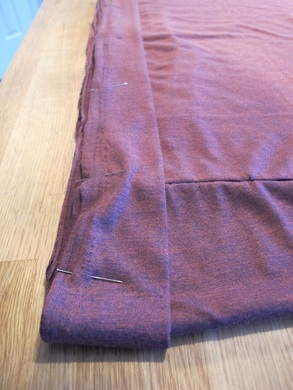
  • On a hard smooth surface, lay the two pieces right sides together.  
  • Pin along each side from the top edge to your desired slit length.
  • Sew the sides closed, leaving the bottom open for your slits.
  • Finish the sides with a zig-zag or serge stitch. 
Picture
Waist no space 
For this skirt I added a 2 inch thick waist band, but you can go wider or thinner. 
  • Waistband width: using your desired waistband thickness (say 2 inches) double this (4 inches) and add 1 inch for the seam (total of 5 inches). 
  • Waistband length: your adjusted waist measurement. 
  • Lay out your fabric on a hard smooth surface, wrong side up.
  • Measure and cut a rectangle using your waistband width by waistband length. 
  • Fold the length of the rectangle in half, right side out, and press! 
Picture
Waistband 
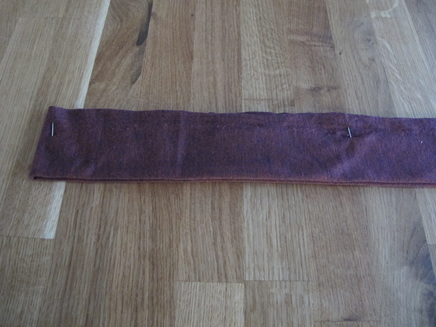
  • Lay your unfolded waistband out on a hard smooth surface right side up. 
  • Fold the width of the rectangle in half, wrong side out, and pin the end. 
  • Sew the end shut.  
  • Fold the waistband back along the press side so that the right side faces out. 
Picture
Come together 
  • Lay your skirt out on a hard smooth surface right side out. 
  • With the salvage edge of your waistband facing the same way as the top of your skirt, slide the waistband over the top (right sides together). 
  • Line the seam of your waistband up with one of your side seams and pin.  
  • Staring where your seams are aligned, pin your waistband along the edge of the waistline and baste together. Seam should run 1 inch from the edge.  
  • Be sure to leave an opening for the elastic band.
Picture
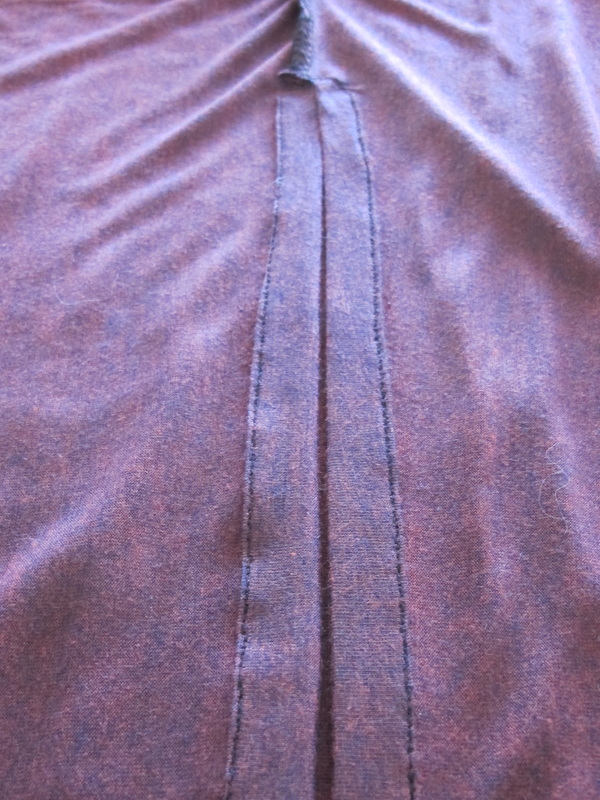
Double slits
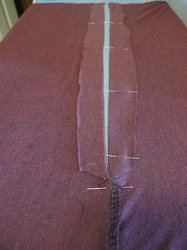
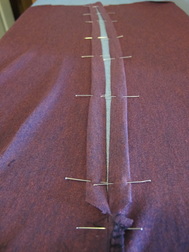
  • Fold open your slit, pin along the edge, and press.
  • Open the pressed line and fold the salvage edge in. You may need to trim a little off the end to get a clean, ½ inch hem. Pin closed and press.  
  • Sew the edges of your slit closed. 
  • Repeat for second slit.
Picture
Picture
Picture
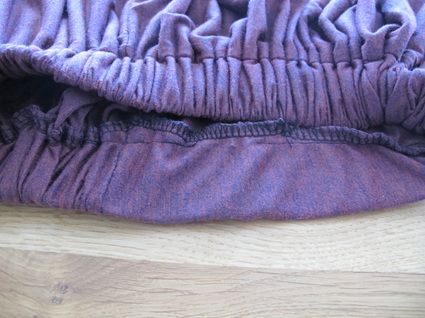
Gather Waist
  • Cut your elastic to size.
  • Feed the elastic through the opening in your waistband.
  • Sew your elastic band together at the edges.
  • Finish the edge of the inner waistband with a zig-zag or serge stitch.
Picture
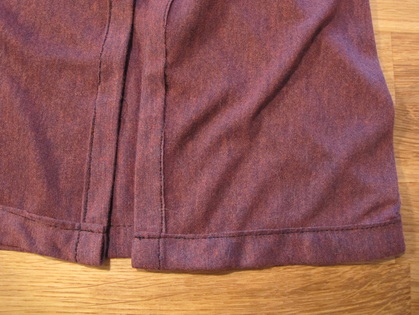
Finishing touches 
  • Try on your skirt and mark or pin where you want the hem length.
  • Make sure that the hem length matches up where your slits open.
  • Fold and pin along the edge using your hem marker, and press 
  • Open the hem line and fold the salvage edge into the hem line. You may need to trim a little off the end to get a clean, ½ inch hem. Pin closed and press.  
  • Sew your hem closed. 
Picture
Throw on with your winter boots or spring flats along with a sweater or light jacket. Go out and enjoy the sunshine!
0 Comments


Leave a Reply.

    Click "Read More" under each project for detailed steps. 

    Categories

    All
    Baby Accessories
    Baby Clothes
    Halloween Special
    Ladies Accessories
    Ladies Clothes
    Maternity Clothes
    Toddler Accessories
    Toddler Clothes

Proudly powered by Weebly
  • Home
  • Apparel
  • Décor
  • Abode
  • Details