Creatively Inclined
  • Home
  • Apparel
  • Décor
  • Abode
  • Details

Dapper Onesie

8/5/2016

0 Comments

 
Picture
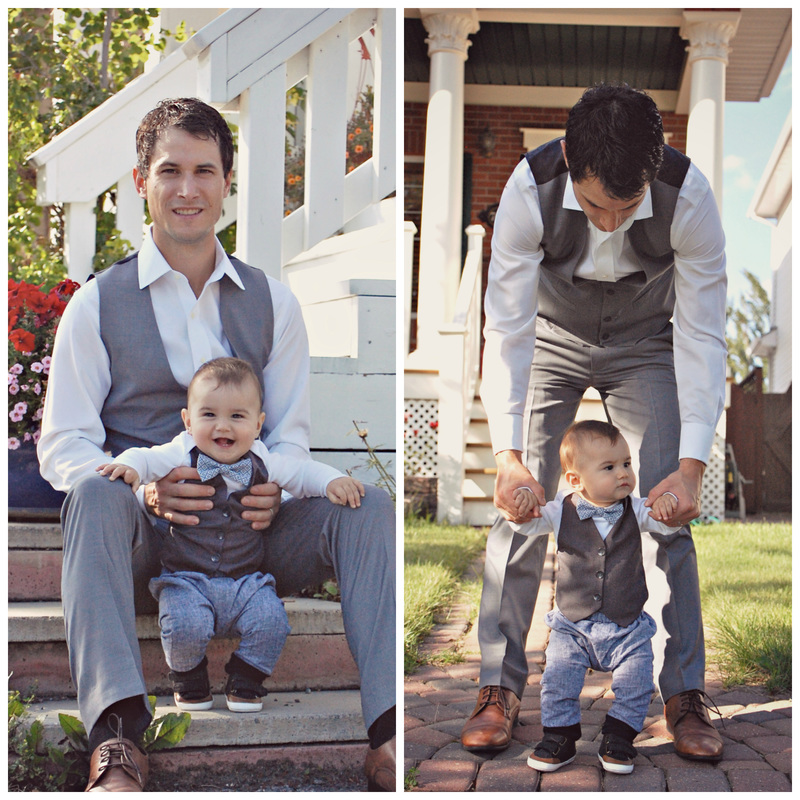
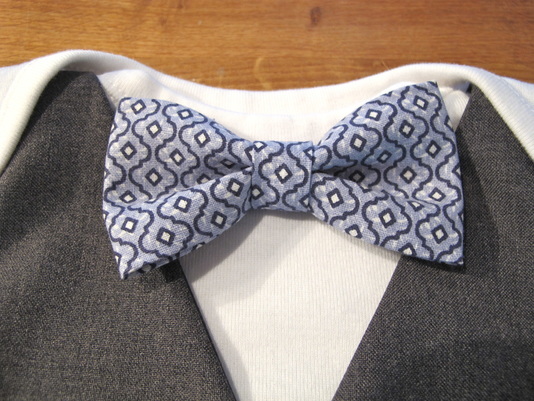
It’s mid-wedding season and we have to make sure all family members, including the littlest ones, are looking their best. Besides who can resist a baby in a bow tie? This Dapper Onesie is cuteness overload!​
Materials:
  • Short or long sleeved onesie
  • Suiting material for vest
  • Lining material for vest
  • Material with some structure for bow tie
  • Thread
  • Buttons

How to Guide:
 
I do not have “ready-made patterns” for download, but these are pretty simple to create. You may have to play with the measurements a little bit to get the right length and width for your little one. You can use any light stock paper to draw your pattern, but stay away from card stock as it will make it difficult to pin to your fabric.
 
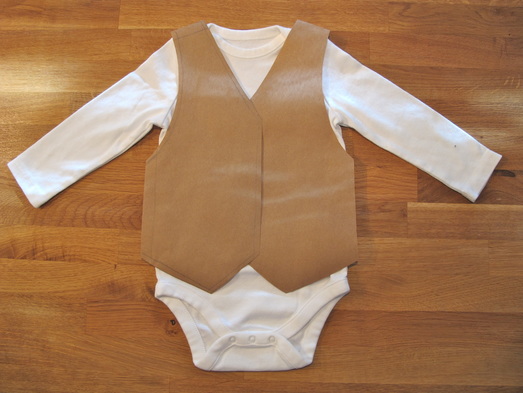
Make your vest pattern
  • Trace the outline of your onesie – shoulder and sides are key.
  • Mark a centre line.
  • Draw one side of your vest as it would look once complete. Remember that the vest should overlap where the buttons go.
  • Add 1.5” to the top shoulder and sides, and 0.5" to 1” to all the other edges, .
  • Cut out 2 of the same, and place it on your onesie.
  • Make adjustments as needed.

*Tip: You only need to keep one side of the vest for your pattern. I just find it easier to visualize with 2 sides of the vest when making the pattern. 
Picture
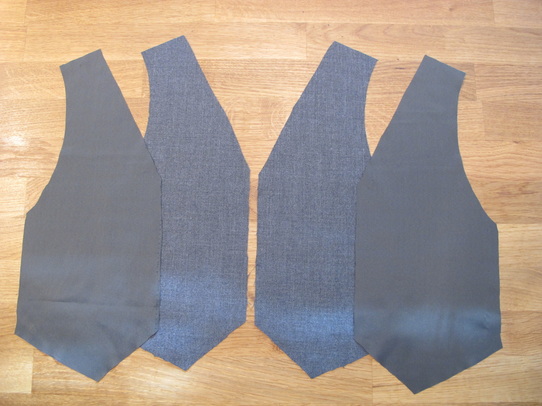
Cut it out
  • Lay out your suiting and lining fabric on a hard smooth surface, right side up.
  • Fold suiting material right sides together.
  • Place and pin pattern, cut along edges.
  • You should now have 2 opposite sides for the vest front.
  • Fold lining material right sides together.
  • Place and pin pattern, cut along edges.
  • You should now have 2 opposite sides for the vest back.
Picture
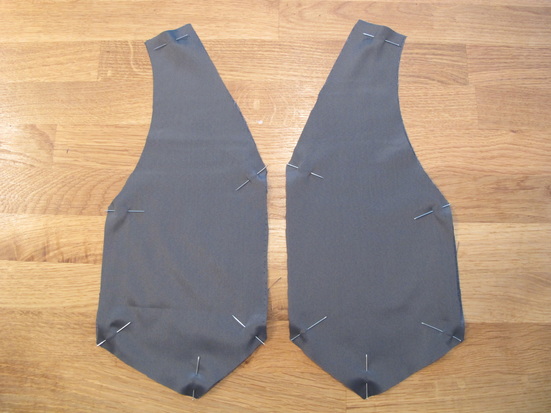
InVested
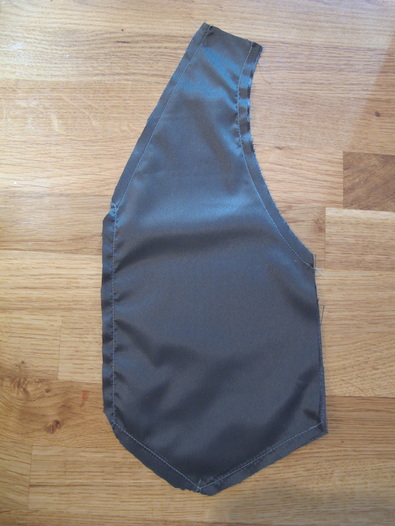
  • Place your front and back vest pieces right side together and line up the edges.
  • Pin in place.
  • Repeat for other side of vest.
Picture
Sew it up
  • Sew together along the edges, leaving the shoulder and sides open.
  • Clip the corners off.
  • Repeat for other side of vest.
Picture
Flip it
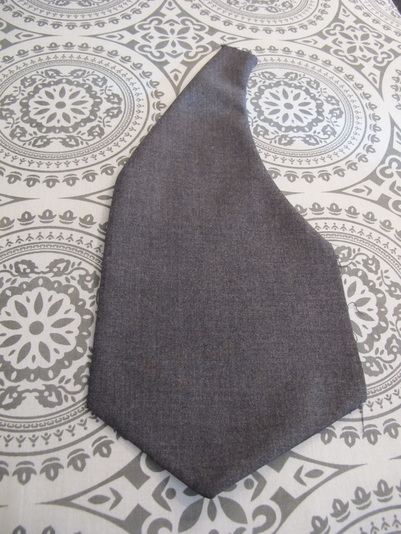
  • Turn your vest right side out and press.
  • Repeat for other side of vest.
Picture
Fold it
  • Fold in the shoulder edge and side edge, pin closed and press.
  • Repeat for other side of vest.
Picture
Sew close
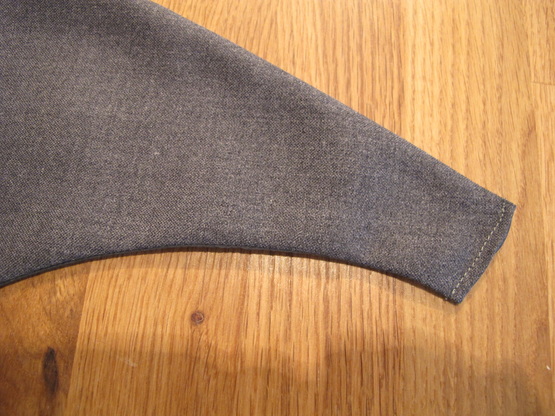
  • Sew the shoulder closed as close to the edge as possible.
  • Repeat for other side of vest.
Picture
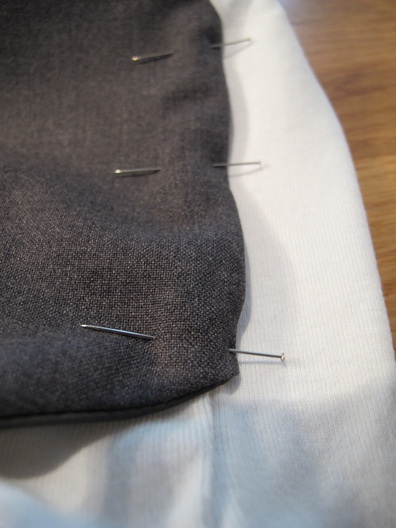
Places please
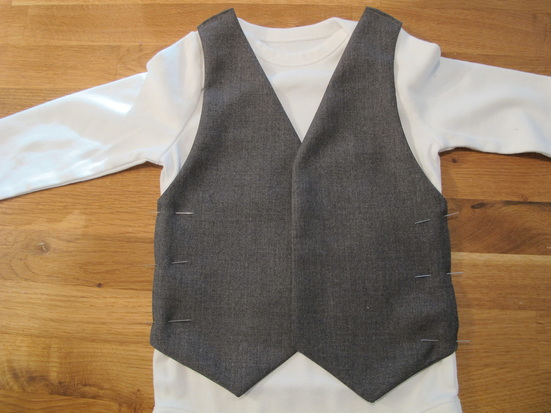
  • Place your vest on your onesie.
  • Line up the shoulders and sides.
  • Pin the sides iof the vest in place along the onesie seamline.
  • Make sure you have not pinned the front and back of the onesie to the vest.
Picture
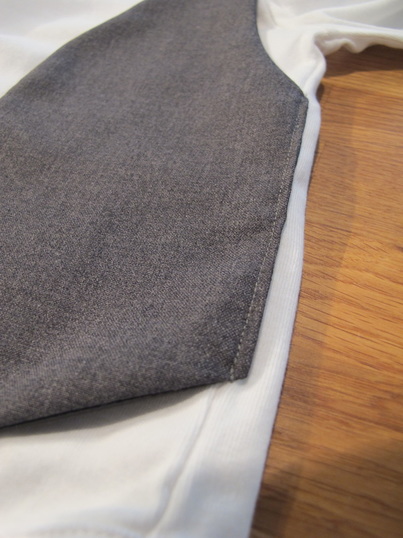
Sew the seam
  • Sew the vest side to the onesie, as close to the edge as possible, along the side seam.
  • Repeat for other side of vest.
Picture
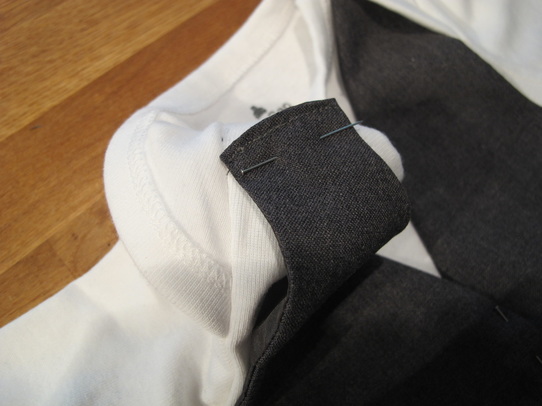
Shoulder to shoulder
  • Fold back the top shoulder fold on the onesie.
  • Pin the vest shoulder edge to the onesie.
  • Make sure the vest edge is hidden when you fold back the top fold on the onesie.
  • Repeat for other side of vest.
Picture
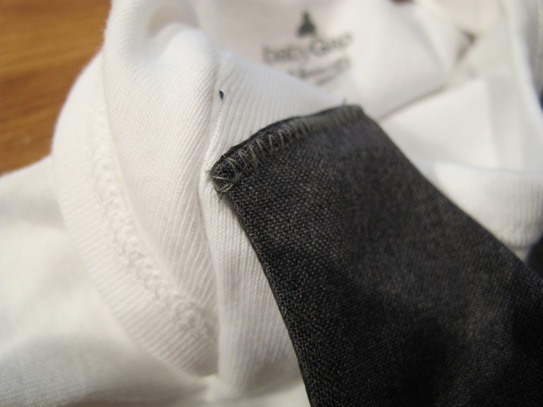
Stitch it
  • Do a zig zag stitch along the edge of the vest shoulder to secure it to the onesie.
  • Repeat for other side of vest.
Picture
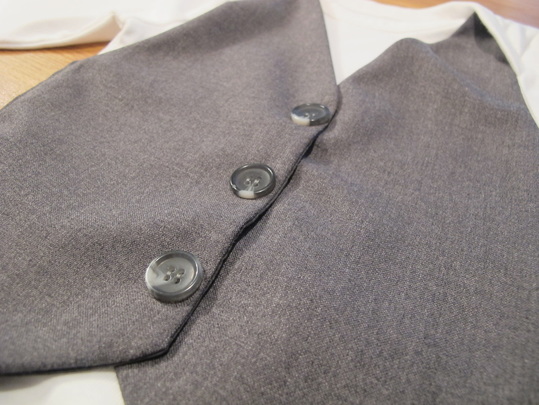
Button up
  • Pin the front of the vest closed.
  • Place buttons.
  • Sew buttons in place so that the front of the vest is closed.
Picture
Bow tie basics
  • Cut a 6” by 4” rectangle.

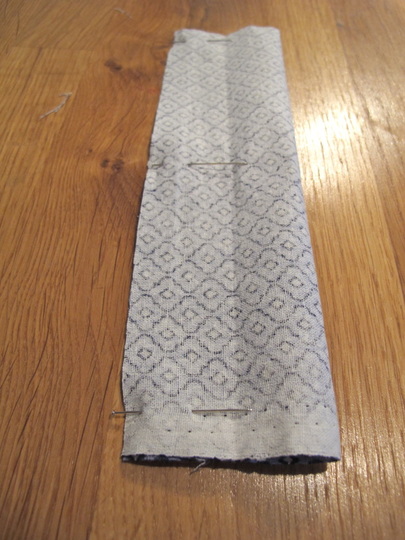
 Fold it
  • Fold lengthwise in half and pin.
  • Sew along the length. 
Picture
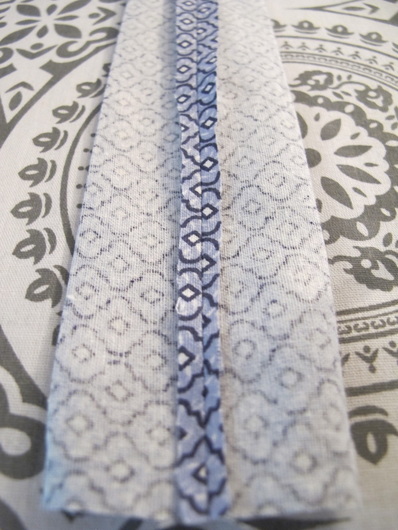
Press it
  • Fold open the seam line and press. 
Picture
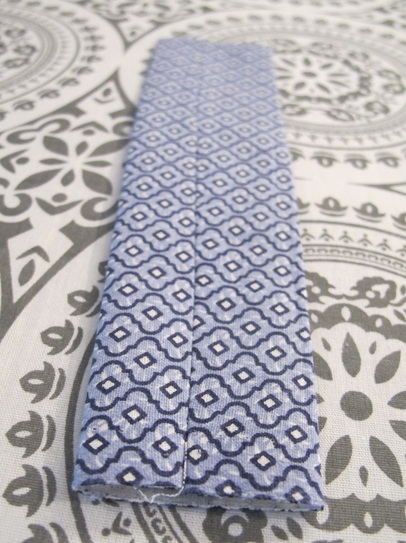
Flip it
  • Flip it right side out.
  • Place the seam line in the centre and press. 
Picture
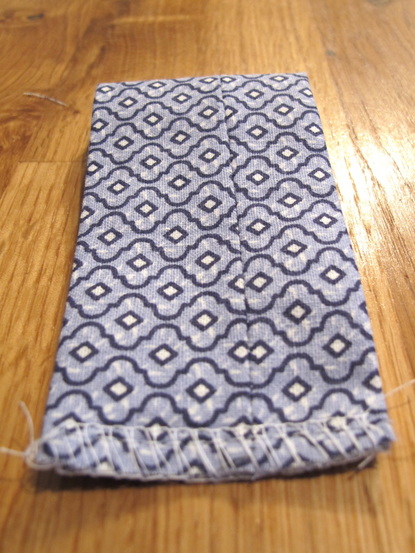
Fold it again
  • Fold right sides together, with the seam facing out.
  • Sew along the width edge, 
Picture
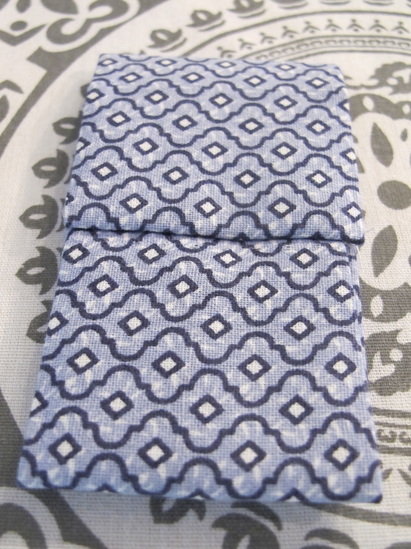
Flip it again
  • Turn the bow tie right side out, place the seam line in the centre back and press. 
Picture
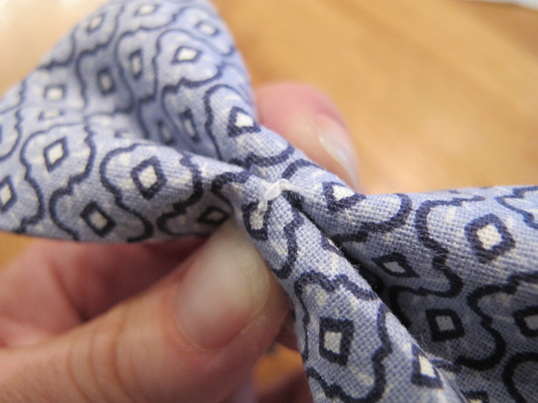
Pinch me!​
  • Pinch the centre and make a few stitches to keep the shape. 
Picture
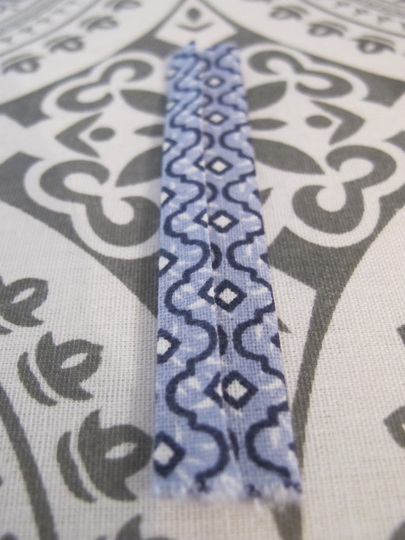
Knot it
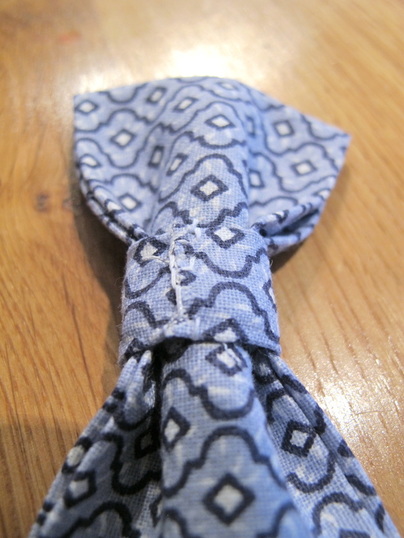
  • Cut a 3” by 2” rectangle.

​Fold in three
  • Place the piece right side down and fold the sides inward along the length.
  • Press firmly. 
Picture
Add the knot
  • Wrap the knot around the centre.
  • Stich the back of the knot closed.
Picture
Bow tie placement
  • Place your bow tie on your onesie.
  • Stitch in place. 
Picture
Dress baby up and take them out!
0 Comments


Leave a Reply.

    Click "Read More" under each project for detailed steps. 

    Categories

    All
    Baby Accessories
    Baby Clothes
    Halloween Special
    Ladies Accessories
    Ladies Clothes
    Maternity Clothes
    Toddler Accessories
    Toddler Clothes

Proudly powered by Weebly
  • Home
  • Apparel
  • Décor
  • Abode
  • Details