 Desert Rose ya lili ah ya leel! Sting lyrics aside, this skirt is perfect for the desert heat! It is very versatile and can be worn in so many ways. Sun coverup by day, dressed up for a dinner on the patio by night. 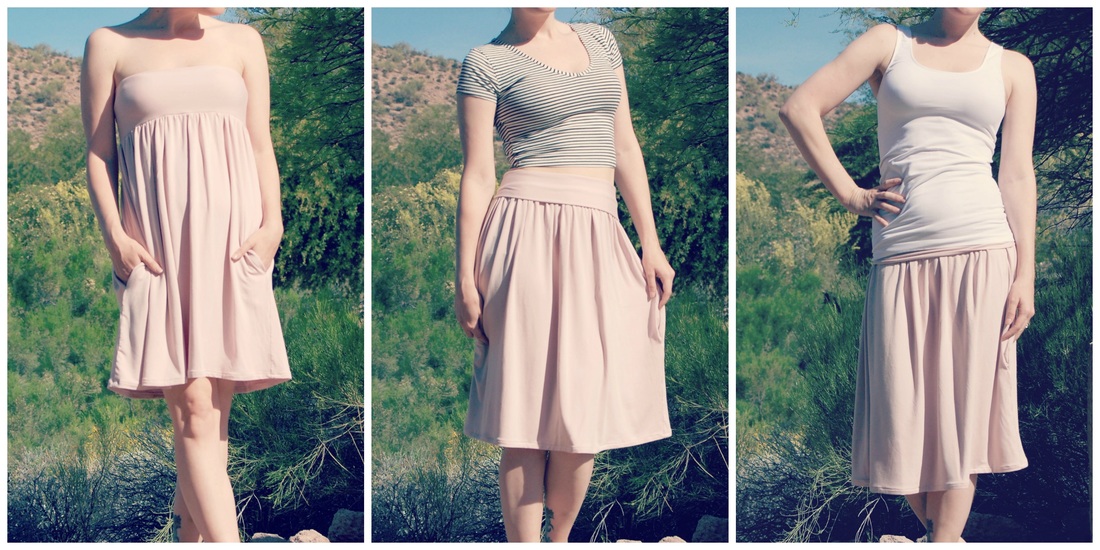 Skill Level: Intermediate sewer.  Made from sustainable bamboo fabric Notions:
How to Guide: Get out a pad of paper to keep track of your measurements!
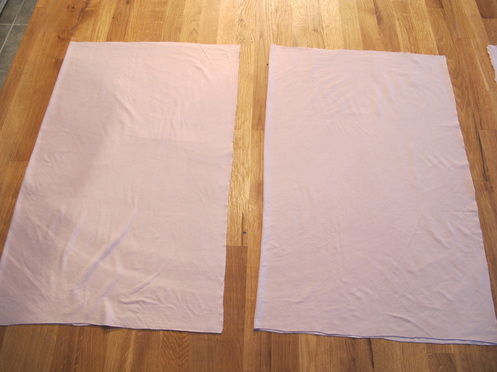
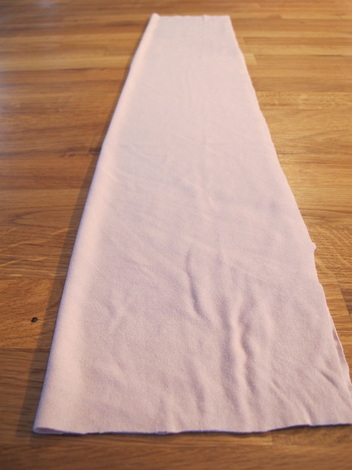
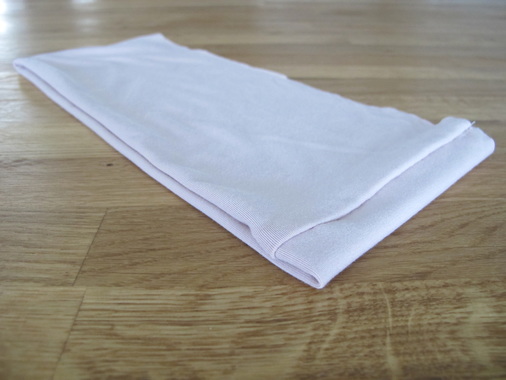
Cut it out
Make it 2
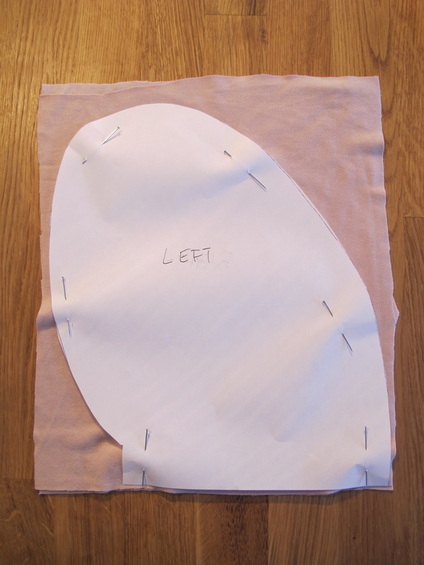
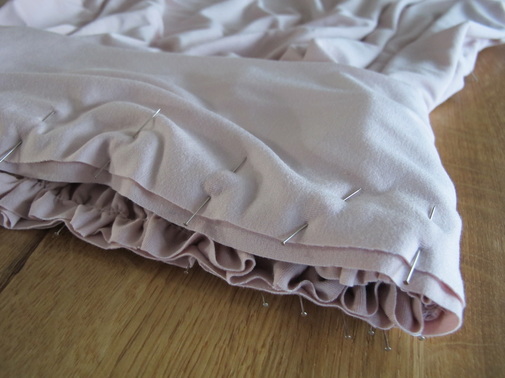
 Pin in place
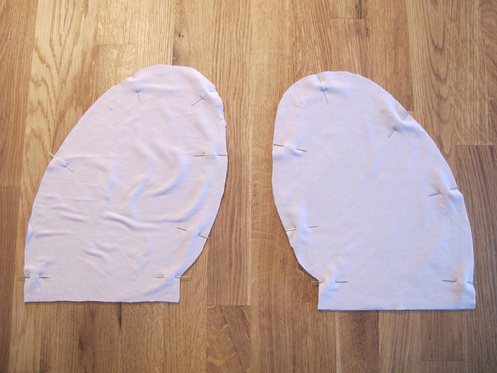
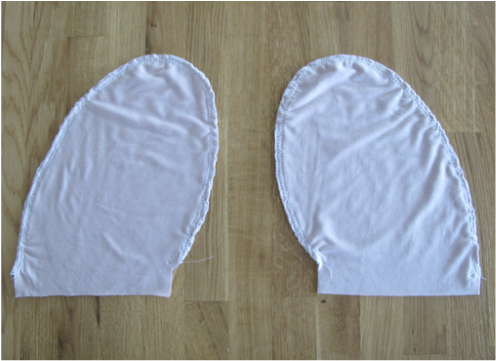
Pocket Template
Left pocket
 Right pocket
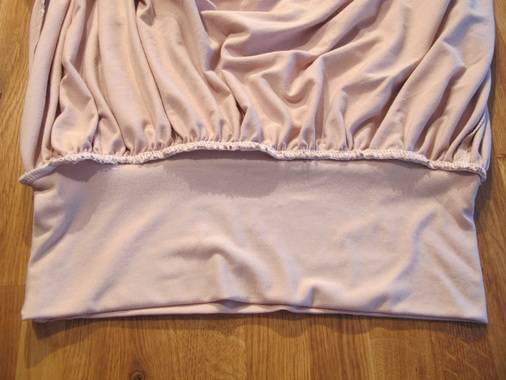
 Waist no space I like a 5 inch thick waist band, but you can go wider or thinner.
 Sew up your Pockets
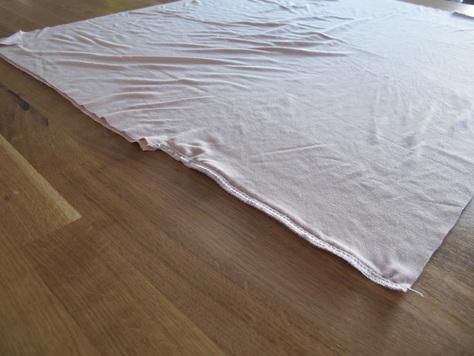
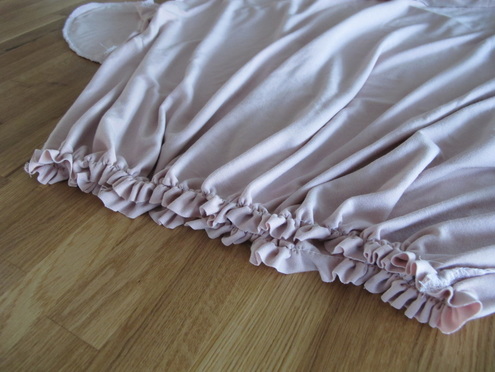
 Setting up the sidelines
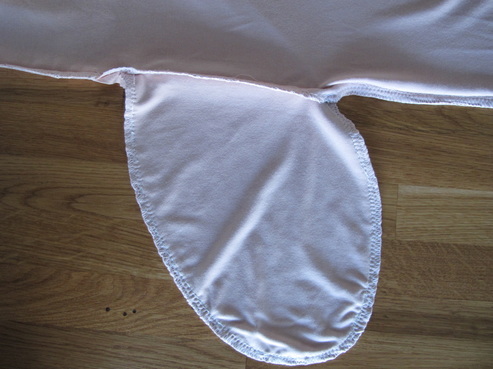
 Placing your pockets
 Pockets, pockets, pockets
 Come together
 Waistband
 Come together
  Finishing touches
0 Comments
Leave a Reply. |

Proudly powered by Weebly