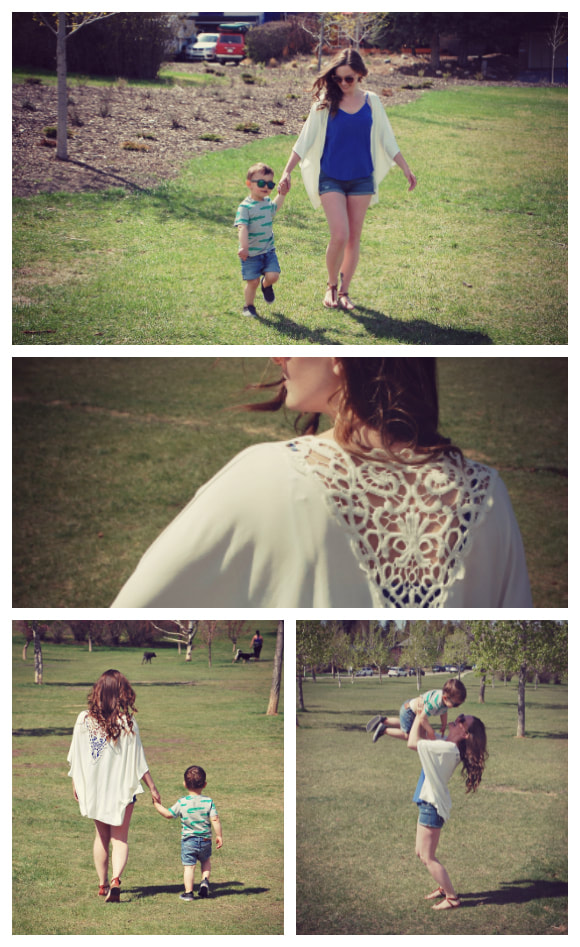
 I made this kimono for all the festivals I attend; and by festivals I mean the kiddie pool in our backyard (#momlife). This is a great project to put your own personal spin on – you can add fringe, embellish the edges, do it in lace, or a silky charmeuse, so many options! Skill Level: Intermediate sewer.  Made from sustainable bamboo fabric Notions:
I used a bamboo rayon jersey knit by Telio - get it here. It is a medium weight fabric with 40% stretch and a beautiful drape. How to Guide: Pattern
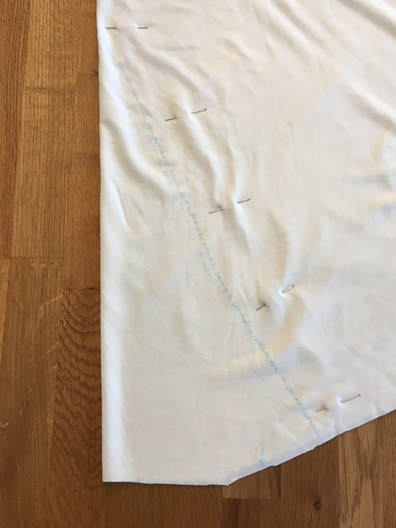
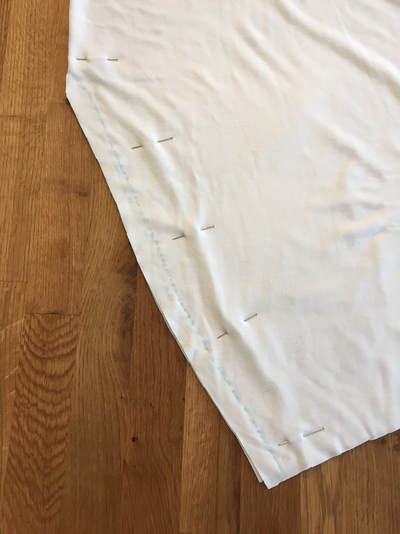
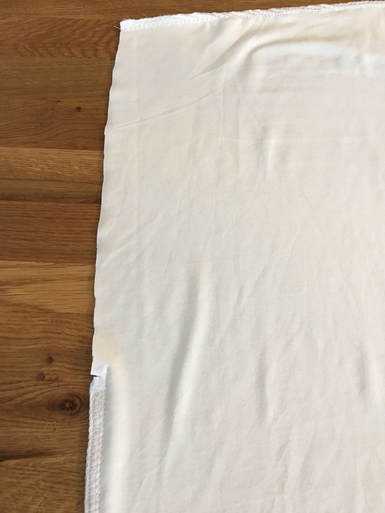
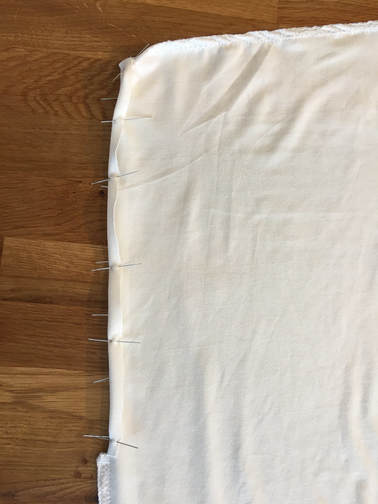
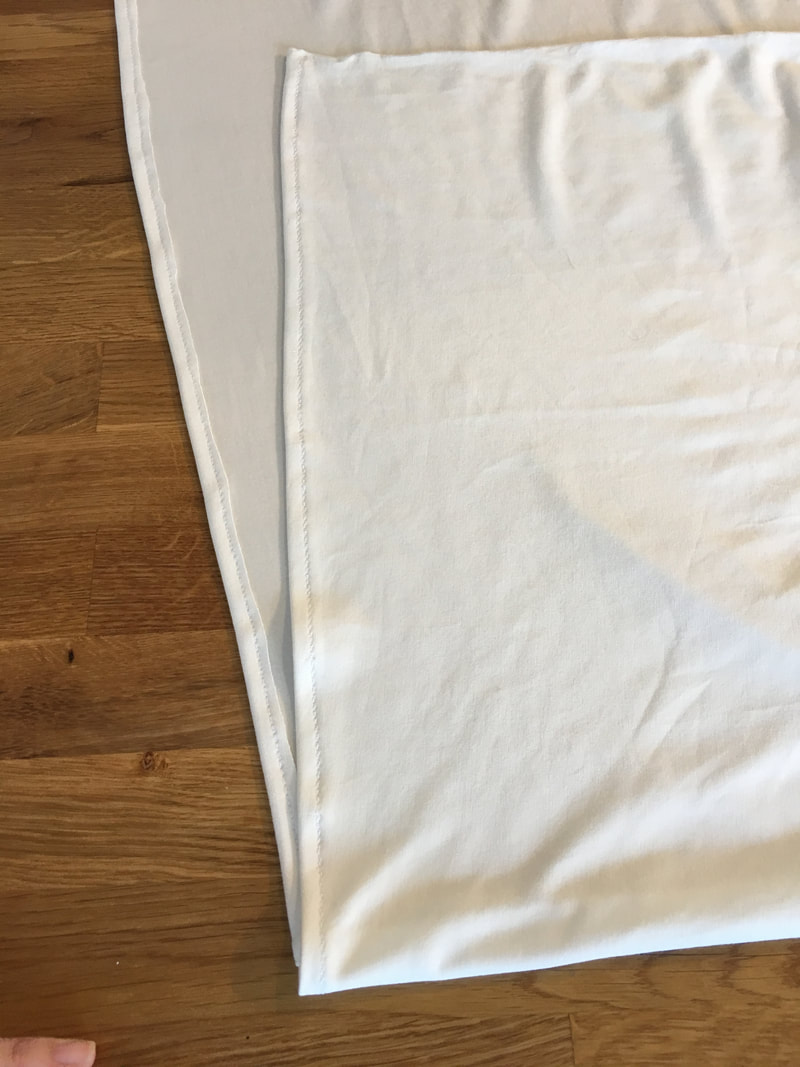
 *Tip: Your pattern should line up like the below image. 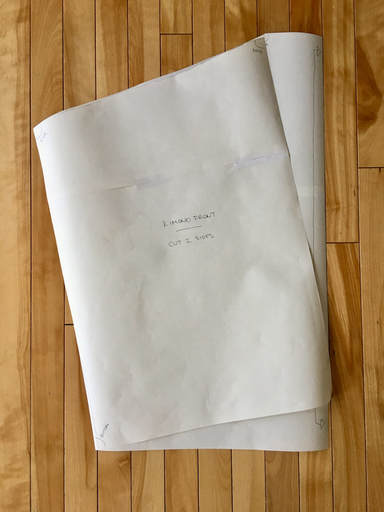 Cut it out
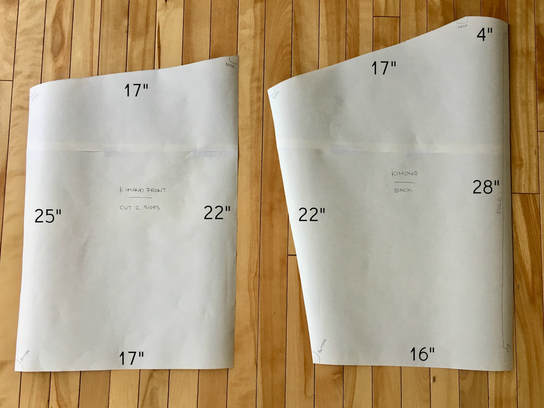
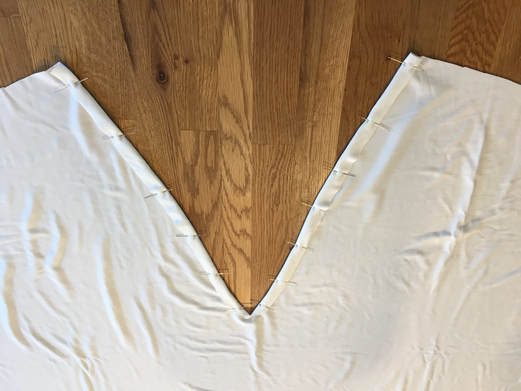
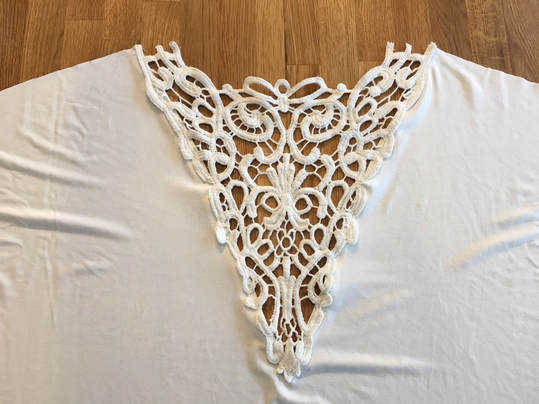
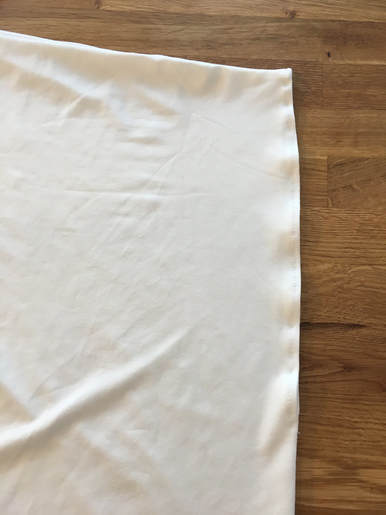
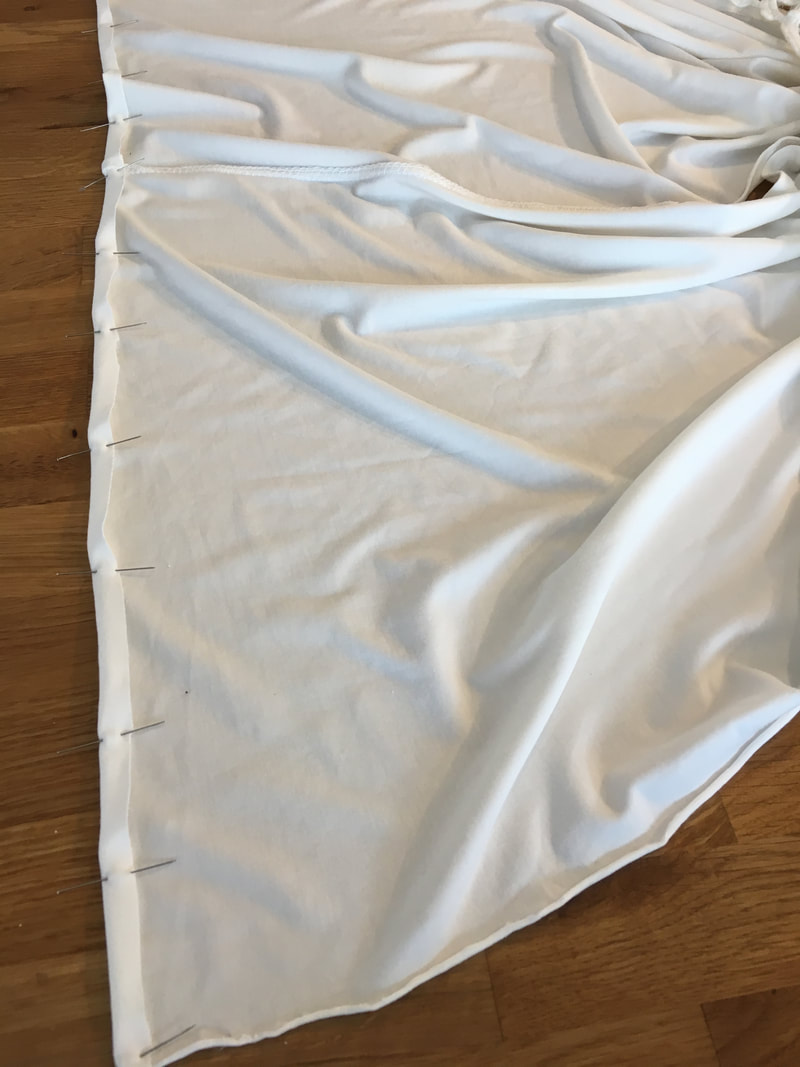
Note: I did not do a rolled hem, only folded. My fabric does not fray and is medium weight so I wanted the edges to be as light as possible. However, you can still do a fully finished hem with this pattern. These next steps are if you are adding a cut-out appliqué – if you are not, you can skip this step. Appliqué
  Appliqué Continued
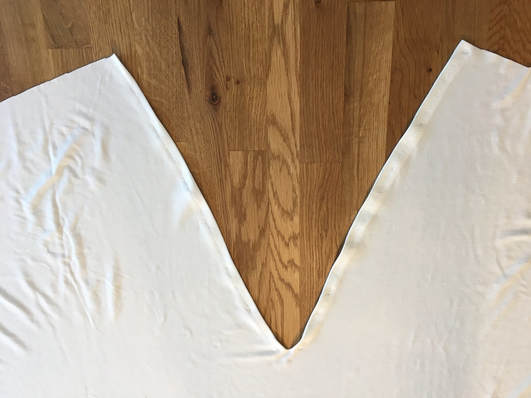
 Appliqué Continued
 Appliqué Continued
 Appliqué Continued
 Appliqué Continued
 Appliqué Continued
 Brush your shoulders off
 Shrug your shoulders
 Side step
 Side slide
 Suns out
 Guns out
 Bottoms up
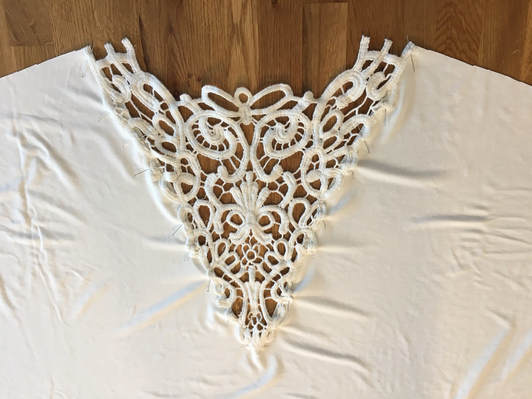
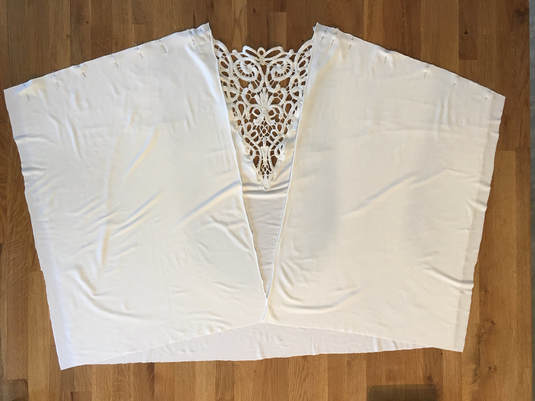
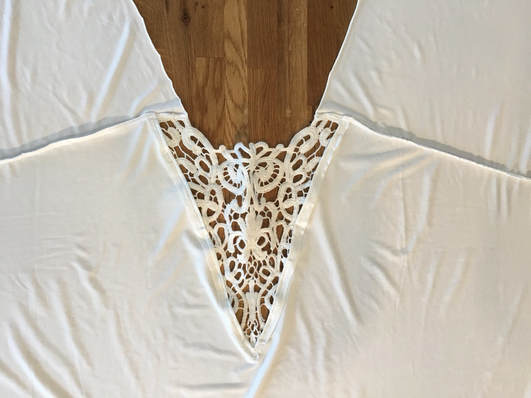
Note: Since I had the appliqué, I did not need to finish the neck and I left the front seams unfinished (as they are the salvage edge). If you did not use an appliqué or your front edges need to be finished, simply fold under and sew closed (much like the bottom hem in the last step).
Also, add those embellishments if you have them! Now, head out for some fun in the sun!
0 Comments
Leave a Reply. |

Proudly powered by Weebly