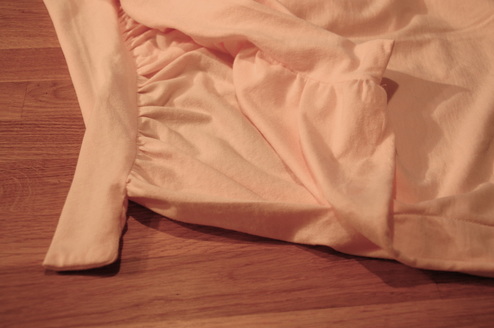
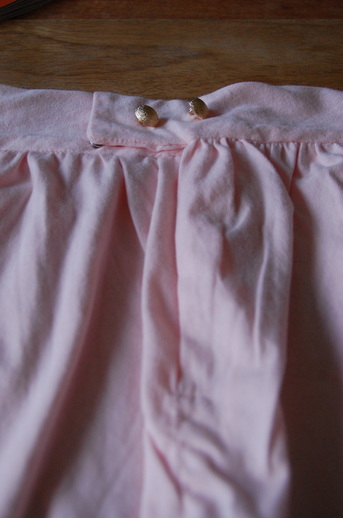
 The great thing about this skirt is that it can be done in stretch or non stretch fabric, made short, midi or maxi length and you can add your own details and personal style to it. I opted for girly - light pink with 2 gold buttons in the back. Skill Level: Intermediate sewer.  Made with 100% certified organic cotton Notions:
How to Guide: Get out a pad of paper to keep track of your measurements!
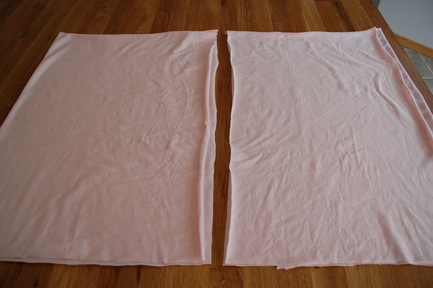
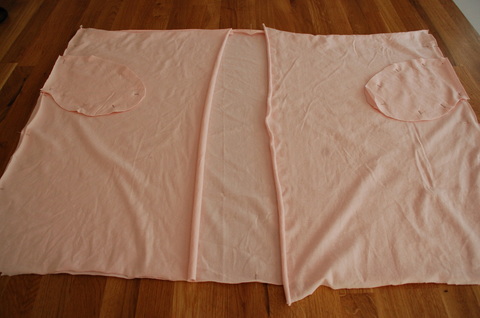
Cut it out
Make it 3
 Pin in place
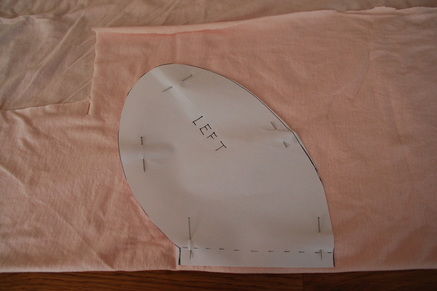
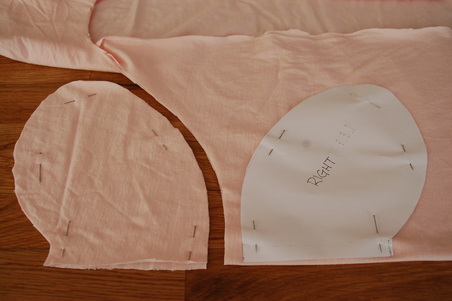
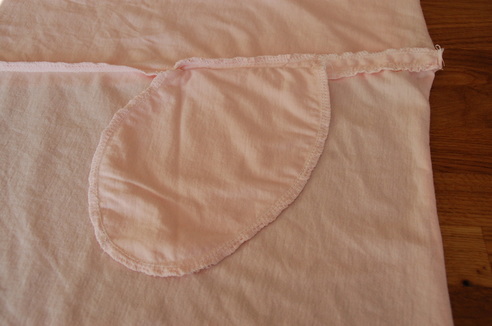
Pocket Template
 Left pocket
 Right pocket
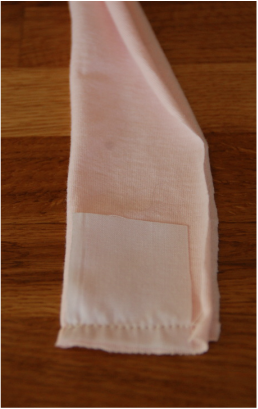
 Waist no space I like a 2 inch thick waist band, but you can go wider or thinner.
 Get out your sewing machine! Setting up the sidelines
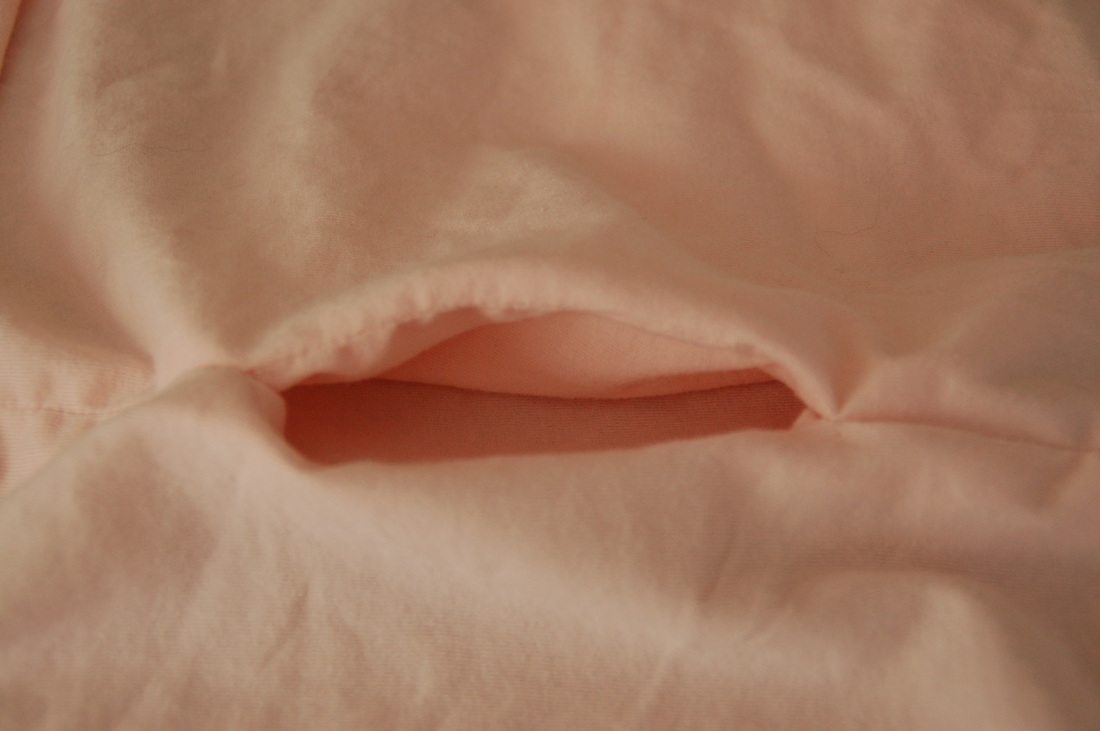
 Placing your pockets
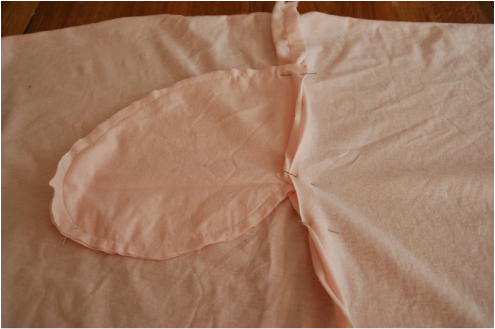 Pockets, pockets, pockets
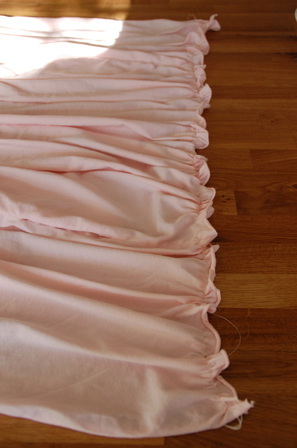
Come together
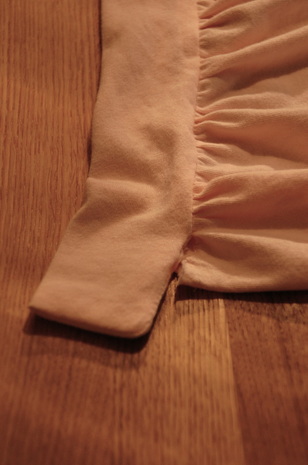
 Waistband
Putting the pieces together
 Check point – try it on!
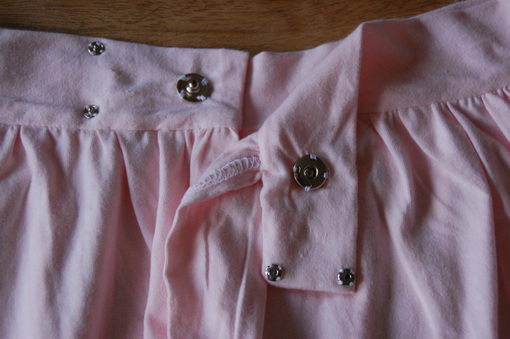
Closing time
 Waistline
Your skirt should now look near complete, with the one end of the waistband laying on top of the other end. Oh snap!
 Finishing touches
 Pair this skirt with a flowy or fitted top, flats or heals and go for a stroll in the park or window shopping.
0 Comments
Leave a Reply. |

Proudly powered by Weebly