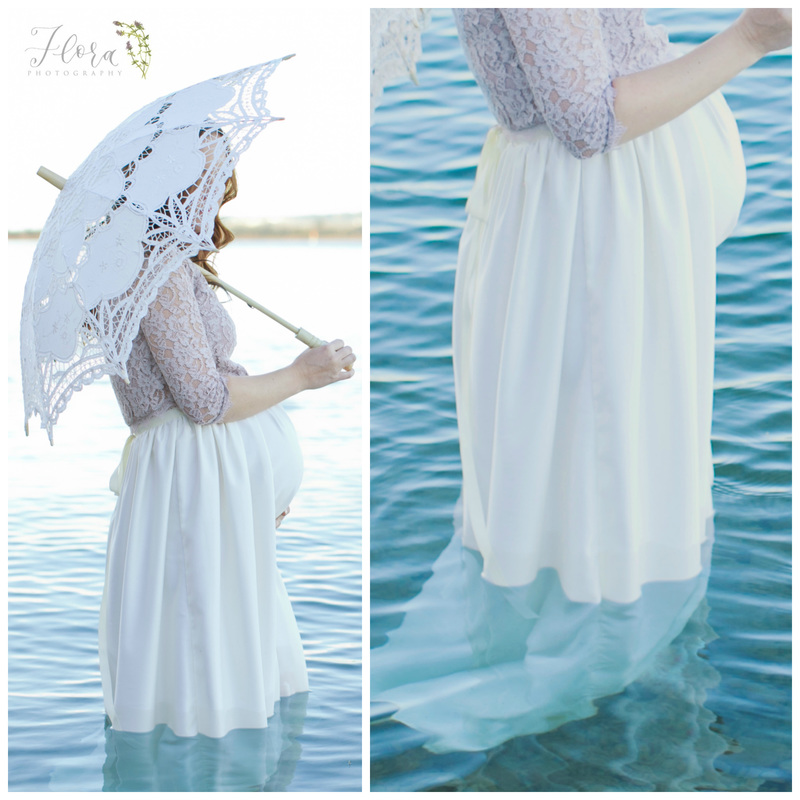
 Photos by: Flora Photography This skirt was designed with the purpose of emulating the fluidity of water and the structure of a rose. Made with a generous body, to give lots of ripples and movement throughout the length, while still keeping its shape at the waist. This is a very full skirt, created more for photos than everyday wear. However if shortened to be at or just below the knee, it could be made a little more practical, and keep its charm. Skill Level: Intermediate sewer. Notions:
How to Guide: Get out a pad of paper to keep track of your measurements!
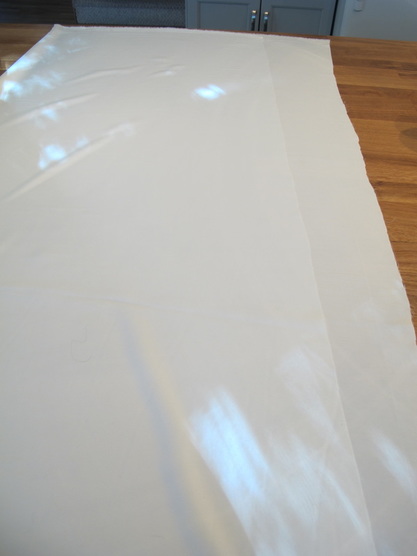
Cut it out
 Make it 3
Give it Shape
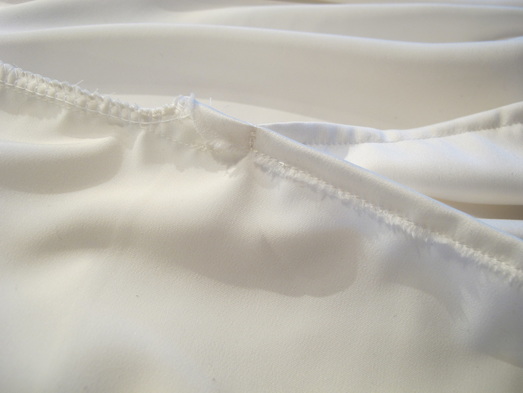
You should now have what looks like an elongated trapezoid - this will keep the skirt fuller on the bottom, and less bulky at the top. 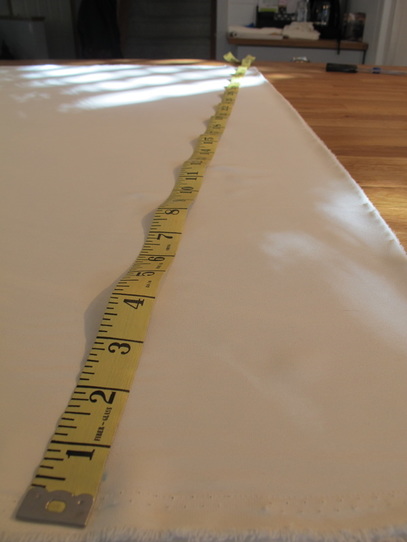 Sidelines
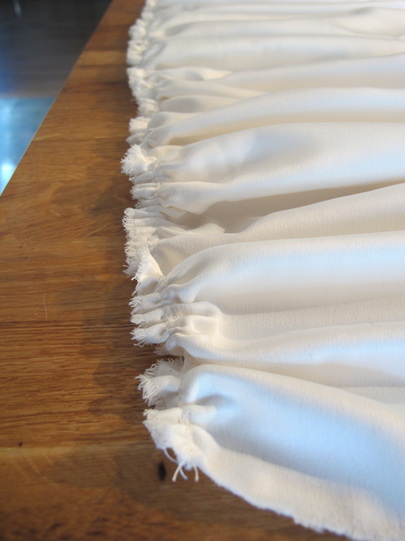
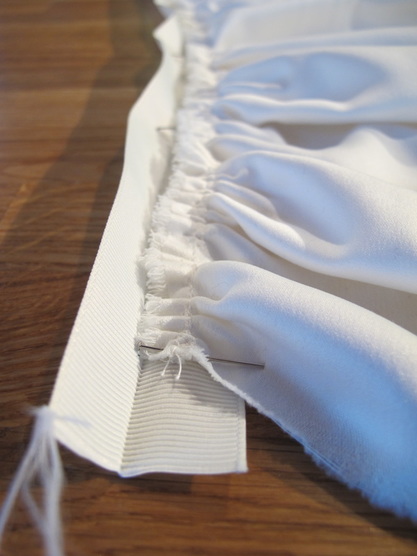
Come together
 Check point – try it on!
Folding ribbon
 Closing time
 Lose ends
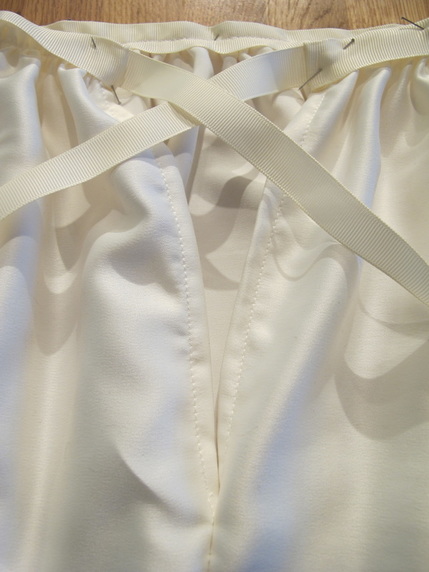
 Lace it up
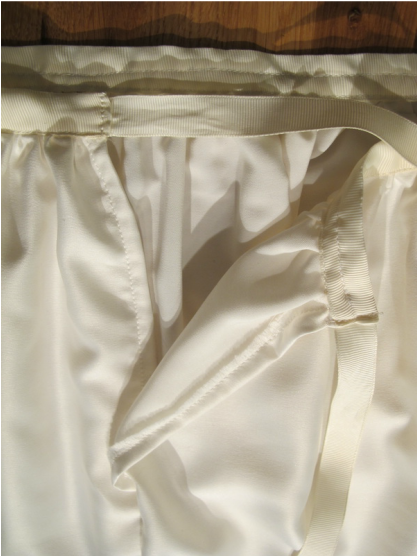
 Waist no space
 Oh snap!
 Finishing touches
Only the best for this skirt! Silk, lace, or linen on top, maybe even add little faux fur.
0 Comments
Leave a Reply. |

Proudly powered by Weebly