Creatively Inclined
  • Home
  • Apparel
  • Décor
  • Abode
  • Details

Southern {Albertan} Belle Dress

8/4/2015

0 Comments

 
Picture
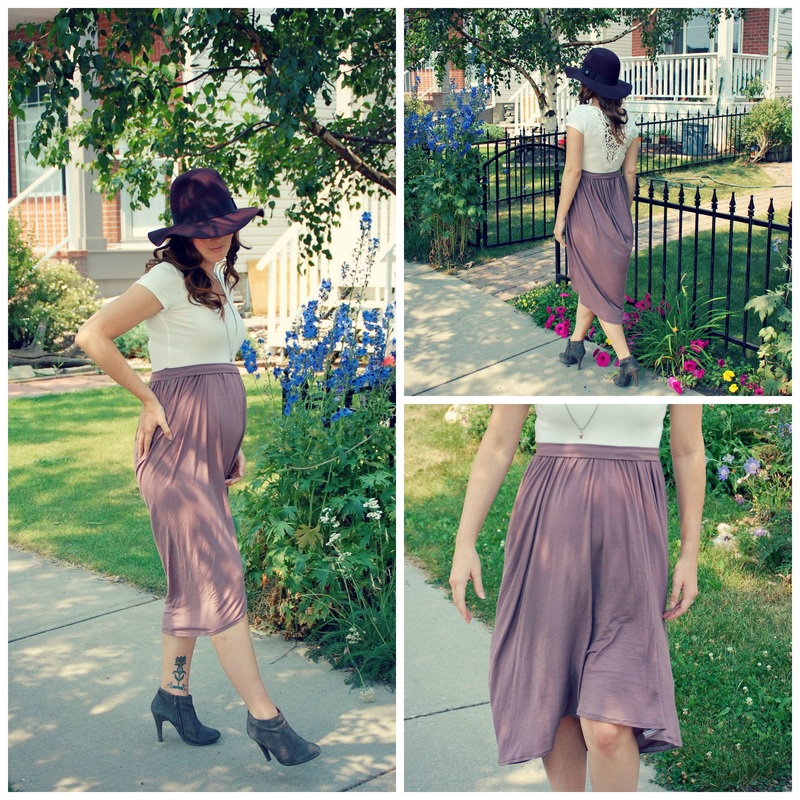
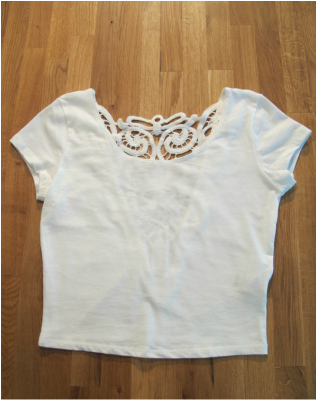
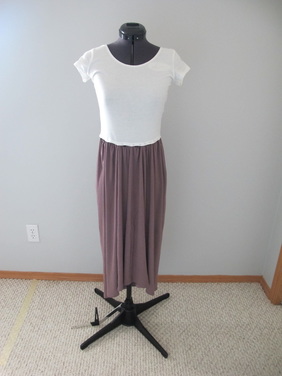
I made this dress to accommodate my growing belly, but wanted it to fit afterwards as well. I admit that it is a bit of a “cheat” - the top is from my closet (originally store bought), I just added the skirt to the bottom! I have done this on numerous occasions, it saves time and can make the ensemble look more “high end” and less “homemade”. 

Skill Level: Beginner to Intermediate sewer. 
Picture


​Made from reused top and sustainable bamboo fabric

Notions: 
  • Lightweight fabric with some stretch – it should be light enough to have good drape, but not so light that you need a liner
  • Gently used top found in your closet (also with stretch)
  • Thread 

How to Guide
: 
 

Get out a pad of paper to keep track of your measurements! 
  • Waist: Measure your natural waist. 
  • Front Length: Measure the length between the front of your waist to the middle of your knee. 
  • Back Length: Measure the length between the back of your waist to the middle of your calf. 
  • Adjusted Waist: add 2 inches to your waist measurement. 
  • Adjusted Width: multiply your waist measurement by 2 and add 2 inches 
  • Adjusted Back Length: Add 2 inches to your back length measurements (to make room for the hems). 
  • Adjusted Front Length: Add 2 inches to your front length measurements (to make room for the hems). 

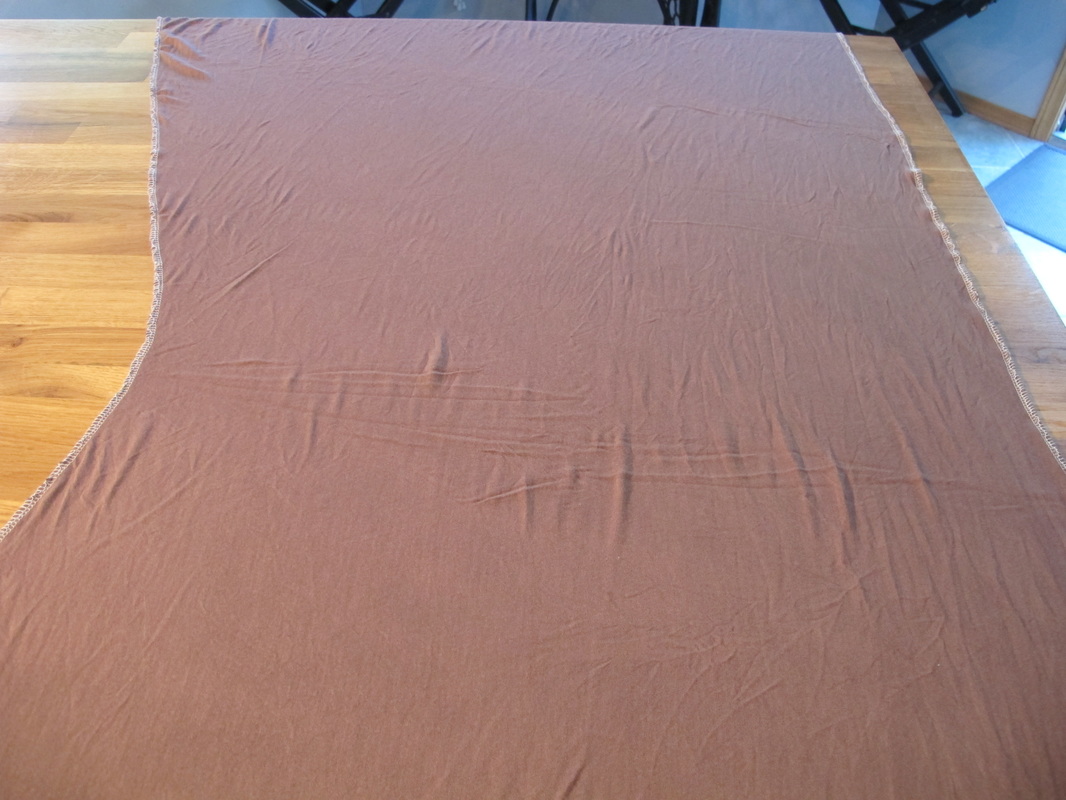
Lay flat
 
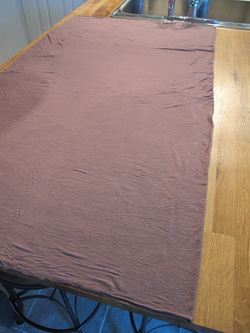
  • Lay out your fabric on a hard smooth surface, right side up. 
  • Measure and cut a rectangle using your adjusted width by adjusted back length. 
  • Fold the rectangle in half along the length side. 
  • Mark the center fold at the top and bottom. 
Picture
On the diagonal 
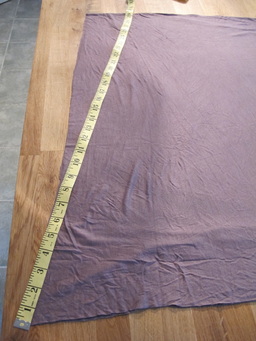
  • Along the fold line, from the top measure and mark your adjusted front length.
  • Using a yard stick or measuring tape for guidance, draw a straight diagonal line towards the bottom, between the fold line where you marked your adjusted front length and the bottom corner where the salvage edges meet.  
  • Securing both layers of fabric, cut along this line
Picture
Deep 'V' 
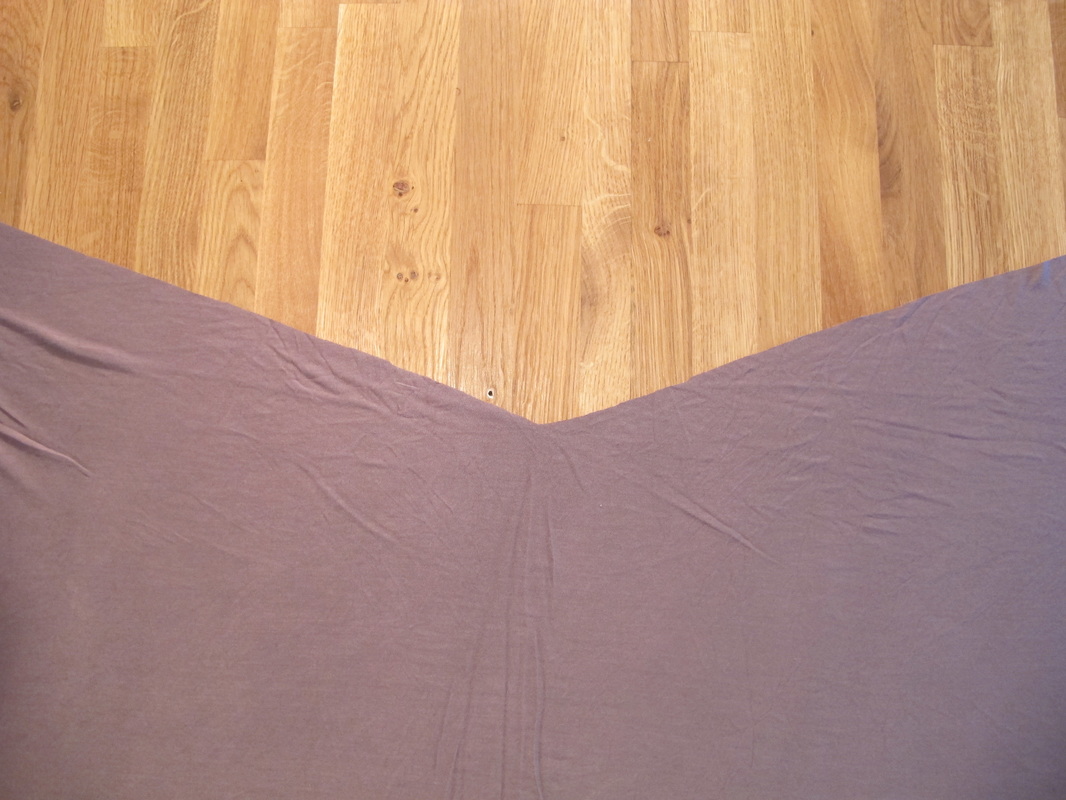
  • Unfold your fabric. You should now have a straight edge on the bottom and a deep ‘V’ at the top. 
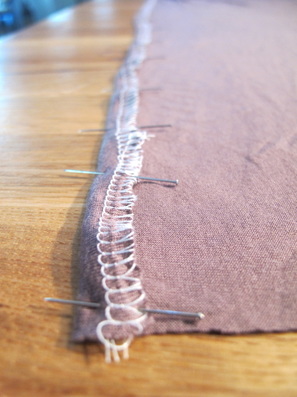
  • Finish both edges with a serger or zigzag stitch.  

Picture
Picture
Come together 
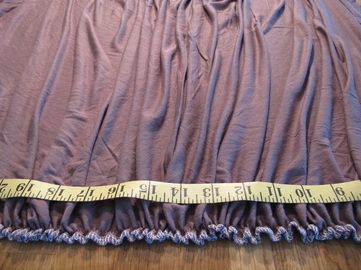
  • Using your ruffle foot, gather foot or the “old school” way, via baste stitch and hand, gather along the deep ‘V’ so that the length is now equal to your adjusted waist measurement. 
  • Make sure your ruffle edge is secure and will not come undone.

Picture
Check point – try it on! 
  • Holding the centre top to your waist, wrap the sides of the fabric around your back. 
  • Make sure that the waist fits with room to close the back seam and that the front and back length are as desired. 

Close it up
 
  • Sew the back seam closed. 
  • On the straight edge (non-ruffled side), finish your hem.
Picture
Your piece of fabric should now resemble a skirt and can be secured to your top.  

Dress it up 
  • Put on your top and mark on the front middle, back middle and sides where you want the waistline of your dress to sit. 
  • Place your top on a dress form, or lay it on a flat surface.  
  • Line up the back seam of your skirt to where you marked the back middle of your top and the front middle of your skirt to where you marked the front middle of your top. 
  • Where you have lined up the front and back, pin securely with right sides together (ruffles will be folded and face down). 
  • Continue pinning the skirt along the sides of top (again, right sides together).  
  • Turn your skirt inside out, so that the top is inside with right sides together, 
  • Sew the top to the skirt along the ruffle line, using a stretch stitch (for some give). 
Picture
Picture
Check point – try it on again! 
  • Your dress should look pretty complete at this point! Just make sure that everything is fitting right. 
  • If everything is good, finish the inner waist with a zig-zag or serge stitch.

Band-it 
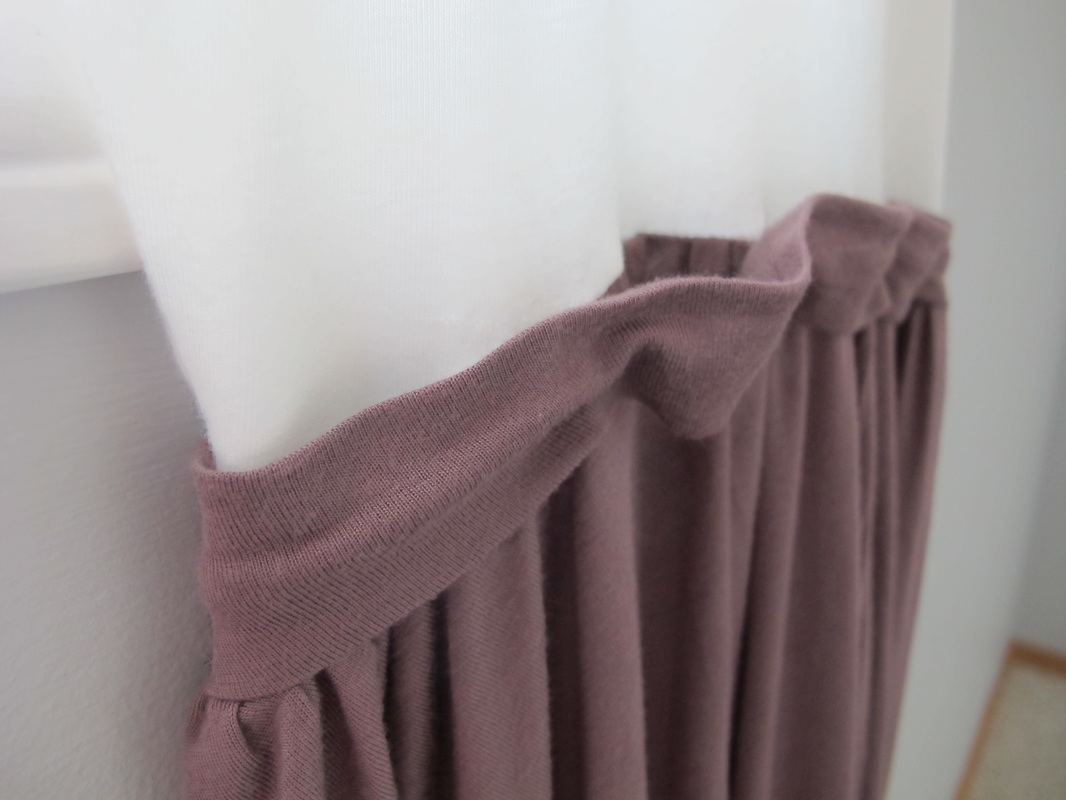
You do not have to add a band, but I find that it gives the garment a more finished look. It also helps to cover any uneven stitch lines – especially on stretch fabric that likes to pucker! 
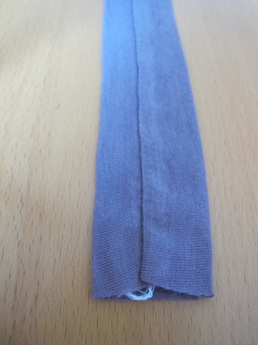
  • Use your adjusted waist for length and then select your desired band width (I suggest 1.5 inches) times by 2 (3 inches) and add 1 inch (4 inches total).  
  • Cut your waist band out using the above measurements and fold in half along the length with right sides together.  
  • Keeping right sides together, sew along the length about ½ inch from the edge. 
  • Flip the band right side out. 
  • Press the band flat with the seam running along the edge of the band or in the middle along the back.  
  • Place the band along your waist where the top meets the skirt and mark the band closure.  
  • Sew the band closed.
Picture
Finishing touches 
  • Put your dress on and place the band over the seam. 
  • With the dress on, pin the band in place. 
  • Gently slip the dress off, keeping pins in place. 
  • Tack the band in place, front, back, sides and a few in-between. I find this is best done by hand.  
Picture

Grab your heels, dawn a hat and wander over to a warm summers evening garden party. 

0 Comments


Leave a Reply.

    Click "Read More" under each project for detailed steps. 

    Categories

    All
    Baby Accessories
    Baby Clothes
    Halloween Special
    Ladies Accessories
    Ladies Clothes
    Maternity Clothes
    Toddler Accessories
    Toddler Clothes

Proudly powered by Weebly
  • Home
  • Apparel
  • Décor
  • Abode
  • Details