Creatively Inclined
  • Home
  • Apparel
  • Décor
  • Abode
  • Details

Urban Skirt

3/26/2016

0 Comments

 
Picture
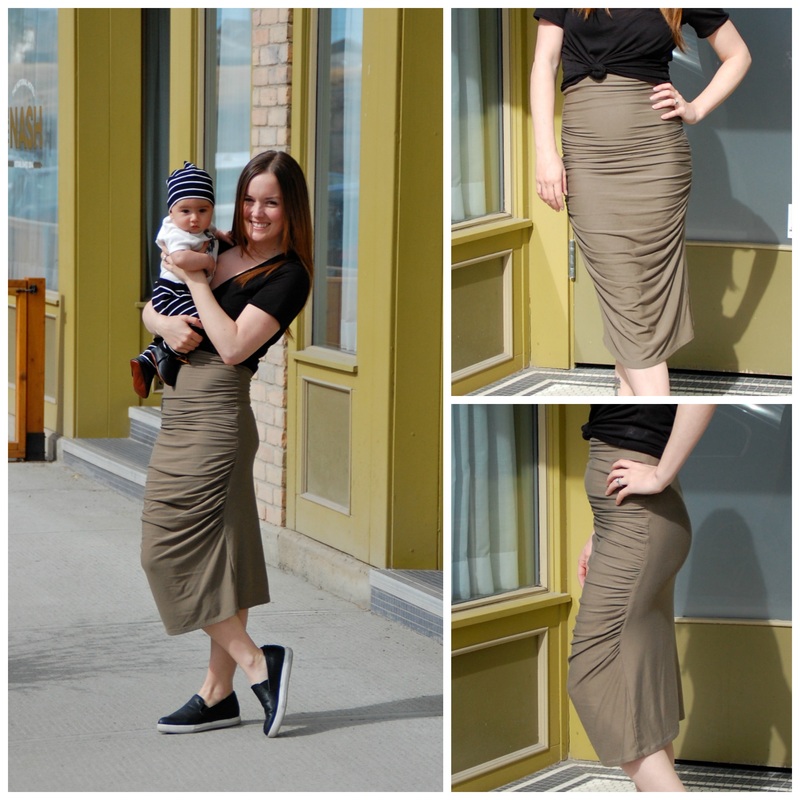
This skirt is uber comfy and highly versatile. Easy to pull on and dress up or down. While anyone can make and wear this skirt, I specifically designed it to be high-waisted so that when I pull my top up to nurse my baby, I don’t have to expose my midsection. Hurray for function and style!
 
Skill Level: beginner to Intermediate sewer. 
Picture


​Made from sustainable bamboo fabric

Notions:
  • Medium to light weight stretch fabric – I used fabric with 40% four-way stretch
  • Thread
 
How to Guide:
 
Get out a pad of paper to keep track of your measurements!
  • Waist: measure your natural waist.
  • Adjusted Waist: your waist measurement plus 1 inch.
  • Hip: measure your hips.
  • Adjusted Hip: your hip measurement plus 1 inch.
  • Waist to Hip: length between your waist and hip.
  • Waist to Mid calf: Measure the length between your waist your mid-calf (or to whatever length you desire).
  • Break up your waist to mid calf measurement by the following:
    • Waist to Mid-thigh Length: Measure the length between your waist to your mid-thigh
    • Mid-thigh to Mid-calf: Measure the length between your mid-thigh your mid-calf (or to whatever length you desire).
  • Front Length: multiply your waist to mid-thigh measurement by 1.5 (this is for the ruching), add your mid-thigh to mid-calf length plus another 2 inches
  • Back Length: Measure the length between the back of your waist to mid-calf (or to whatever length you desire) and add another 2 inches.
 
Cut it out
  • Lay out your fabric on a hard smooth surface.
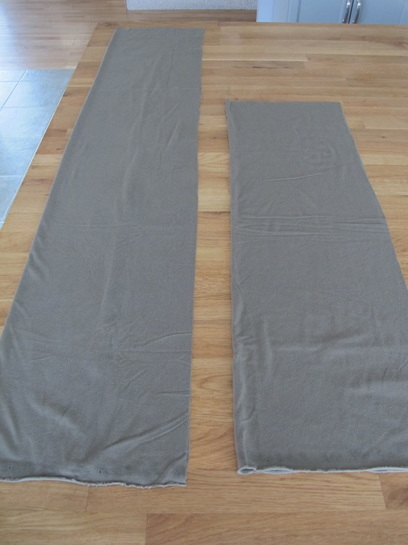
  • Measure and cut a rectangle using your adjusted hip for the width, front length for the length.
  • Measure and cut a second rectangle, adjusted hip for the width, and your back length for the length.
  • Fold both rectangles in half lengthwise, with right sides together.
Picture
Shape up
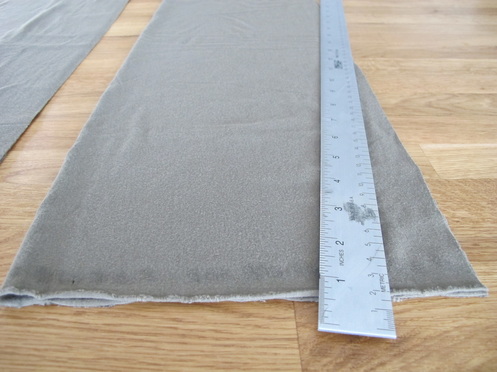
  • Keeping your rectangles in half lengthwise, from the top of the folded edge, measure and mark along the width ½ your adjusted waist. Do this for both rectangles.
  • Starting with your longer rectangle (front), from the top of the salvage edge, measure and mark along the length 1.5 times your waist to hip measurement.
  • For your shorter rectangle (back), from the top of the salvage edge, measure and mark along the length your waist to hip measurement.
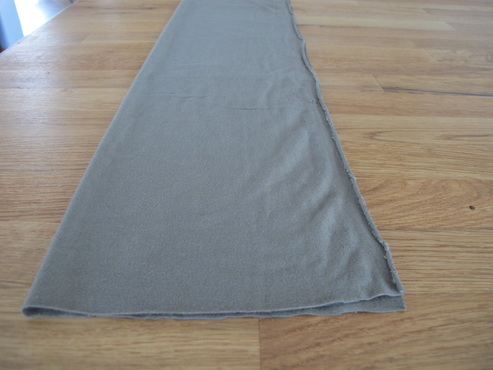
  • On each rectangle draw a diagonal line between these two points.
Picture
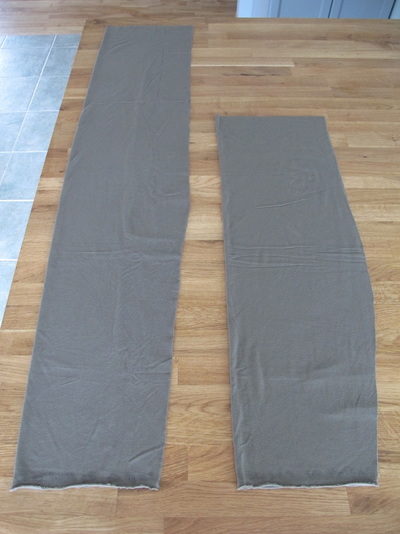
Rectangles to angles
  • Cut along your diagonal lines.
Picture
Waist no space
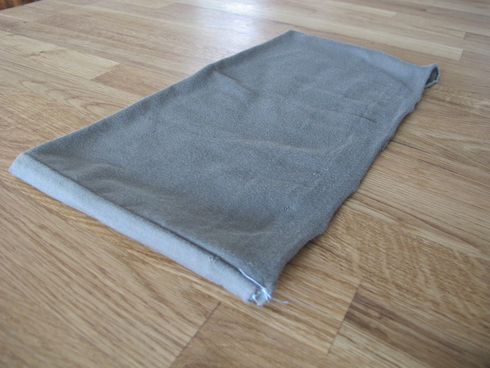
For this skirt I added a 4 inch thick waist band, but you can go wider or thinner.
  • Waistband width: using your desired waistband thickness (say 4 inches) double this (8 inches) and add 1 inch for the seam (total of 9 inches).
  • Waistband length: your adjusted waist measurement.
  • Lay out your fabric on a hard smooth surface, wrong side up.
  • Measure and cut a rectangle using your waistband width by waistband length.
  • Fold the length of the rectangle in half, right side out, and press!
Picture
Ruche it up
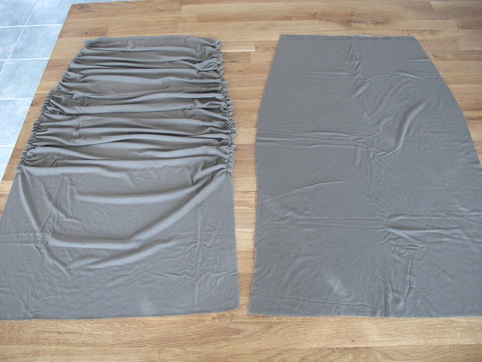
  • Lay out the longer piece of fabric (the front side) right side down.
  • Starting at the top of your piece (AKA the smaller end), along both side lengths, mark the length that equals 1.5 times your waist to mid-calf measurement. 
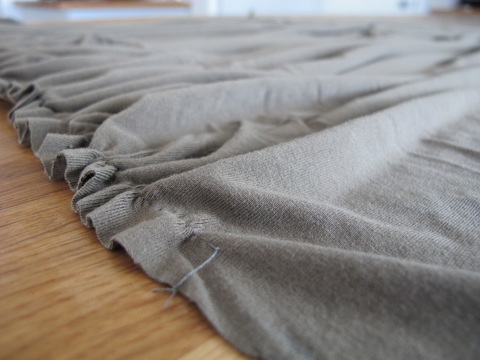
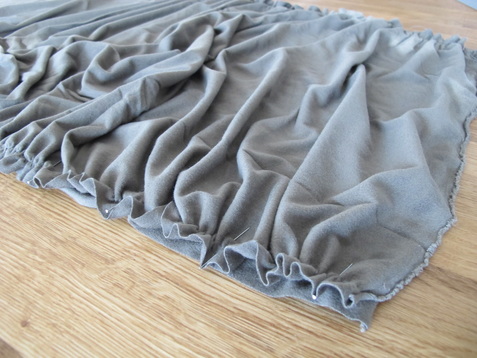
  • Using your ruffle foot, gather foot or the “old school” way, via baste stich and hand, gather along this measurement on both sides.
  • Once gathered your piece should be about the same length as your back length measurement.
  • Make sure your ruffle edge is secure and will not come undone.
Picture
Picture
Sidelines
  • On a hard smooth surface, lay out the non-ruched piece of fabric (the back side) right side up.
  • Lay the ruched piece on top facing right side down, the two pieces should be right sides faced together.
  • Pin along each side and sew the skirt closed.
Picture
Check point – try it on!
  • The skirt should slip over your hips and fit snugly around your waist, with room at the bottom for the hem. 
  • Make adjustments if needed.
 
Waistband
  • Lay your unfolded waistband out on a hard smooth surface right side up.
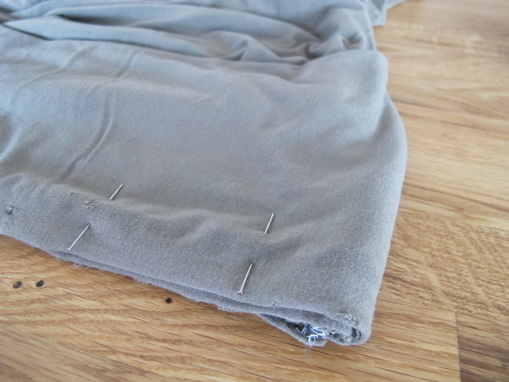
  • Fold the width of the rectangle in half, wrong side out, and pin the end.
  • Sew the end shut.
  • Fold the waistband back along the press side so that the right side faces out.
  • Try the waistband on to make sure it is the right size.
  • Make adjustments as needed. 
Picture
Come together
  • Lay your skirt out on a hard smooth surface right side out.
  • With the salvage edge of your waistband facing the same way as the top of your skirt, slide the waistband over the top (right sides together).
  • Line the seam of your waistband up with one of your side seams and pin.
  • Staring where your seams are aligned, pin your waistband along the edge of the waistline and baste together. Seam should run 1 inch from the edge.
  • Finish the edge of the inner waistband with a zig-zag or serge stitch.
Picture
Picture
Finishing touches
  • Try on your skirt and mark or pin where you want the hem length.
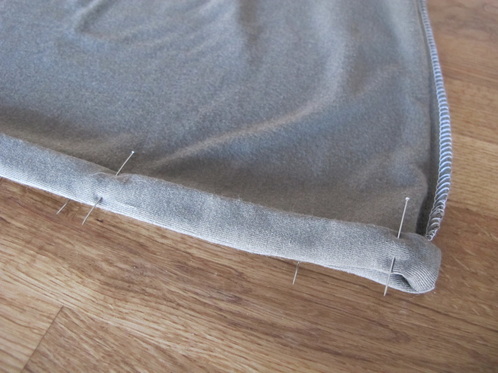
  • Fold and pin along the edge using your hem marker, and press
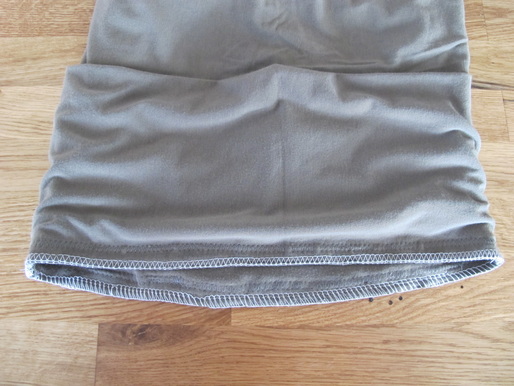
  • Open the hem line and fold the salvage edge into the hem line. You may need to trim a little off the end to get a clean, ½ inch hem. Pin closed and press.
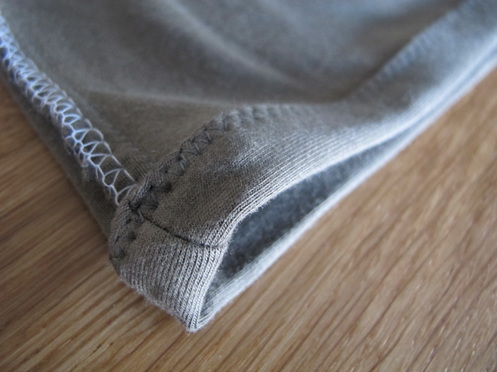
Sew your hem closed (I suggest zig-zag stitch for stretchiness). 
Picture
Picture
Pair with your favourite t-shirt and flats or dress it up with heels!
0 Comments


Leave a Reply.

    Click "Read More" under each project for detailed steps. 

    Categories

    All
    Baby Accessories
    Baby Clothes
    Halloween Special
    Ladies Accessories
    Ladies Clothes
    Maternity Clothes
    Toddler Accessories
    Toddler Clothes

Proudly powered by Weebly
  • Home
  • Apparel
  • Décor
  • Abode
  • Details