Creatively Inclined
  • Home
  • Apparel
  • Décor
  • Abode
  • Details

Washroom Makeover for Under $200!

10/2/2018

0 Comments

 
Picture
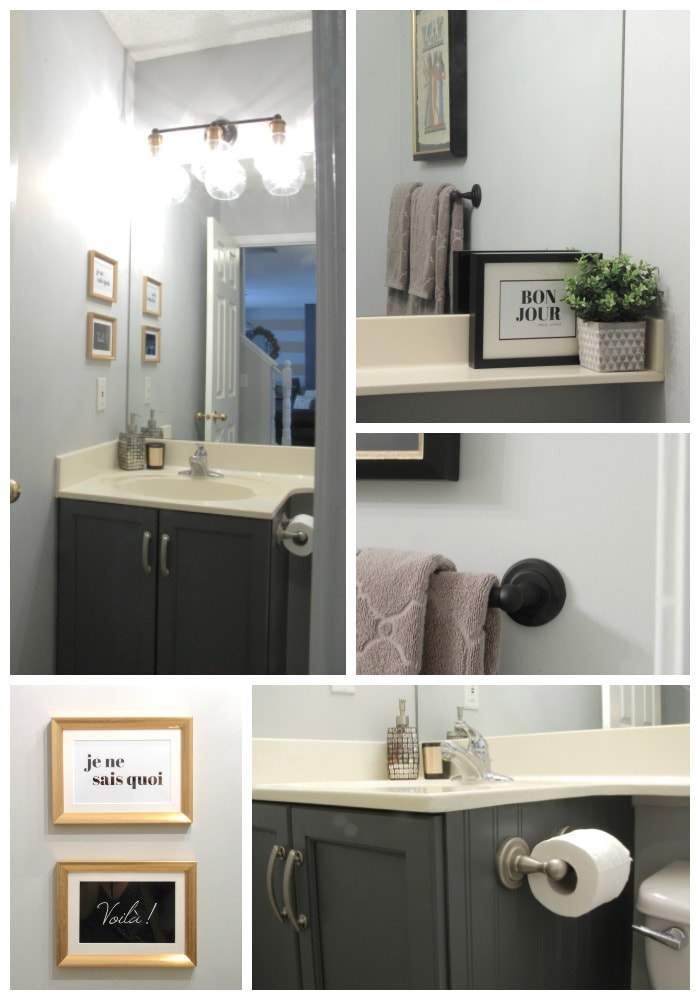
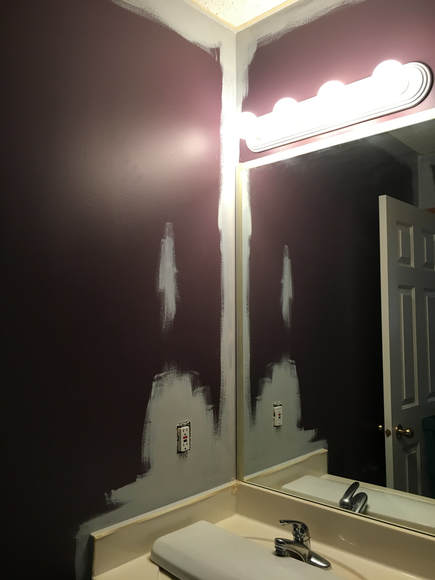
This washroom used to remind me of that children’s rhyme, in a dark, dark house, there was a dark, dark room - with no windows, tucked away in a corner on our main floor, it felt dark and small. It was also never the right shade of purple when we first painted it years ago, and it kind of got forgotten over time. Well, we finally gave it a fresh new look! it feels so much bigger, brighter and warmer. Best part, we did it for well under $200!
 
Here's the before and after:
Picture
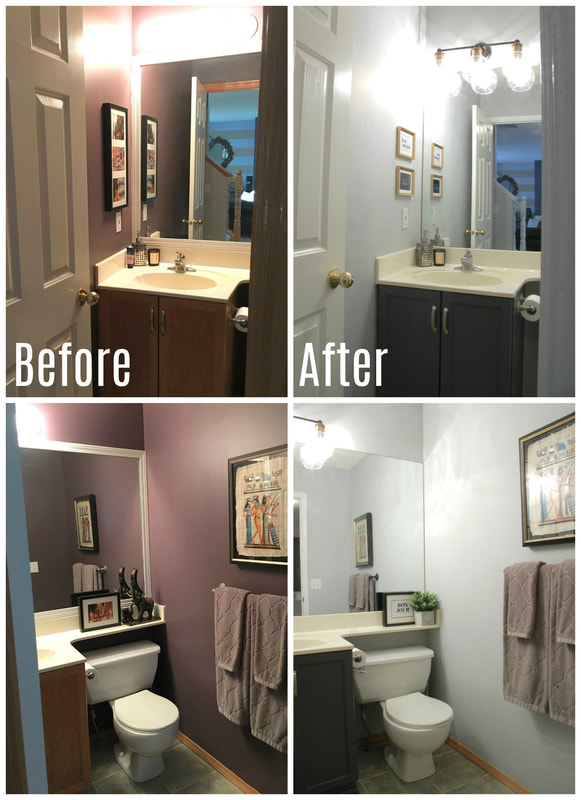
All it took was some paint, a new light fixture and some updated décor. We are very happy with the results.
 
Skill Level: Intermediate 
​Materials
  • Furniture paint
  • Wainscot - bead board
  • Baseboard trim
  • Paintbrush
  • Paint roller
  • Painters tape
  • Wood nails
  • Wood glue
  • Protective gloves and facemask
 
Optional Additions
  • Lighting fixture
  • Cabinet hardware
  • Towel and toilet bars
  • Spray paint – if you are updating existing hardware
  • Décor and frames
 
How to Guide
 
Washroom Walls
 
Clean it up
  • Make sure that the wall you are painting is clean and clear of any holes that need to be patched.
  • Remove cabinet doors.
 
Tape it up
  • Tape off the side edges of your mirror, cabinet, baseboards and ceiling.
  • Remove light switch and plug plates.
 
Cut it
  • Using your paintbrush, cut in to all the corners, nooks, an edges as well as around your light switch and plugs. These are all the areas that are difficult to use a roller.
  • Do a minimum of 2 coats, leaving it to fully dry between coats. 
Picture
Roll out
  • Using the roller, paint the walls in long even strokes.
  • Do a minimum of 2 coats, leaving it to fully dry between coats.
  • Before paint is fully dry on the last coat, peel off the tape.
 
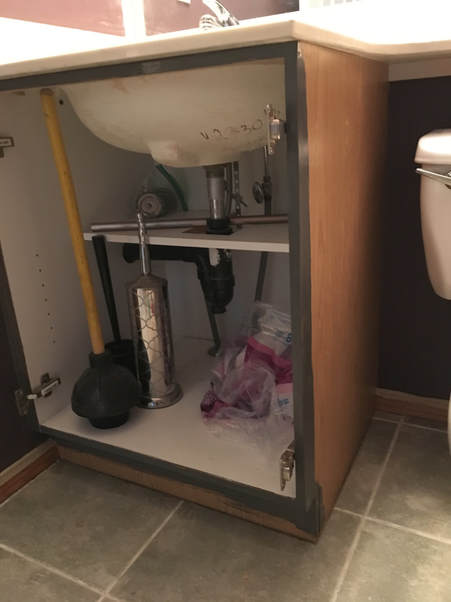
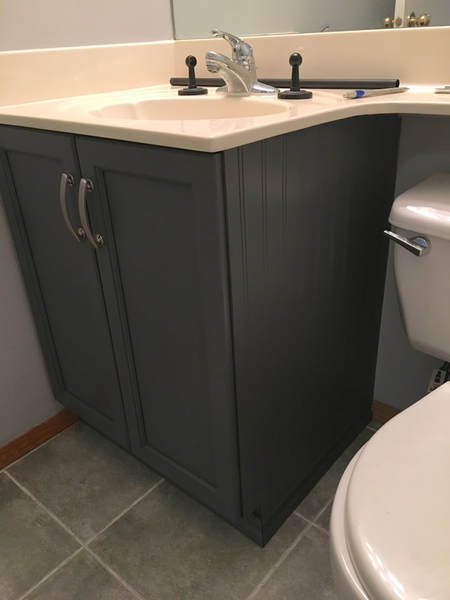
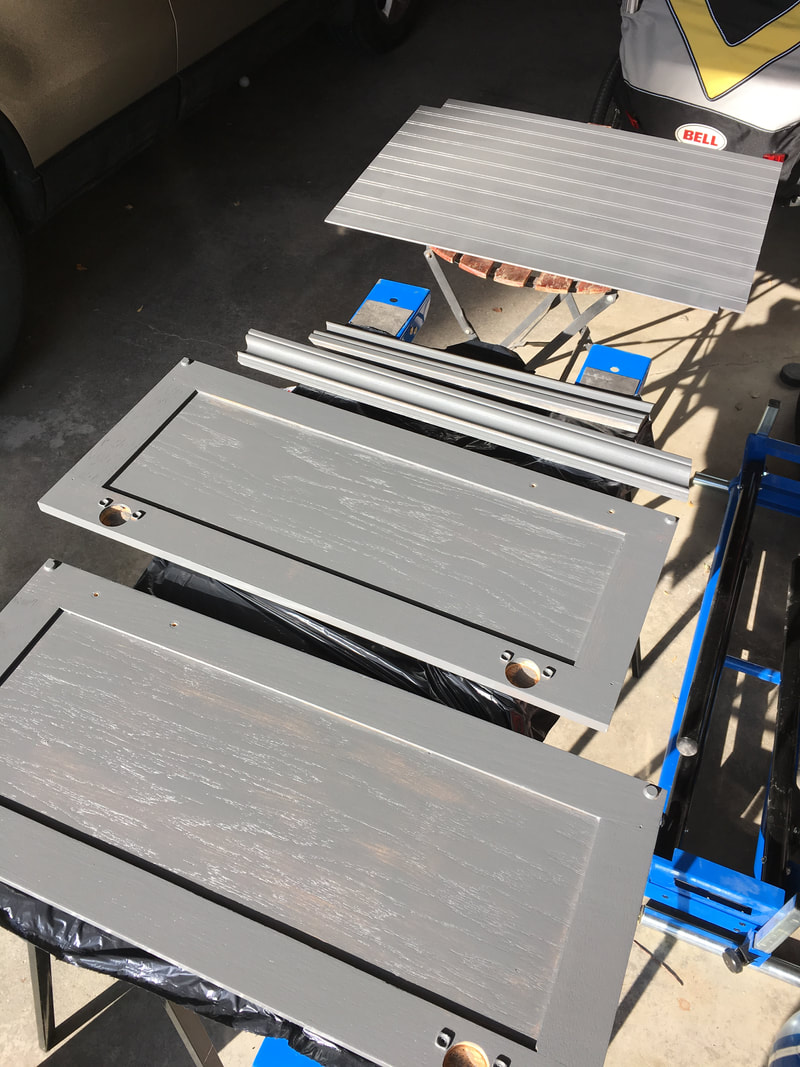
Washroom Vanity
 
Sand it
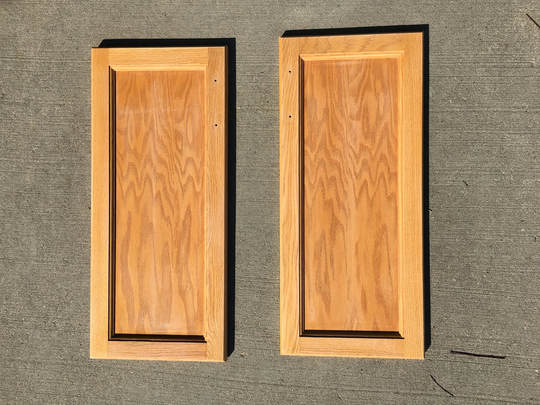
  • Sand cabinet doors.
  • Wipe down.
  • Lightly sand cabinet edges.
Picture
Cabinet trim
  • Measure the bottom of your cabinet on each side.
  • Cut trim accordingly.
 
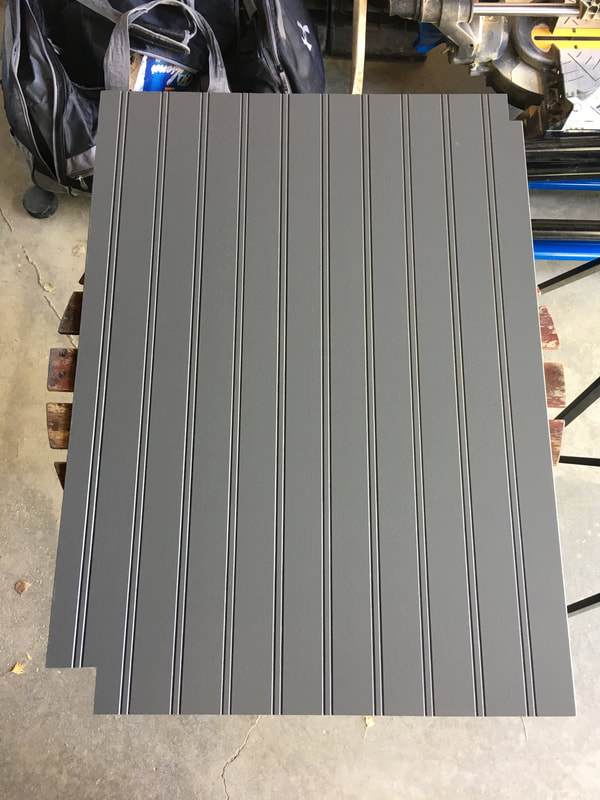
Bead board
There are lots of different textures and finishes that can be done with wainscot; we went with classic bead board found here.
  • Measure the sidewall of your cabinet. Keep in mind any cut outs as well as the height of your trim.
  • Mark on your bead board.
  • Cut it out.
 
Paint, paint, paint
  • Paint your trim, bead board and cabinet doors.
  • Do a minimum of 2 coats, leaving it to fully dry between coats. 
Picture
Picture
More paint
  • Paint edges along cabinet.
  • Do a minimum of 2 coats, leaving it to fully dry between coats. 
Picture
Nailed it
  • Attach trim to base of cabinet using nails.
  • Attach bead board to cabinet wall using wood glue and nails. 
Picture
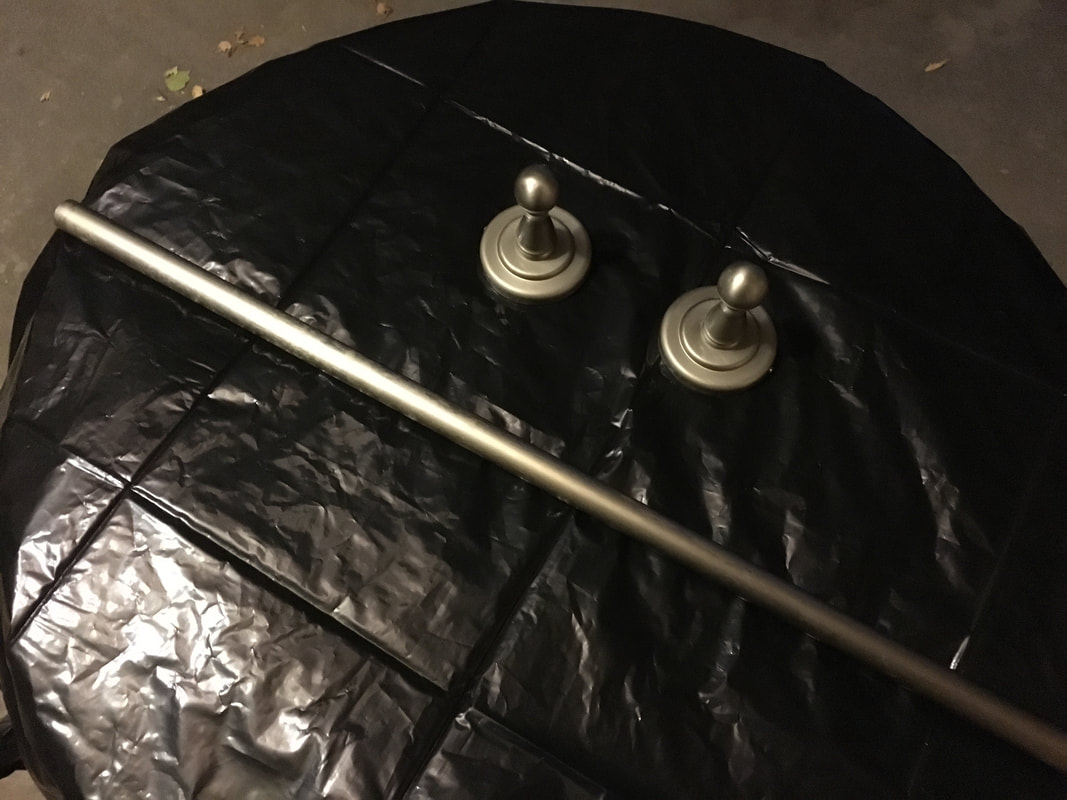
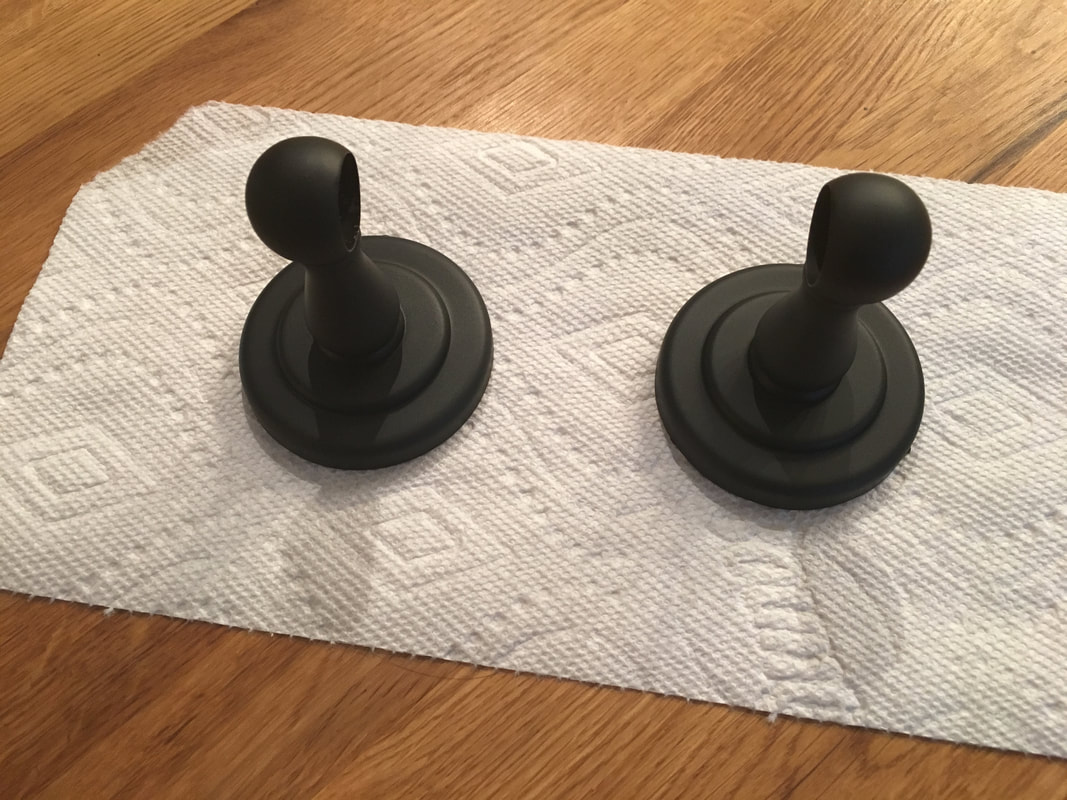
​Updating Old Hardware
 
Spray it
A great way to give old hardware a new look is to spray paint it. Be sure to choose a spray paint that sticks to metal surfaces.
  • Wipe down old hardware to remove any dust and debris. Dry off.
  • Lay out plastic in a well ventilated area.
  • Place hardware on plastic.
  • Put on gloves and facemask.
  • Lightly coat hardware from all sides.
  • Do a minimum of 2 coats, leaving it to fully dry between coats.
Picture
Picture
Finishing Touches
 
Put‘em up
  • Reattach cabinet hardware and hang doors.
  • Reattach toilet and towel bar.
Picture
Lights, camera, action!
  • Install lighting – be sure to cut the power in your house while doing this!
  • Hang pictures, place décor and hang towels.
 
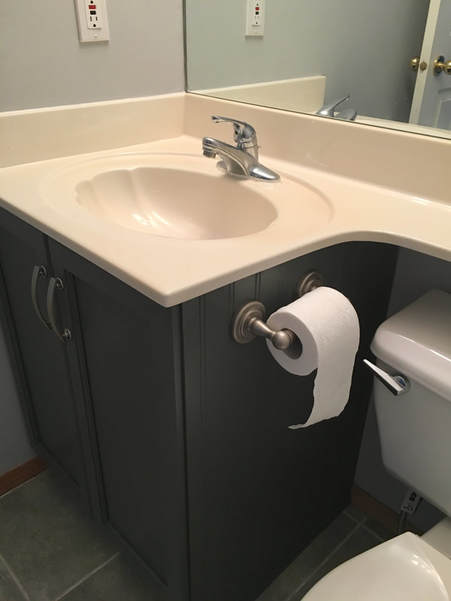
Lighting from, Canada Lighting Experts. Brand and model: Progress Lighting, Hansford - Three Light Bath Vanity in Antique Bronze Finish.

Photo frames and faux plant from IKEA. Plant pot from Homesense. 
 
Voila! Enjoy your new washroom.
0 Comments


Leave a Reply.

    Click "Read More" under each project for detailed steps.

    Categories

    All
    Kitchen
    Outdoor
    Textiles
    Wall Decor
    Washroom

Proudly powered by Weebly
  • Home
  • Apparel
  • Décor
  • Abode
  • Details