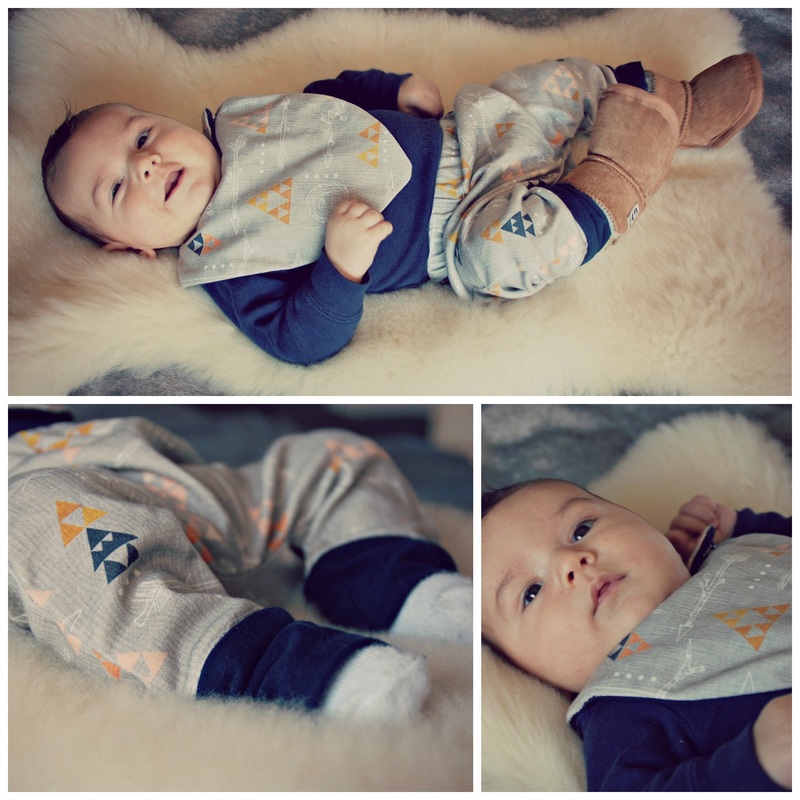
 Baby E is making his photo debut on my blog, and what better to wear than this adorable bottom and bib set! These are easy to make, a breeze to put on a squirmy babe and better yet, both comfy & stylish. Skill level: Beginner sewer  Made from 100% organic cotton Materials:
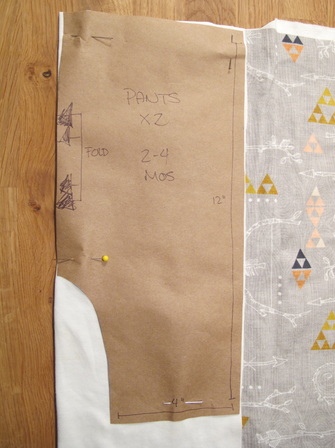
How to Guide: I do not have “ready-made patterns” for download, but these are pretty simple to create. You may have to play with the measurements a little bit to get the right length and width for your little one. You can use any light stock paper to draw your pattern, but stay away from card stock as it will make it difficult to pin to your fabric. I used loose-leaf paper and then taped pieces together to get the right sizes. Make your bottoms pattern
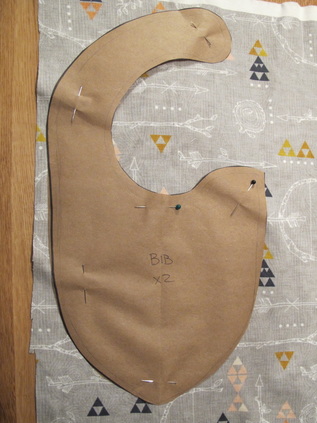
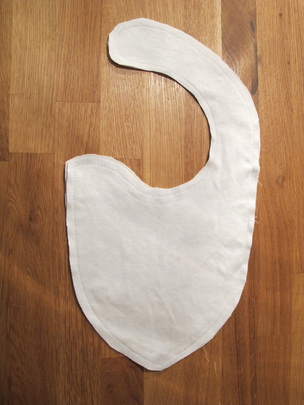
*Details, including photos, for making the pants pattern can be found here: Baby Bottoms & Toque. Make your bib pattern
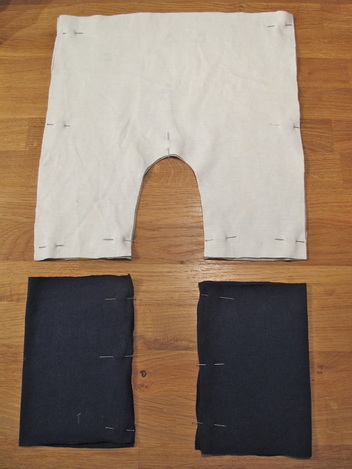
 Count it and cut it out
   Start with the bottoms
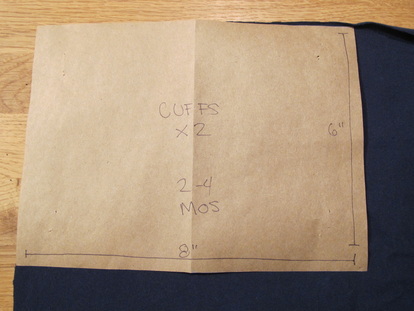
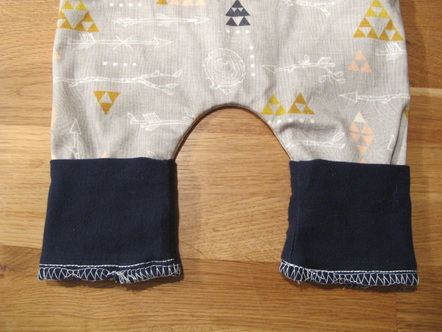
Close up the cuffs
 Rolled cuffs
Pants to cuffs
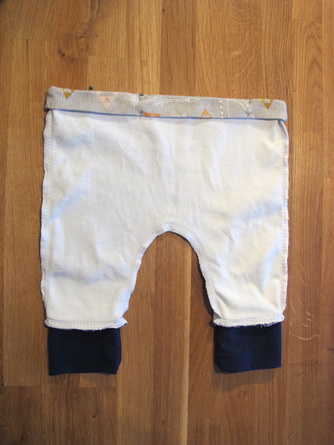
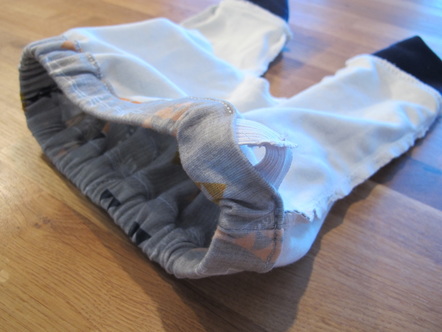
 Waist band
 Elastic band
 Close it up
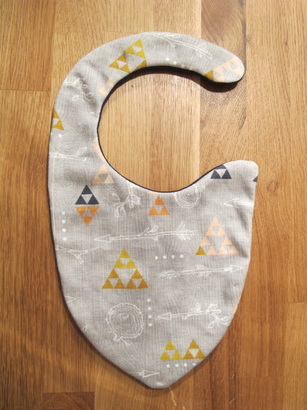
Back to the bib
 Flip it
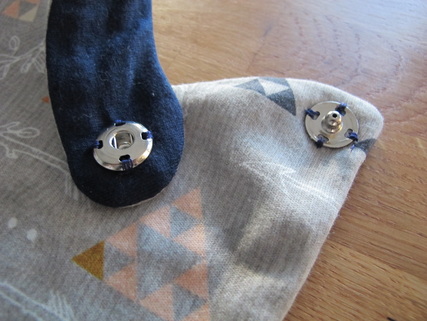
 Button up
 Now copy, cut & sew, over and over, in different prints and multiple sizes. And then accessorize! Here are a few other ideas and inspirations:  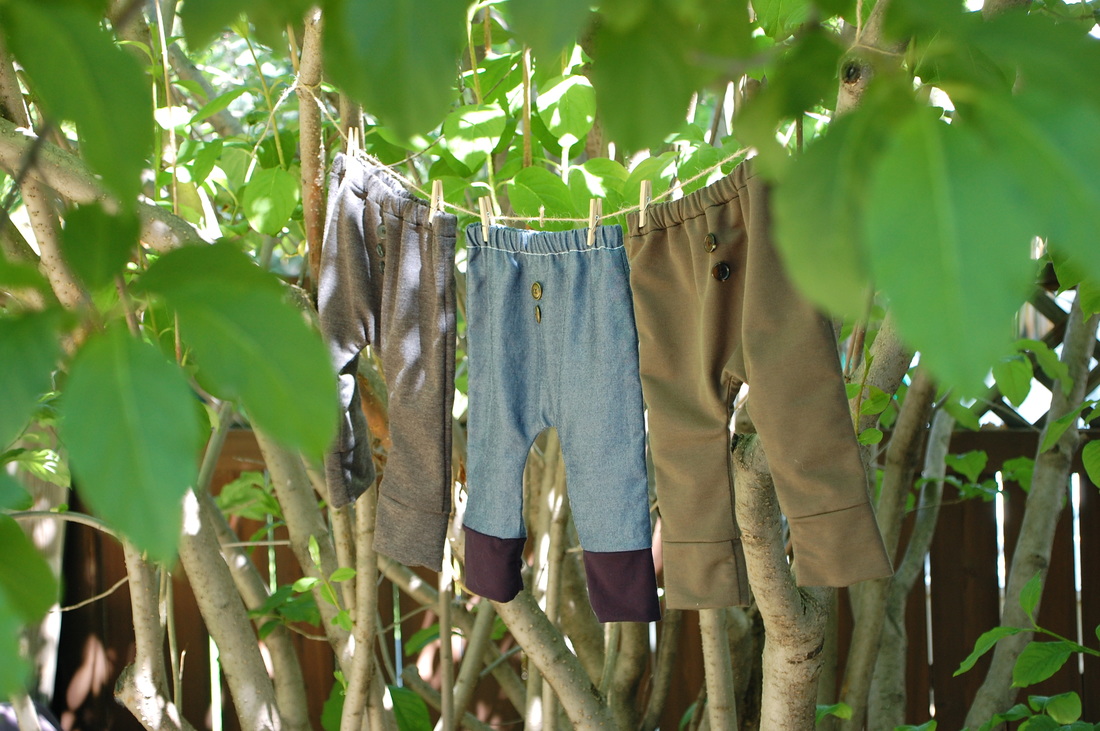
0 Comments
Leave a Reply. |

Proudly powered by Weebly