Creatively Inclined
  • Home
  • Apparel
  • Décor
  • Abode
  • Details

Bookshelf Makeover

9/6/2015

1 Comment

 
Picture
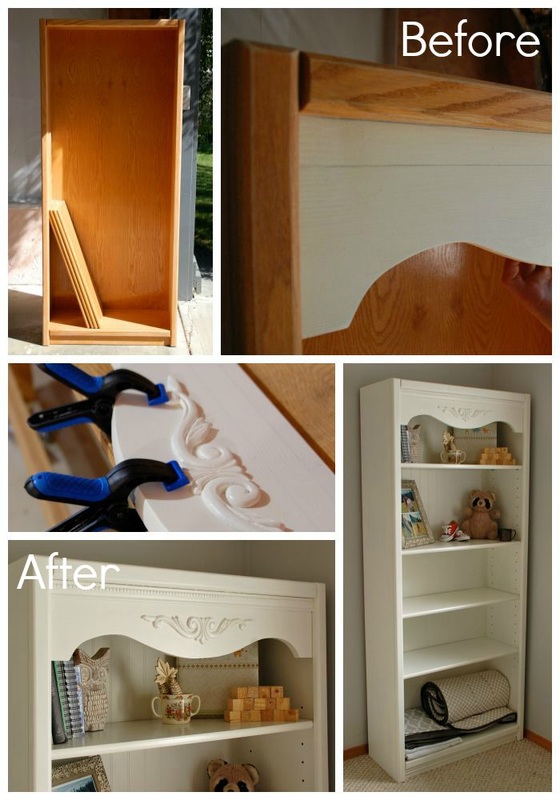
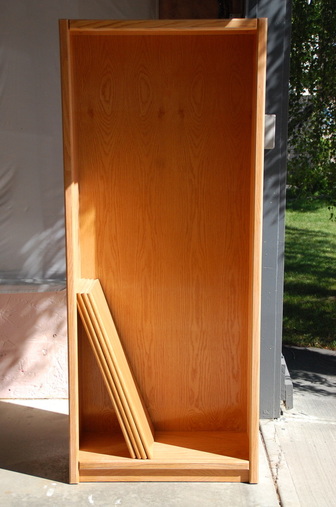
I have had this bookshelf for about 15-20 years and decided to give it a makeover to use in our baby’s room, but the design can be used in “adult” spaces as well. The piece is made from particleboard with a real wood veneer, making it a little easier to work with than a laminate finish. This can be done with laminate, but priming so the paint doesn’t scratch will be key.

Skill Level: Beginner

Picture


Made from mostly reused material

Materials 
  • Your piece of furniture 
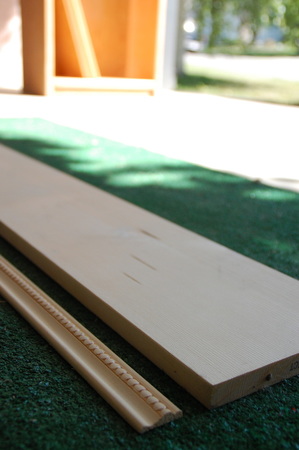
  • 8” x 1” piece of wood – go with a softwood like Pine as it is easier to work with 
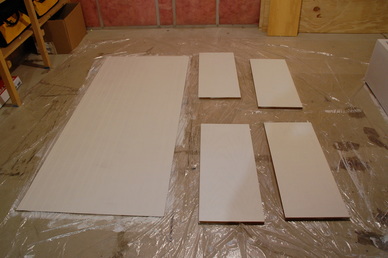
  • Decorative MDF sheet paneling – I went with classic “beaded Wainscot” but there are a number of other options (faux brick, faux tile, faux wood), you can also use wall paper if you want something more bold.  
  • Wood decals (optional, but highly suggested!) 
  • Water-based paint 
  • Sealer or wood finish 
  • Wood filler 

Tools
  • Electric drill 
  • Electric sander 
  • Paint brushes 
  • Sponge roller
  • Rubber gloves 
  • Wax paper 
  • Pencil 

How to Guide
 

Clean up and removal 
  • Empty and remove all the shelves (if they are adjustable and not stationary). 
  • Remove all the shelf pins and store in a safe place.  
  • Wipe clean – it will get dusty when you sand, but you will want to clean off any thing that is sticky or stuck-on before you begin sanding.  

Sands of time 

I am not for using paint stripper, as it is high in VOC, unless you absolutely have to. If your piece is just coated in a protective finish then I suggest only sanding. You don’t need to get right down to the wood grain, but you want it to be a little rough so that the paint sticks.  

*Tip - If it is a wood veneer, like my piece, don’t sand too much or you will hit particleboard. A “fine sand” grit will do. If it is laminate, use the “very fine” grit sand paper and do not press too hard. You only need to rough the surface up a bit 

When you are done sanding, wipe clean with a damp cloth so that the surface is smooth and dust free. 
Picture
Measure it 
  • Measure the width of your bookshelf from the inside. 
  • Measure the height of your bookshelf from the inside. 

Cut it out
 
  • Using the inside width measurement, mark along the length of your 8” x 1” wood.  
  • Cut to this length.  
  • Using the inside width and inside length measurement, mark this on your decorative paneling.  
  • Cut to this measurement. 

Check the fit
 
  • Make sure both pieces will fit inside your bookshelf – adjust as needed.  
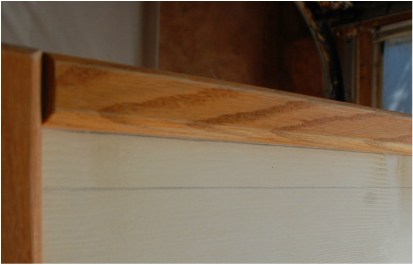
  • If you have an outer trim on your bookshelf, like mine, with your wood piece in place, mark the area where the trim will rest (this will be used as a guide for how to lay out your design).  
Picture
Decorative design 
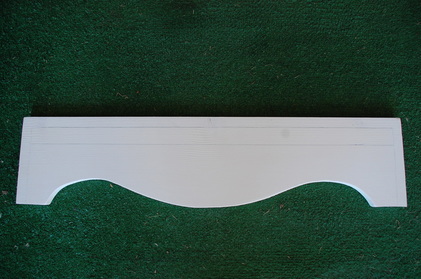
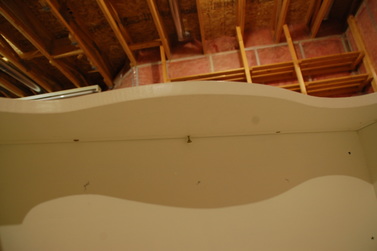
  • Select the design of your upper “apron” – I went with something simple because I wanted to add decals, but the choice is yours!
  • Using your wax paper cut a piece to the measurement of your inner length. 
  • Fold the wax paper in half along the width. 
  • Trace half your design with the centre at the fold line. 
  • Keeping the wax paper folded, cut out your design. 

Tracing the apron
 
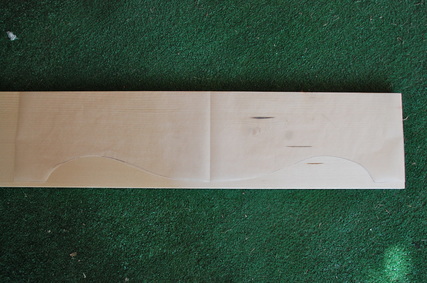
  • Unfold the wax paper and place it on your piece of wood so that it is centred and with the right amount height between the top and bottom (keeping in mind the portion that will be hidden behind the trim of your bookshelf).  
  • Trace along the line of wax paper so that you have a cut guide on your piece of wood. 
Picture
Cut & sand the apron 
  • Using an electric saw, cut along the line you drew on your piece of wood – keeping it as smooth as possible.  
  • Sand the edge of your apron until it is as smooth as possible.  
  • Also give it an all over sand to make sure the surface is smooth.  
  • Wipe clean with a damp cloth.
Picture
Decorative wood trim - optional 
  • Measure and cut the lengths for your wood trim 
Picture
Paint, paint, paint  
  • Put on your rubber gloves!  
  • Open your paint and stir it well.  
  • Pour some of the paint into the roller pan.  

Painting the bookshelf frame
 
  • Using a paint brush, apply to the inner and outer edges of your piece (where the roller won’t fit).  
  • Make sure your strokes go with the grain. 
  • Use the roller for the larger areas.   

Painting the bookshelves
, backboard & apron 
  • Using the roller, apply the paint in strokes that go with the grain. 
Picture
Wood Decals 
  • Using a smaller paint brush, apply paint to your decals and trim 

Repeat these 
painting steps until you are happy with the colour depth. 

My piece was painted white, so it took about 4 coats to get the creamy finish I wanted. 
Picture
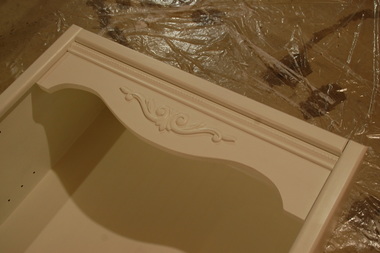
Applying the decals 
  • Since you probably painted over the trim guide on your apron, place it in the bookshelf again and mark the area where the trim will rest. Do this on both sides.  
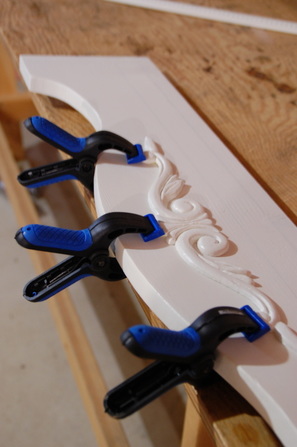
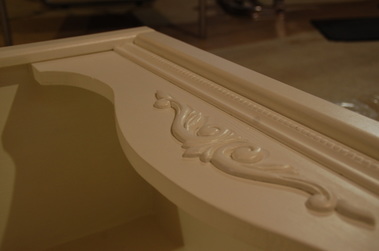
  • Using wood glue, apply your decal to the front of the apron.  

*Tip – if your decorative trim or decals will be resting tightly against the edge of your bookshelf frame, like my upper trim, wait until the apron is in place before gluing to ensure it fits. 
 
Picture
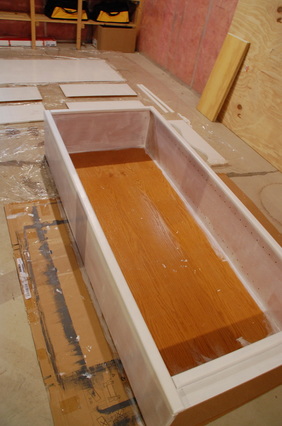
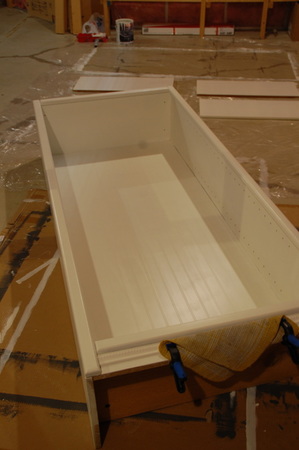
Laying the backboard 
  • Lay your bookshelf down with the opening face up.  
  • Using your wood glue, apply a generous amount to your existing backboard. 
  • Place your decorative panel inside your bookshelf and press down.  
  • It is a good idea to place something heavy on it while it dries. 
Picture
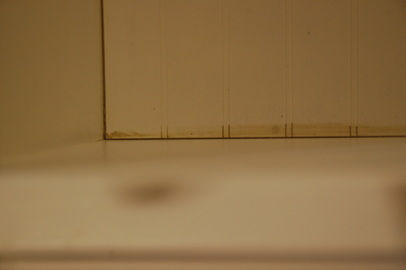
Mind the gap 
  • If your panel does not fit snug all over, meaning it has gaps along the edge, use the wood filler to fill it in.  
Picture
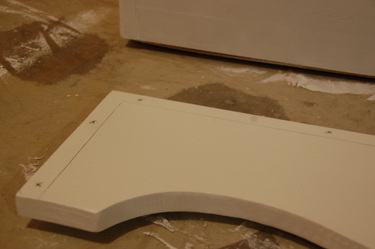
Putting on your apron 
  • On the backside of your apron, drill pilot holes along the edge where it will be screwed to the inner frame.  
  • Place your apron in your bookshelf and screw in place.  
  • Wipe down backboard so there is no lose debris.
Picture
Picture
Final Touches 
  • Once the wood filler is dry, repaint along these edges. 
  • Apply your decorative trim using the wood glue.  
  • Fix up any areas that need a bit of paint. 
Picture
Seal it! 
  • Once you are happy with how your piece looks apply a coat (or 2) of sealer as directed. This will keep your piece protected and easy to wipe down.  
Picture
Fill your shelves with classical books and meaningful nick-knacks! 
1 Comment
Amy
9/6/2015 07:52:07 pm

This is gorgeous Sara! Thanks for posting, I may just attempt one of these for myself.

Reply


Leave a Reply.

    Click "Read More" under each project for detailed steps. 

    Categories

    All
    Furniture
    Kids Furniture
    Lighting
    Outdoor
    Party Decor
    Seasonal
    Textiles
    Wall Decor

Proudly powered by Weebly
  • Home
  • Apparel
  • Décor
  • Abode
  • Details