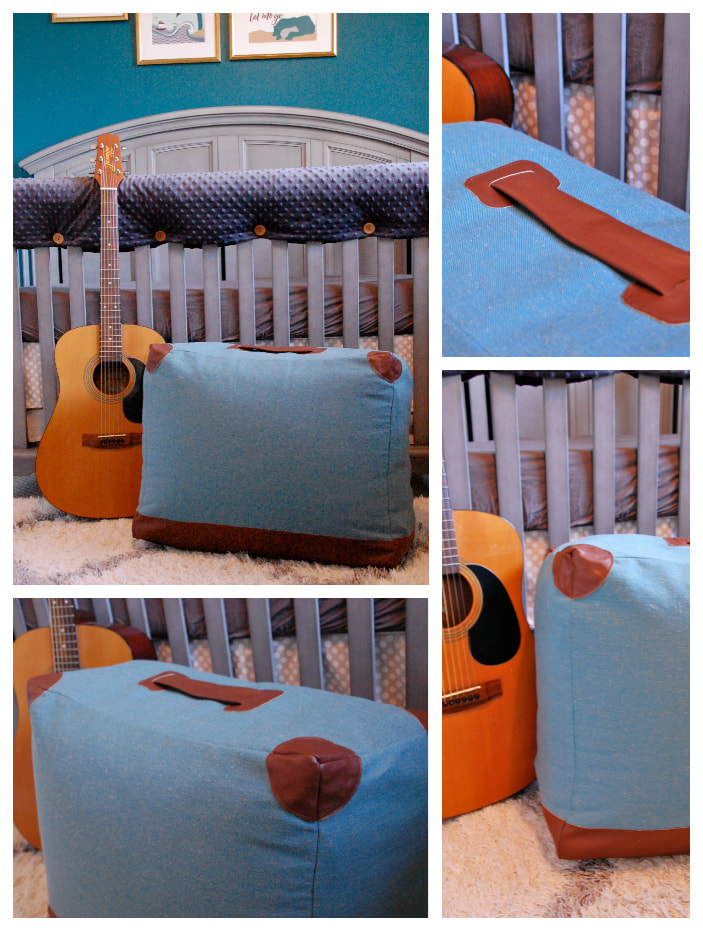
 For Baby 2 I'm switching up the nursery to be "adventure and travel" themed. I love all things vintage, so this cushion was a cute idea for something fun and cozy! Skill Level: Intermediate Materials
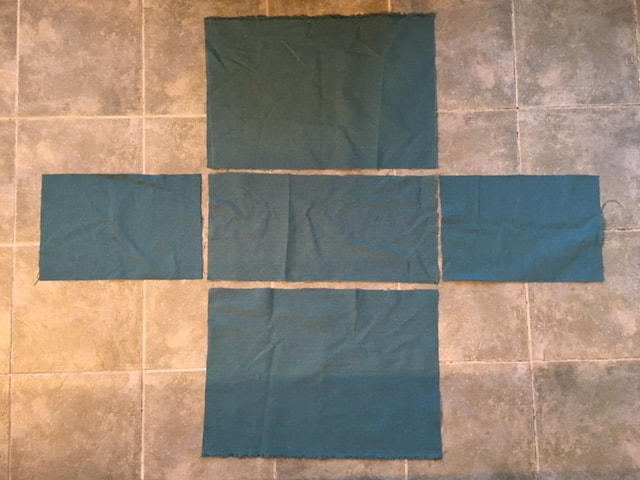
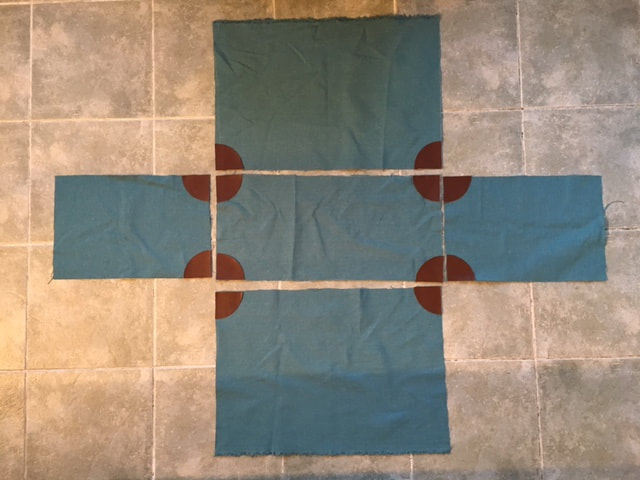
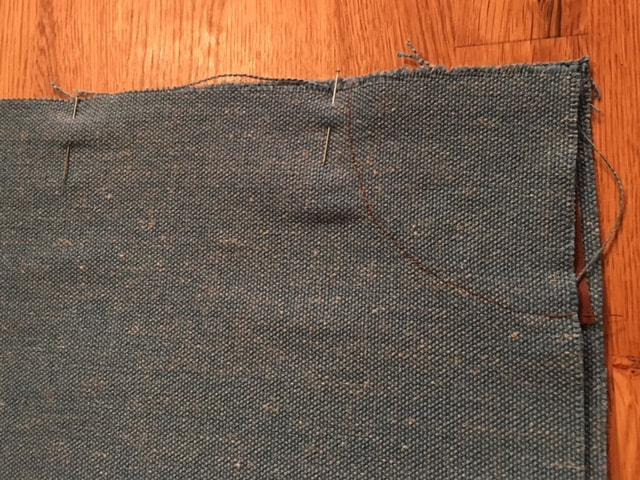
How to Guide Measure and mark
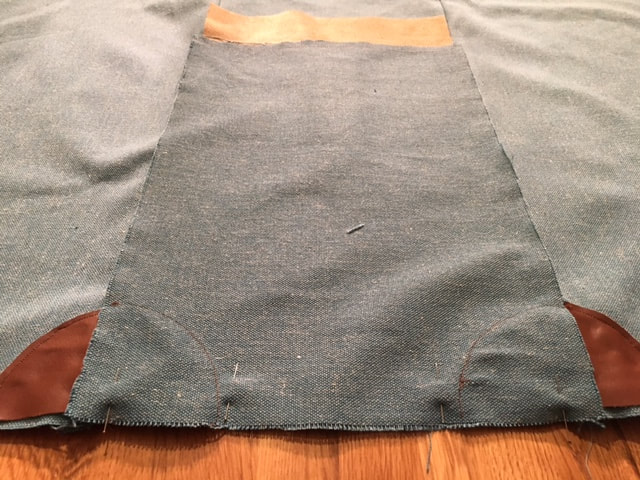
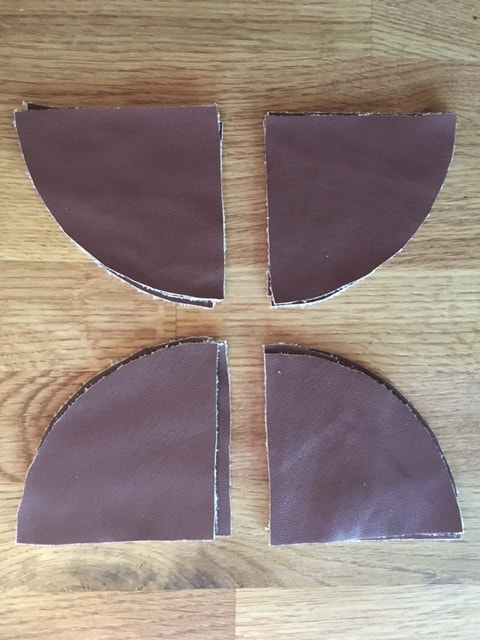
*Tip: For the circles, find a house hold item that is 6” in diameter to use as a guide for tracing. 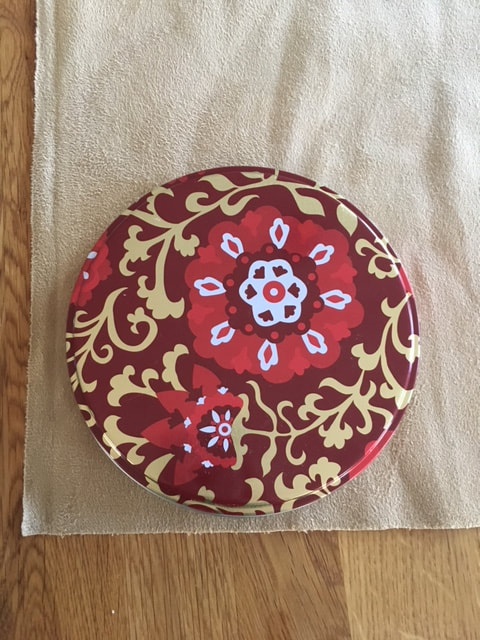 Cut it out
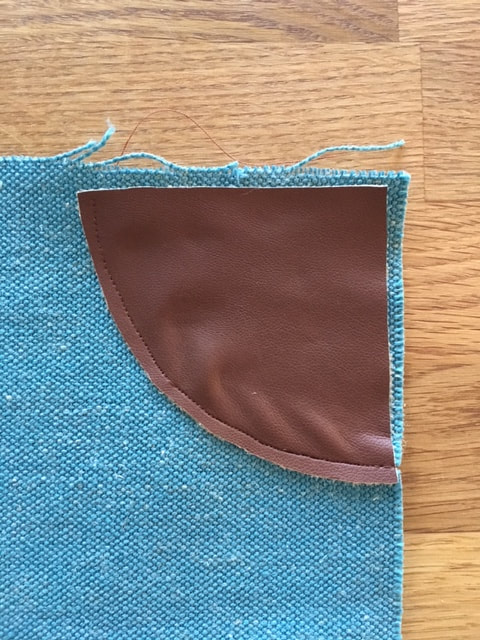
Bumper Embellishments
 Tacky glue
*Tip: You can use pins, but tacky glue will hold the leather in place without leaving behind marks. Bumper finish
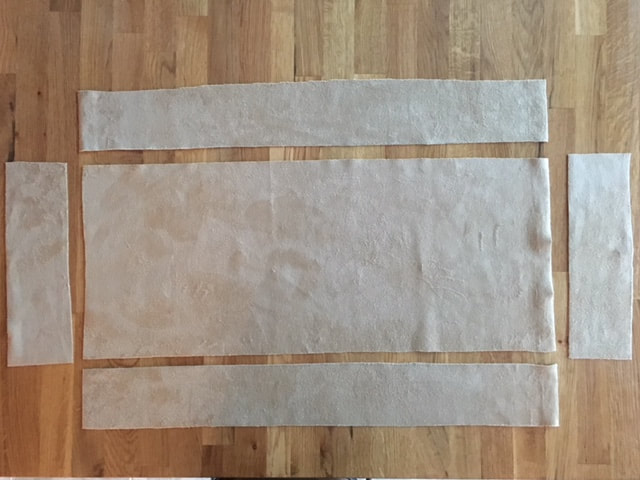
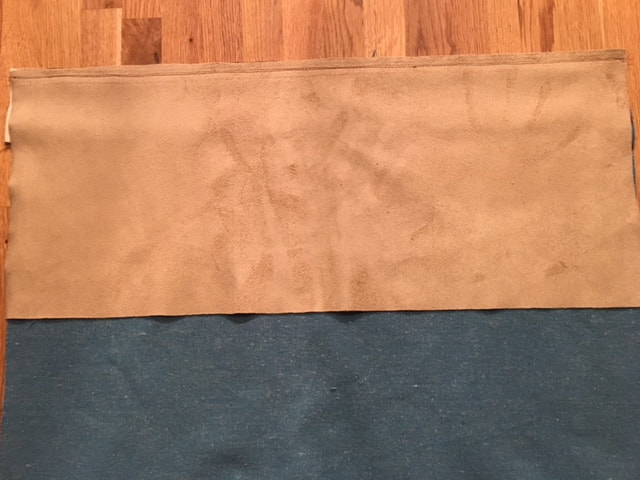
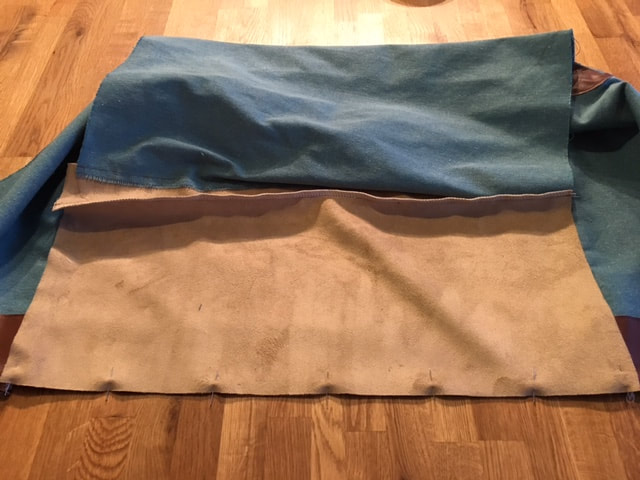
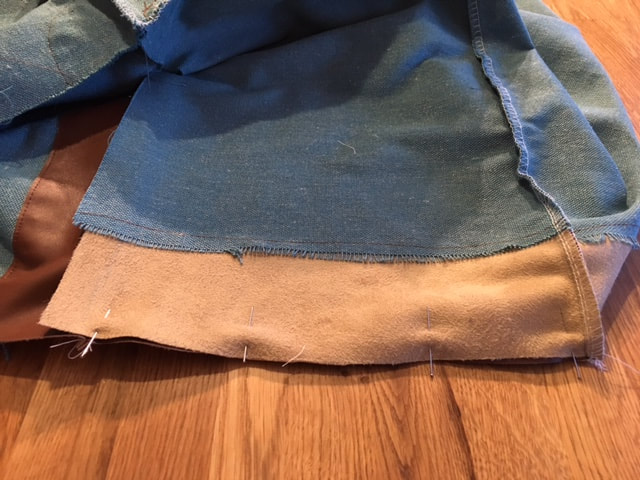
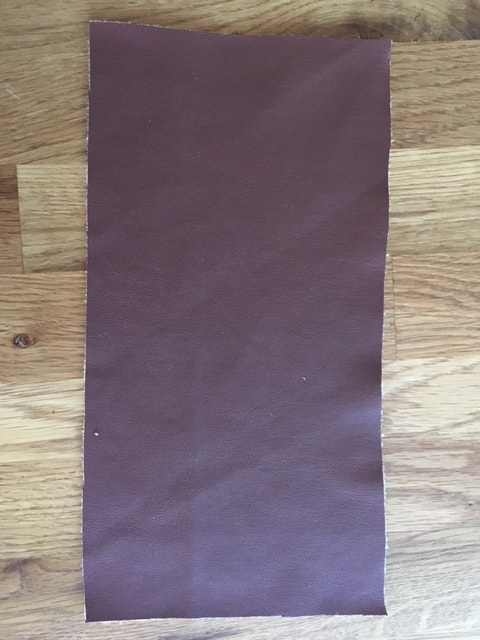
 Leather base
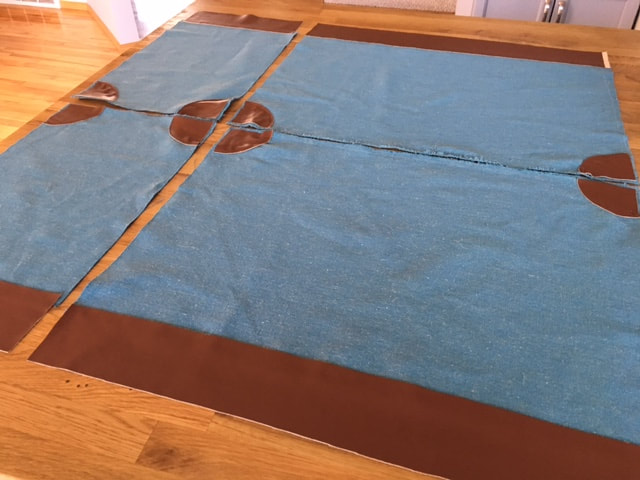 Tacky glue
Leather finish
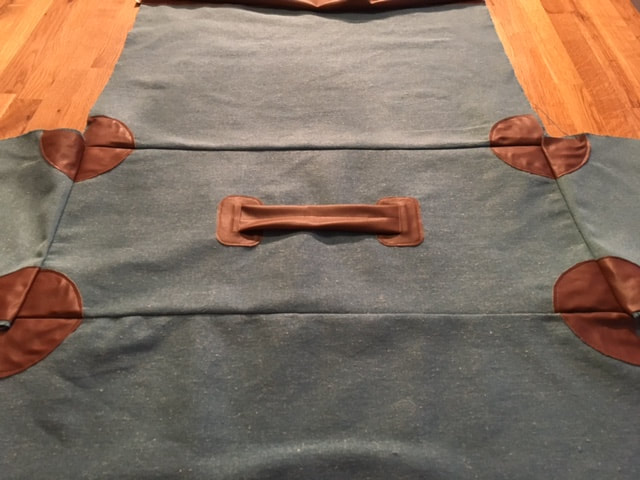
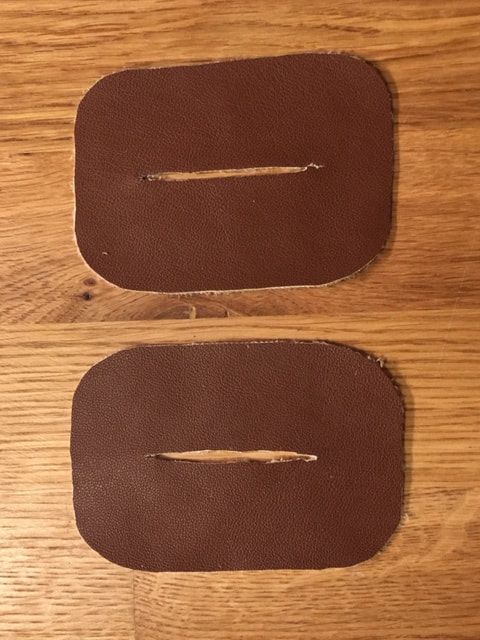
Handle it
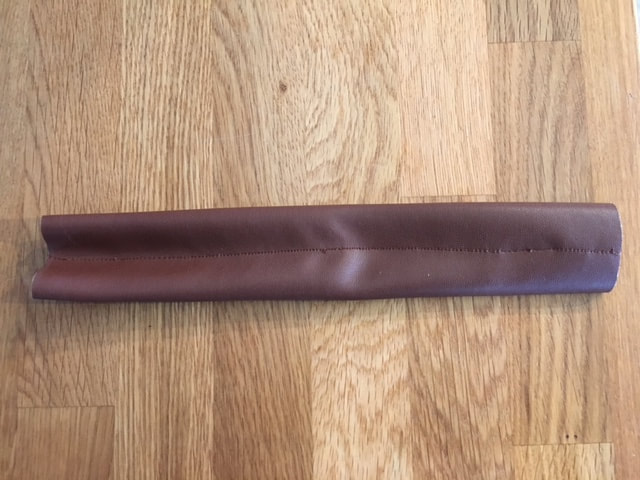 Handle covers
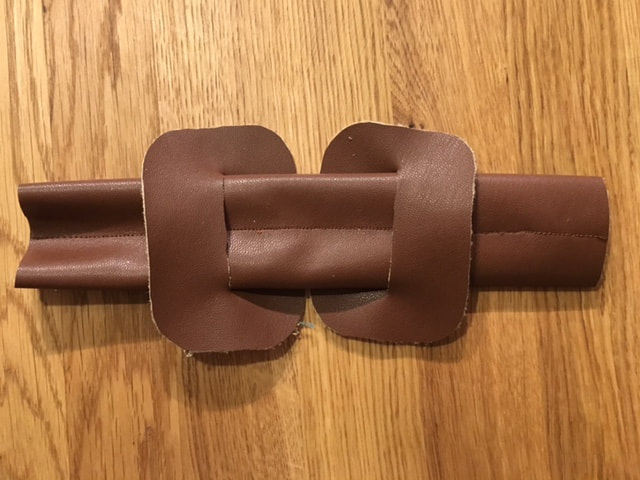 Handle to case
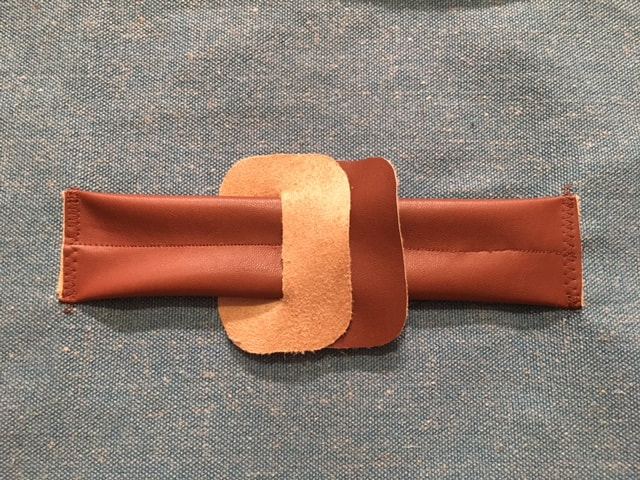 Handle finish
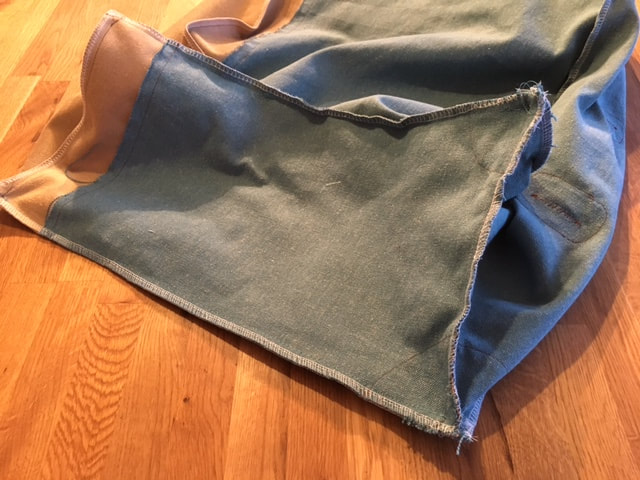
 Front to top
 Top to back
Bottom to front
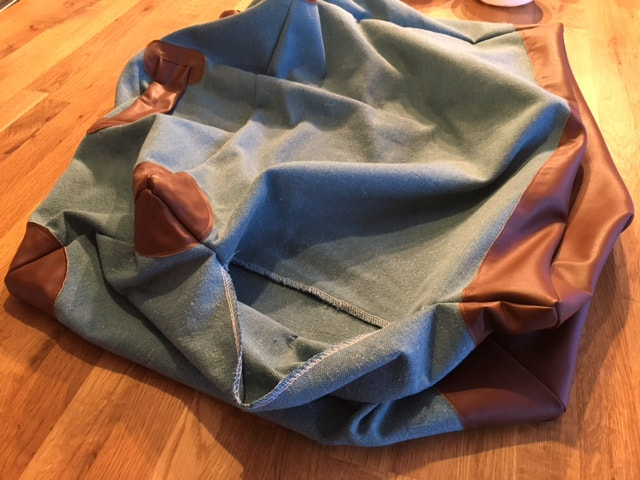
 Side to Top
 Check it
 Side to Front
 Bottom to Back
 Side to Bottom
 Side 1 to Back
 Side 2 to Back
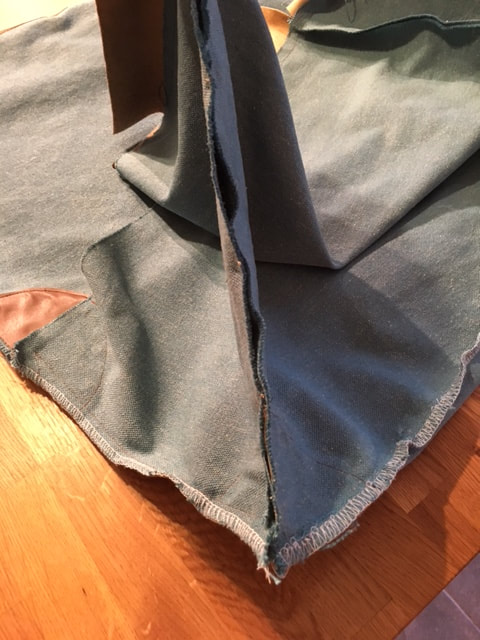
*Tip: Clip corners and serge edges for a clean finish. 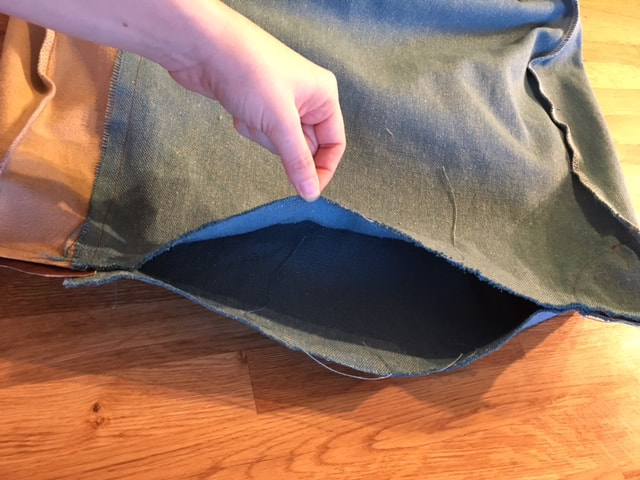 Inside out
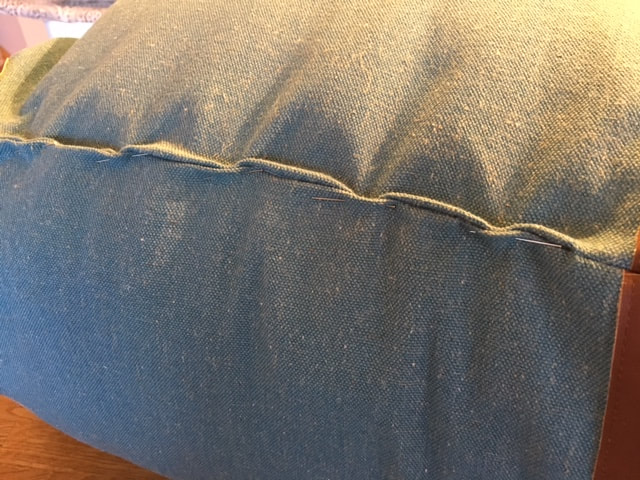
 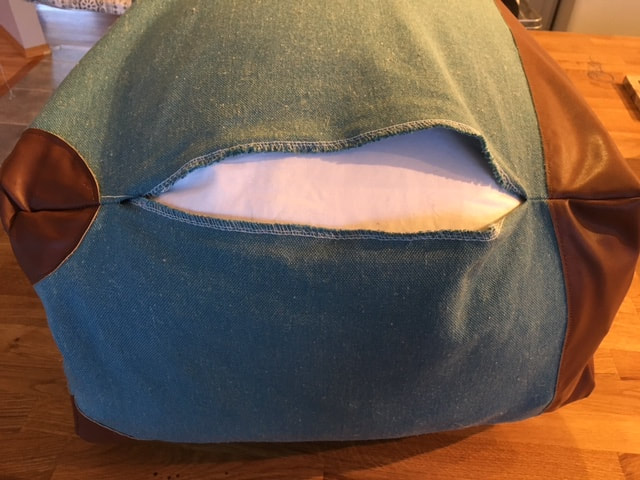 Close it up
  Throw it in a corner with some good books!
1 Comment
4/21/2018 06:22:44 am
The comfy, cozy, and colorful is my exceptionally favorite of all, so I need to create sure to Add a few extra warmth to our living room. The method was pretty simple, as most pillow projects are. If you've got a littler pillow, are working with a higher pattern repeat, or simply have good luck, it’s much simpler to build a cover from a salvaged fabric. Now it features a modern life as a pillow, and I’m feeling lovely good about it! Leave a Reply. |


Proudly powered by Weebly